Today I am excited to share with you our project, Sliding Custom Bathroom Door + Moulding, for week 3 on the One Room Challenge Spring 2020. The One Room challenge™ provides participants with a supportive, enthusiastic forum in which to share the process of transforming a room. The ORC is not a competition, but rather a celebration of creativity, inspiration, and original ideas. I will be sharing our bathroom remodel for this challenge. You can find all the rooms and designers participating in the ORC HERE. You can also follow along on Instagram HERE. That’s where I will be sharing live videos and pictures.

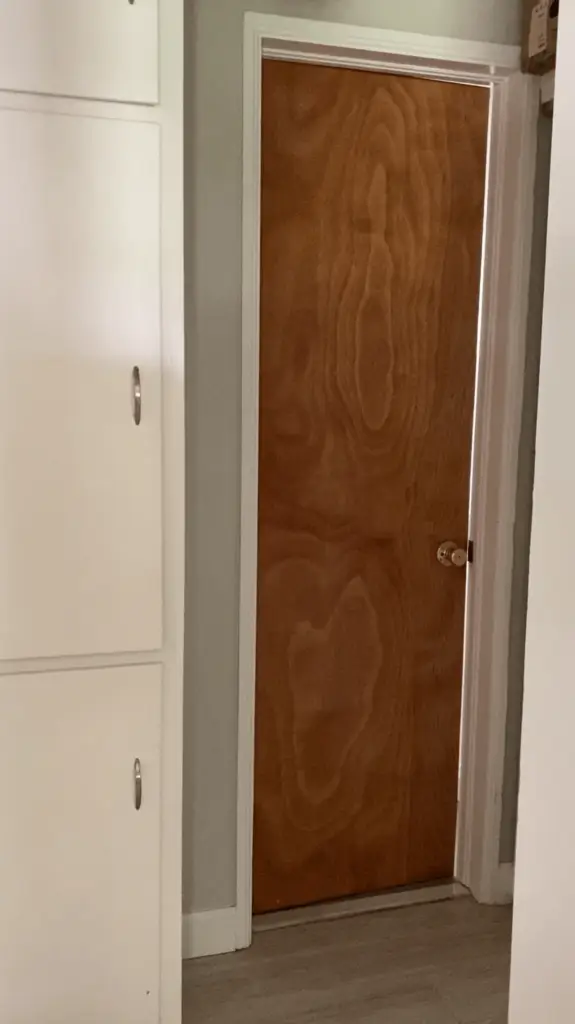
Before
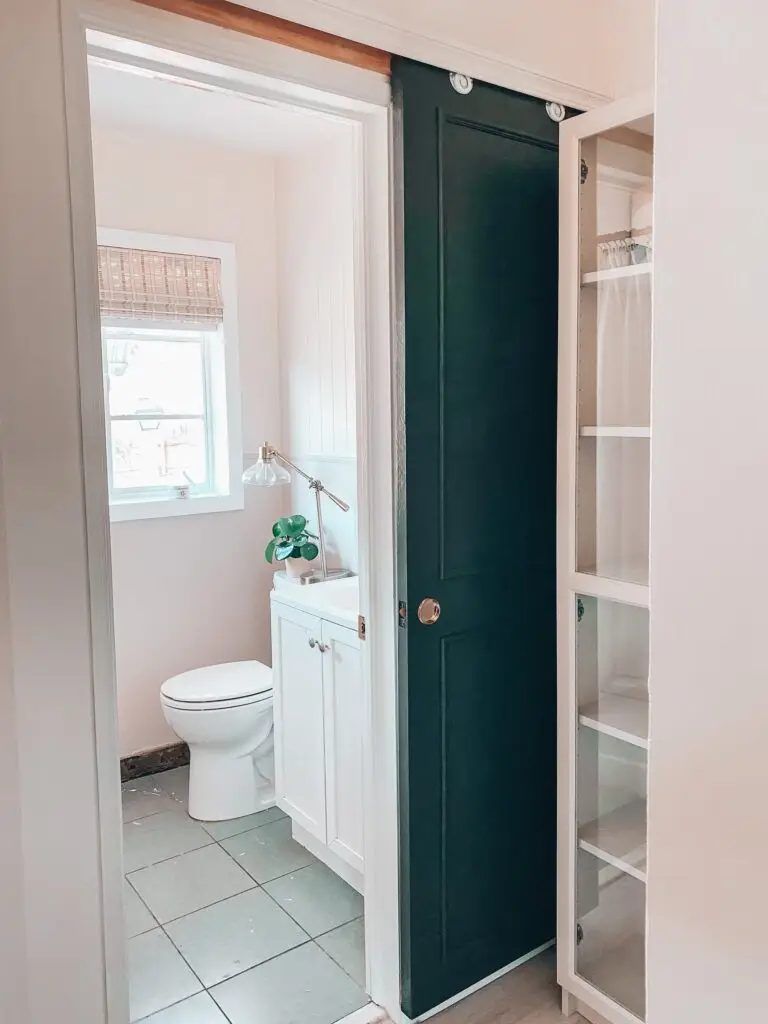
These are pictures of the door and the closet system before we started this project. We used the same door for the project and we removed the closet system and replaced it with a bookcase.

The Process
First we took out the old closet system. We had to patch holes and painted the walls with THIS white paint.
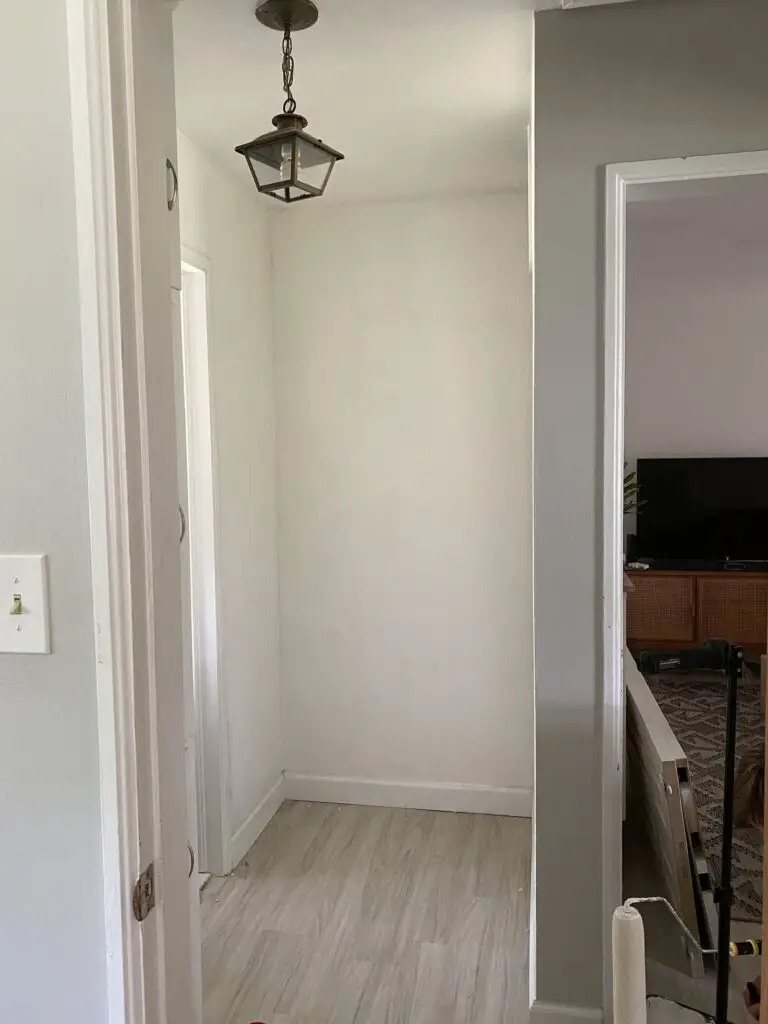
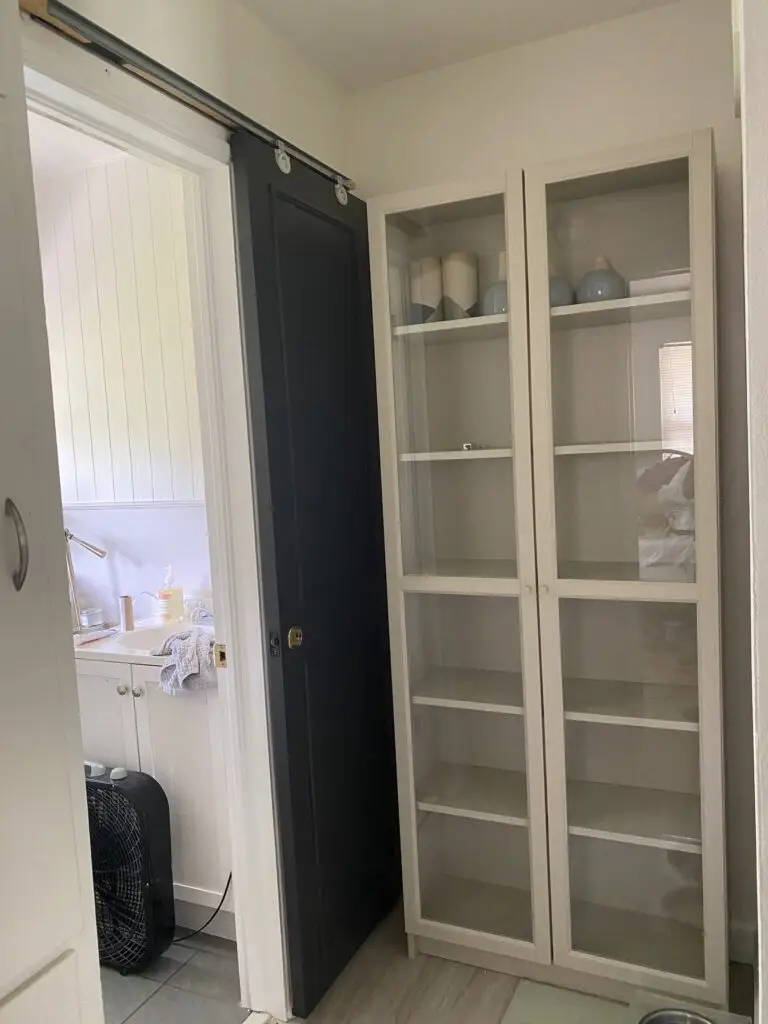
Then we moved a bookcase in here. This bookcase was sitting in our living room. We plan for this to be a temporary storage option as we search for a better and more efficient choice. Taking out the old closet system allowed for so much more room in this space.
Hardware
We wanted to do a barn door type door. However, with this tiny space, we couldn’t easily find a hardware kit for the right measurements. That’s when we decided to hack this into our own sliding door. We used THIS double door track system. We put a 1 1/2 inch piece of wood through it and attached it to the wall on both ends.
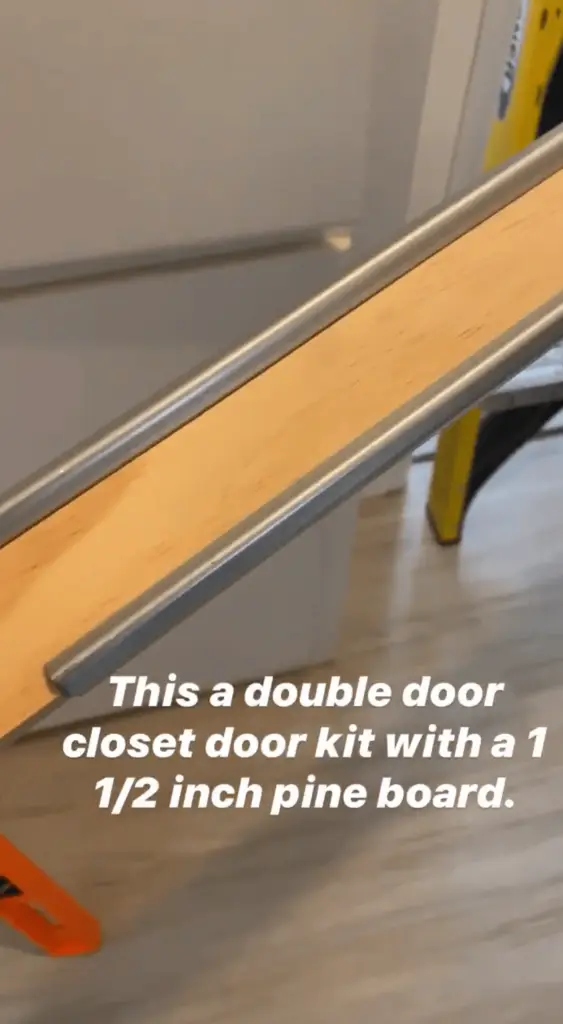
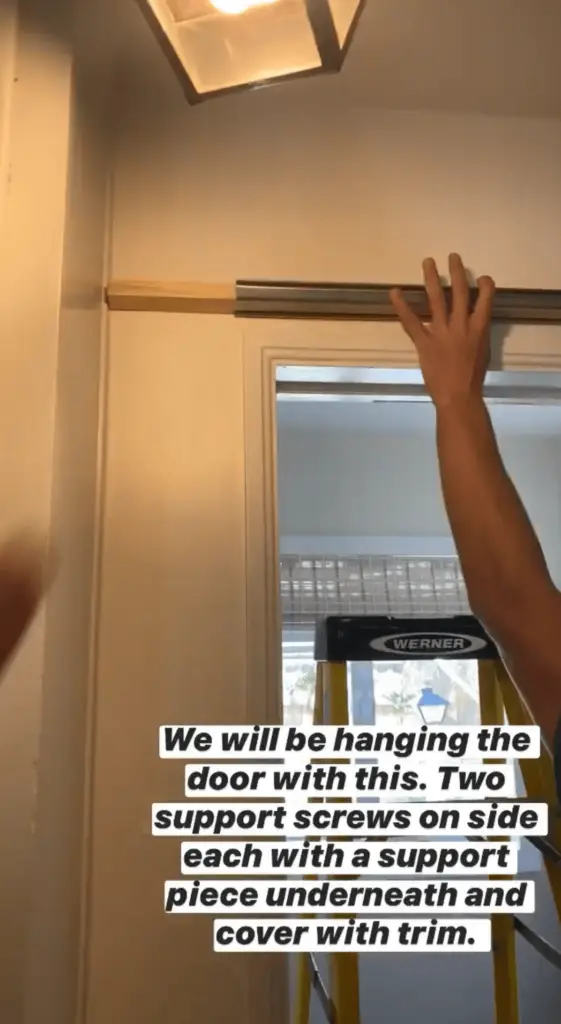
We then added the wheels onto the door. We are waiting on pieces to cover the hardware for the wheels. So by the time we are finished, you won’t be able to see the wheels. We also added trim at the top to hide the track system. We used a eye hook latch on the inside so it can be locked.
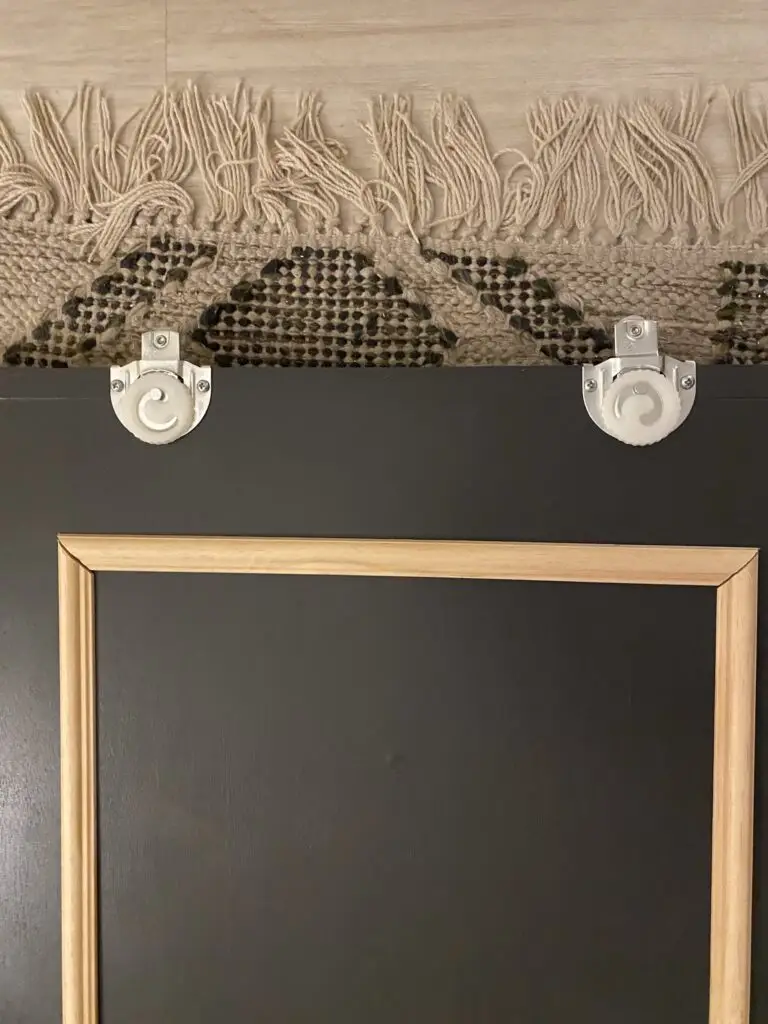
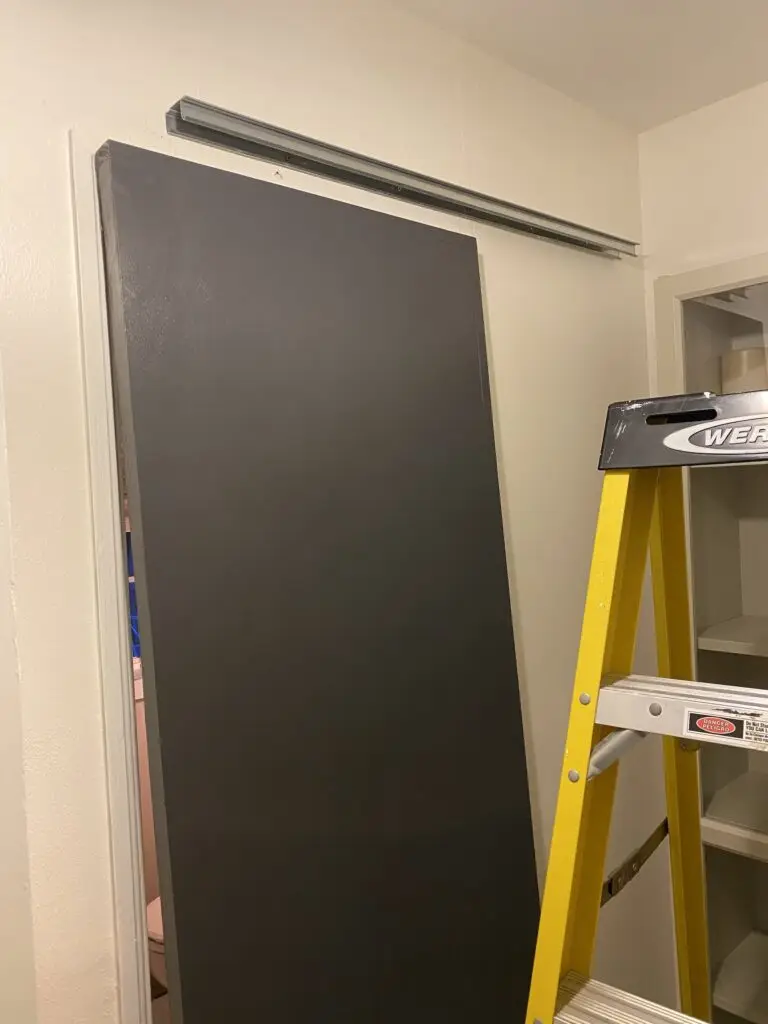

We still need to do some painting and finishing touches. By the end of this project we will be 100% done! I always keep a few days at the end of the project to finish things like this up. I call it my 95% day. To remind myself I don’t want to be in the 95% club. 🙂
Door Moulding + Paint
Since we used the same door, we had to add an extra piece of wood on the top and bottom so it would cover up the entire doorway when closed. We only added it on one side and used plastic wood to make it look seamless. We then added moulding. This is an easy trick I came up with a few months ago. You can see all the details of the door moulding trick HERE. No power tools needed! We painted the door THIS color.
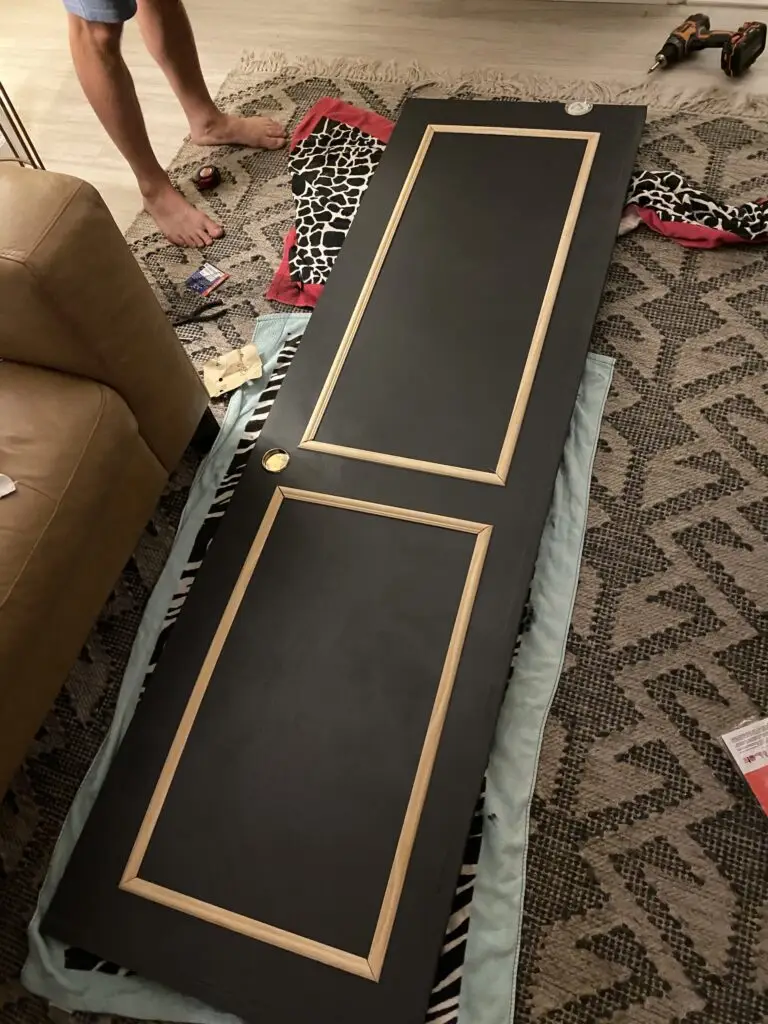
This sliding custom bathroom door project was so easy and has saved us SO much space in this small bungalow. There is even more storage and now we don’t have the door in the middle of the bathroom. You can follow more of this bathroom project HERE or follow me on Instagram HERE.

Inspirations
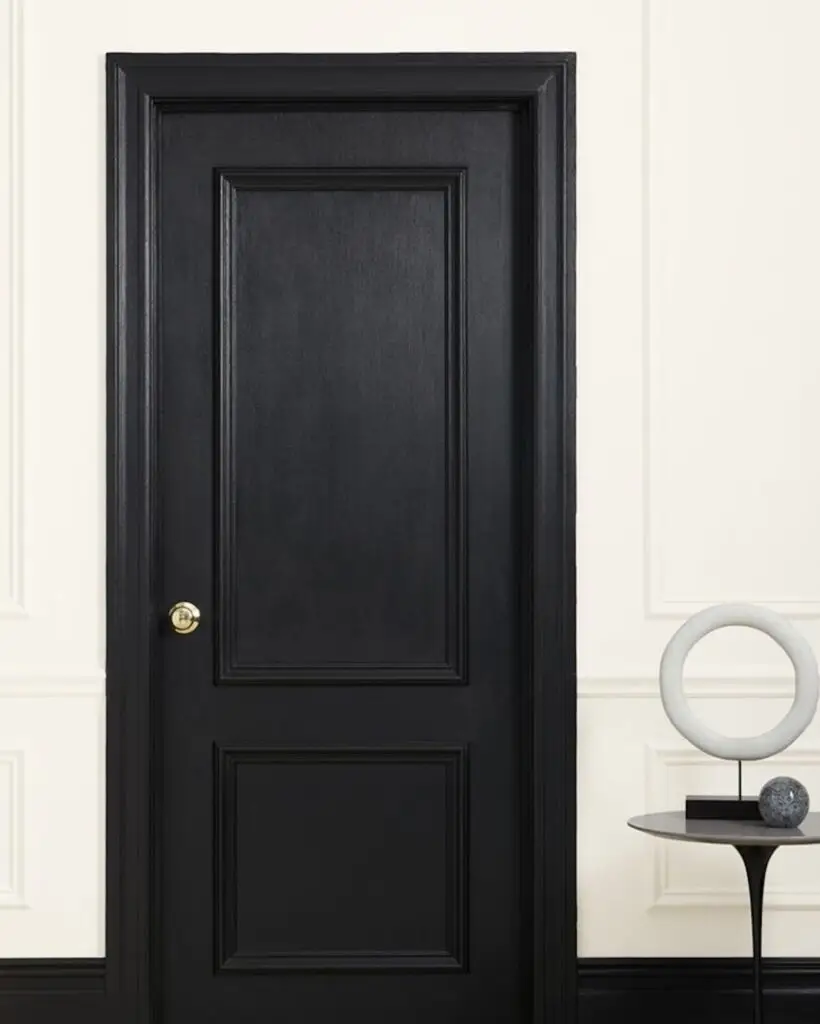
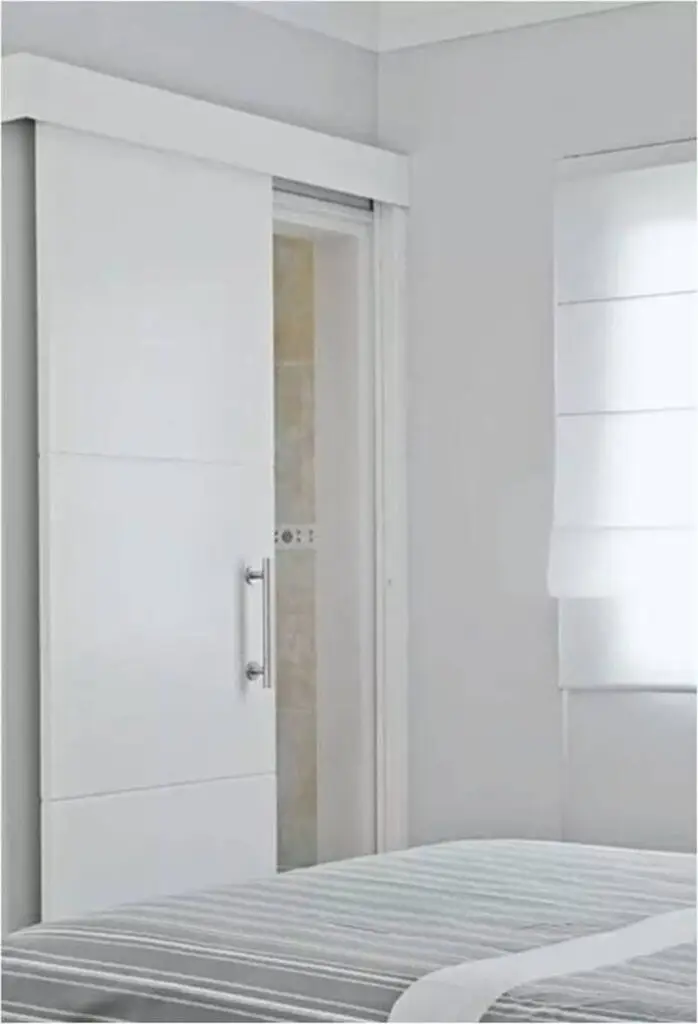
Here are a few of my inspirations!
