Building a breakfast nook bench was the first project we did in our house in 2017. We only had a few tools available to us and so it definitely looked like amateur work by the time we were finished. Fast forward five years and we are ready to rebuild this breakfast nook with all of our new DIY skills and tools. One thing I was excited about was adding storage to the nook because as you know… any small house can use more storage!
(Scroll past the pictures for the tools and material list + How-To Directions)
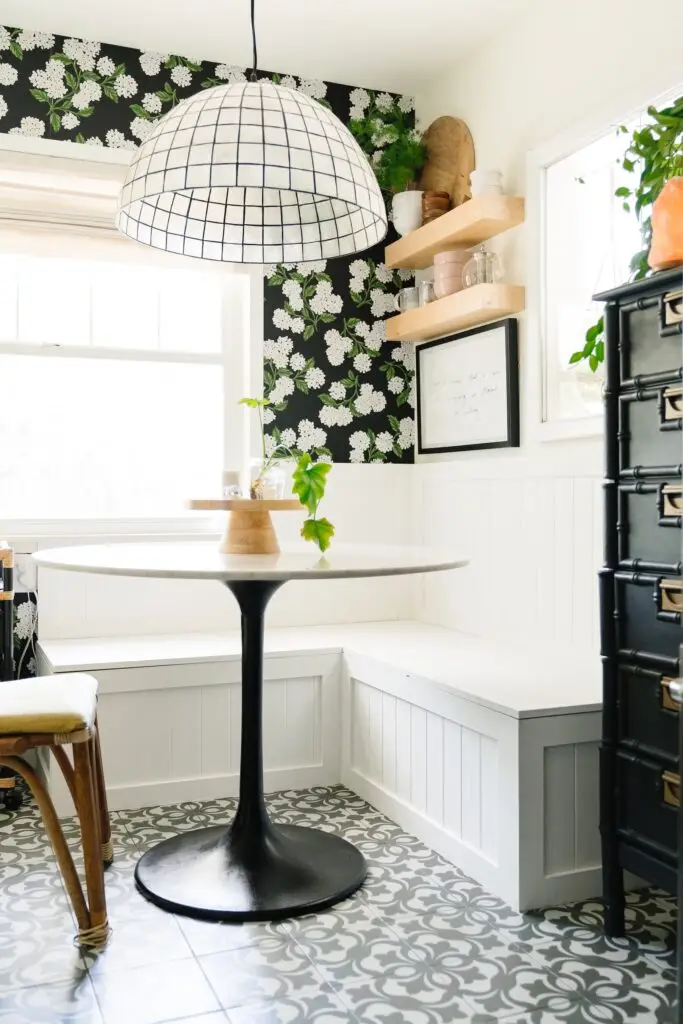
Corner Breakfast Nook Bench
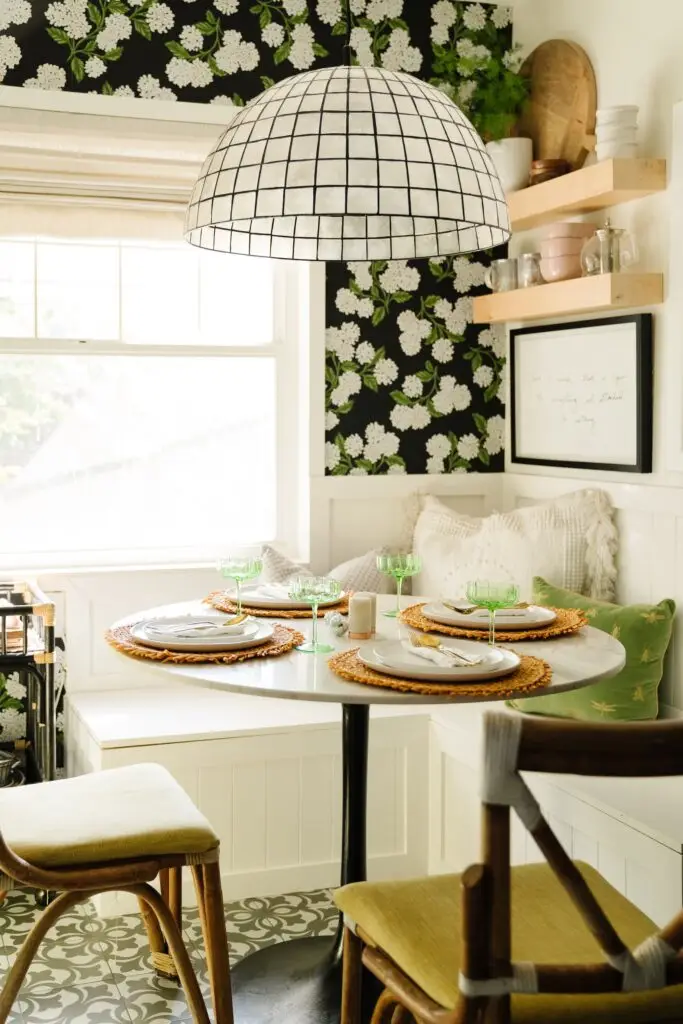
Our breakfast nook is in the corner and works perfectly to save space. I also love the idea that a breakfast nook bench is a cozy place to hang out! Having it in the corner with Big French Tufted Mattress Cushions makes it like another piece of furniture you can lounge on.
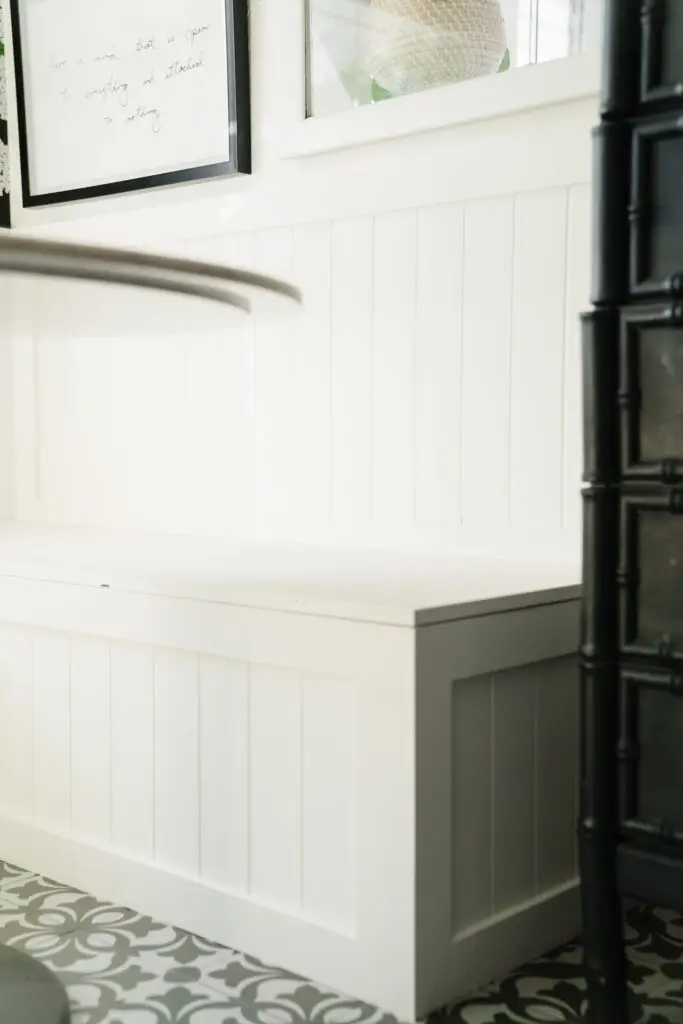
Is a Breakfast Nook a Good Idea?
The reason why we absolutely love our breakfast nook bench is that it’s the perfect way to add more seating in a small area. It would have been hard to add chairs up against a tight space in the corner without it feeling too cramped. But with a breakfast nook bench, it looks and feels cozy plus intentional.
Breakfast Nook with Table
If you’re using a corner bench, I recommend going with a round kitchen table. This is going to help the space feel softer and a little more unique. If you do decide to use a square or rectangular table, measure the breakfast nook to fit proportionate to the piece of furniture you plan to use.
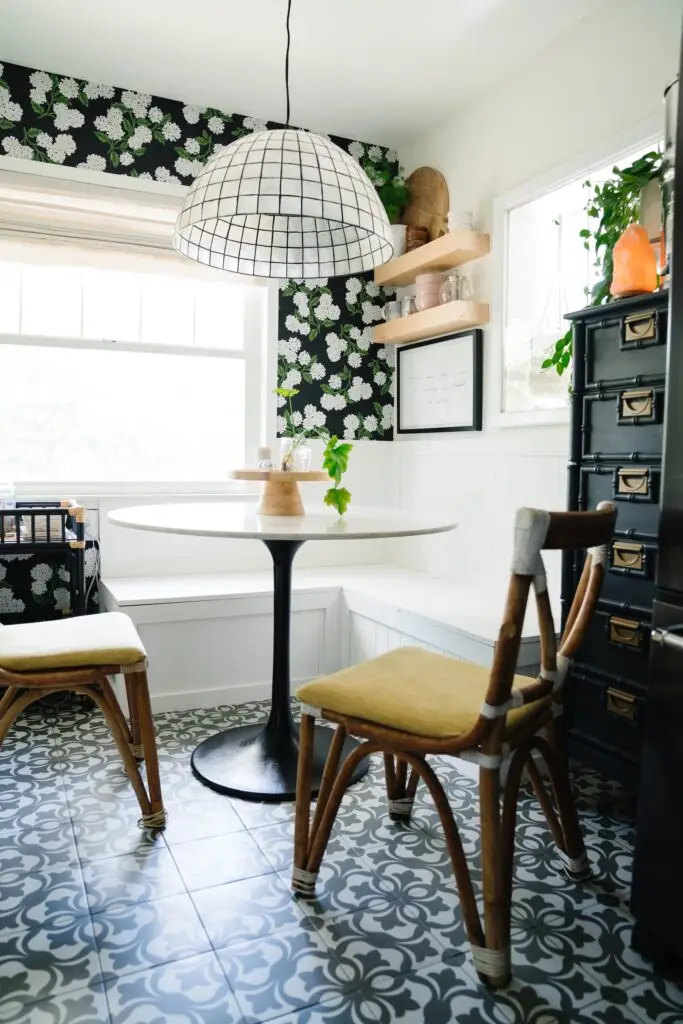
Easy DIY Breakfast Nook Bench
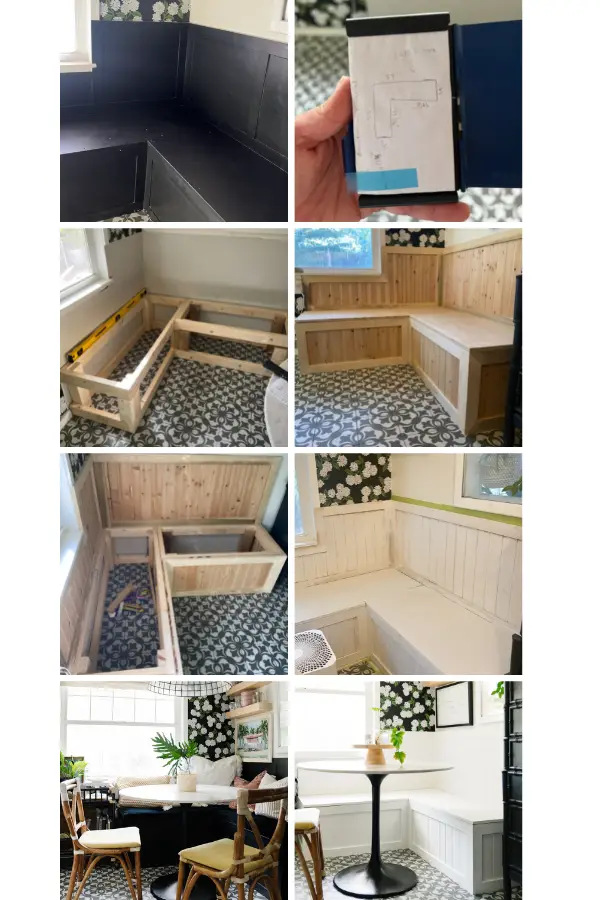
Making a DIY breakfast nook bench is not too difficult! In a nutshell… You build a frame, build it out with plywood, trim for detail, add plywood for seats, and paint!
Small Breakfast Nook How To
There are lots of different styles of breakfast nooks, so the most important thing is to draw up a plan and cut the measurements correctly. You can use our step-by-step tutorial below and add it to any shape or size! Have so much fun building your breakfast nook bench you are going to absolutely love it!
How to Build with Tools and Material
- Framing Nailer
- Brad Nailer
- Table Saw
- Chop Saw
- Paintable Caulk
- Nail Hole Filler
- Ceader Skinny Lap
- Trim
- Plywood
- Whisper White Paint
Steps:
- Figure out what type of look you are going for (maybe search Pinterest, Instagram, etc. for ideas). This will help begin envisioning what you want the space to look like.
- Decide what type of materials to use.
- A few important things to consider:
- You want to make sure that the material used for the seat is strong enough to support the body weight of several humans (this is why we opted to use 3/4” plywood.
- Same considerations for the frame…use 2x4s so that there is enough structural support for several people to sit on it.
- Are you going to paint the frame or leave the natural wood? If you are planning on leaving it natural wood, make sure to use the type/grade wood that you like.
- If you want to incorporate trim around the edges like we did, then you will need to account for that in your measurements of the frame and seat.
- A few important things to consider:
- Begin measuring your space to get a rough idea of the size nook that your space can accommodate.
- This step requires thinking about/planning how many people you would like to accommodate and also the type/size of the table that you are planning to use with the nook.
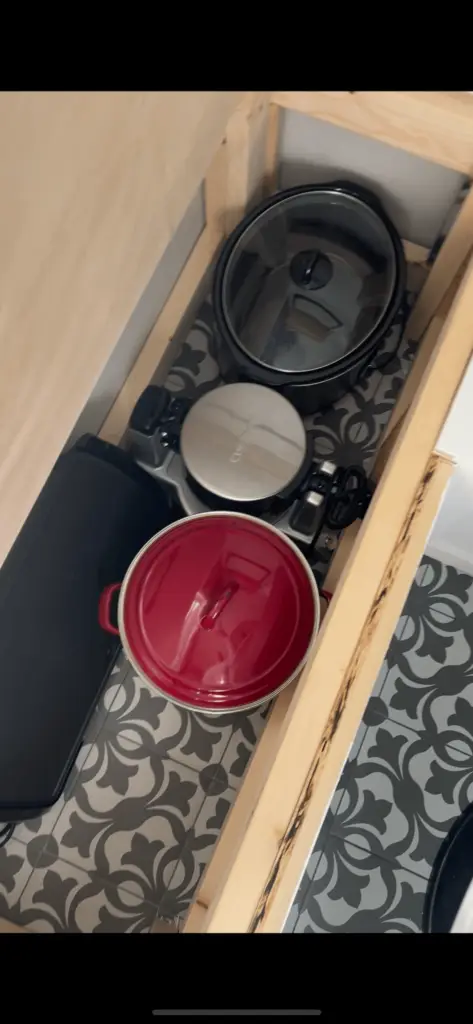
- You also need to keep in mind whether or not you will be using the nook for storage. If the nook will be used for storage, you need to think about what types of things will be stored inside so that you can ensure there will be enough space inside the frame for those items. (We knew that we wanted to store kitchen appliances/electronics that we do not use every day or even every week, such as a crockpot, waffle maker, griddle, etc., so we made sure to build the frame deep enough and long enough to accommodate this type of storage).
- Actual measurements of the nook.
- Height of the seat:
- Referring back to step 2, it is important to know the type and dimensions of the table that you will be using with the nook. It is important to test the heights of a few different chairs around the table so that you can select a height that is comfortable for that table.
- Once you have a comfortable seat height relative to the table that you will be using, you need to then think about whether you will be adding a cushion and, if so, how thick. The dimensions of any seat cushion that you plan to use will need to be taken into account when determining the proper height of the seat on your nook. This part might not be an exact science since the ultimate height of the seat while sitting at the table will depend on a number of variables including the density of the cushion that you use, the weight of the person sitting at the table, etc.
- The point is to make sure that you are not making the seat so high that people’s knees are hitting the underside of the table, or so low that people cannot rest their arms on the table comfortably.
- We decided to make the height of our seat 16 1/2” since we knew that we would have a thicker cushion (about 5 inches). The height of the chairs around our table is 19 1/2”, but since we are using more plush foam for the cushion, the thought is that the cushion will compress down to about 19 1/2 inches total height when a person is sitting at the nook.
- Depth:
- We decided to make the depth of our seat 19 1/2 inches. There are two reasons that we settled on this depth. First, we knew that the structure/frame inside of the nook would take away at least 3 inches (the true width of a 2×4 stud is actually 1.5 inches…this means that a 2×4 stud on each side of the inside of the nook will take up 3 inches; we also knew that we would be using 3/4 inch trim around the edges of the nook, so we had to take that into account as well). Keeping in mind the type of appliances that we wanted to store inside of the nook, we wanted to leave at least 15 inches of clearance.
- Second, a deeper seat will also allow people to be able to relax and recline a little more after eating or while talking/playing games around the table.
- Length
- The length of each nook will vary greatly depending on what the intended use for the space is, the dimensions of the table, electrical outlets, windows etc.
- Taking into account these factors in our kitchen and the number of people we wanted to be able to sit at the nook, we decided the long side of the nook would be 58.5 inches measuring from the opposite wall. The shorter side is 54.5 inches measuring from the opposite wall.
- Height of seat back:
- Based on the other dimensions of the nook, we determined that the proportionate height of the seat back for the space was 23 inches measuring from the top of the seat.
- Based on the other dimensions of the nook, we determined that the proportionate height of the seat back for the space was 23 inches measuring from the top of the seat.
- Height of the seat:
- Now that you have the overall exterior dimensions of the nook, you take into account the materials you will use to build out the nook in order to come up with the dimensions of the frame.
- Think of it like this, you start with the exterior dimensions (end result) in mind. Then, you should account for the type of finish materials that you will be using to build out the nook, i.e., plywood to cover the frame, decorative trim, etc. Measure the thickness of each finish material working inwards towards where the frame will be in order to determine the proper dimensions of the frame needed. (It is important to know the ACTUAL dimensions of the materials that you will be using).
- As mentioned earlier, we opted for 3/4 inch plywood for the seat. To enclose the frame, we knew that we did not necessarily need to use 3/4 inch plywood, which was more expensive, but also thought that 1/4 inch plywood would be too flimsy if someone’s heel hit the nook while sitting (or if kids sit at the nook and like to kick their feet around). So, we opted to use 1/2 inch plywood to enclose the frame. To trim the outside edges of the nook both below and above the seat, we decided to use poplar with actual dimensions 2.5” x .75”.
- Taking these finishing materials into account, we built the frame as two separate boxes using 2×4 studs (actual dimensions 1.5” x 3.5”). We decided to make the larger box along the window as that side would be more easily accessible, making better use of the storage space inside of the nook.
- The measurements for the larger box ended up being 53.25”L x 19”W (once adding the finish materials like the 1/2 inch plywood and .75 inch poplar trim, the length from the wall would be 54.5” as mentioned previously). The smaller box dimensions were 38”L x 19”W (this box was installed on the Florida room side wall and, when taking into account the width of the other box plus the finish materials, bringing the total measurement from the opposite wall to the 58.5” mentioned previously).
- Just as you do with the length/depth of the nook, you take into account the finish materials that will be used in order to determine the proper height of the frame. With the 3/4” plywood seat we were going to use on our nook, we knew that the frame needed to be 15.75 inches in height in order for the nook to have the final 16.5-inch seat height that we wanted.
- To assemble the frames, we used a Ridgid framing nailer with 2-1/2 inch nails.
- We actually assembled the bottom of each frame to the legs and moved them inside before attaching the tops of each frame. This way we could make sure to use shims to level the frames in case the floor was not perfectly level.
- Once assembled, we attached the frames to studs on each wall in order to stabilize the frame.
- Build out the nook.
- Measure the sides and fronts of the frame to determine the cuts needed from the 1/2-inch plywood to cover the frame.
- To make these cuts, you can use a circular saw, a table saw, or a jig saw. Truthfully, these cuts can even be made with a Sawzall (which is what we used to build our last nook). In our experience, a table saw will make the cleanest cuts, leaving a more finished look. But remember, if you are planning on using decorative trim around the edges of the nook, most imperfect cuts can be covered up.
- To nail the 1/2 inch plywood to the frame, we used a Ridgid brad nailer with 3/4 inch brad nails. If you do not have a brad nailer, you can simply use finish nails and a good old fashion hammer. We ended up putting in a few finish nails anyways for more durability.
- After covering the bottom of the frame with the 1/2-inch plywood, we went ahead and added the decorative trim around the outside edges. This way we knew where exactly to place our trim for the seat back. For the decorative trim, we made 45-degree angle cuts so that the corners lined up with each other. We did this with our compact miter saw by adjusting the blade to 45 degrees.
- Next, we moved on to trim out the seat back. We decided to do this before cutting the actual seat of the nook because we knew that the trim along the bottom of the seat back would need to be taken into account when measuring the actual seat.
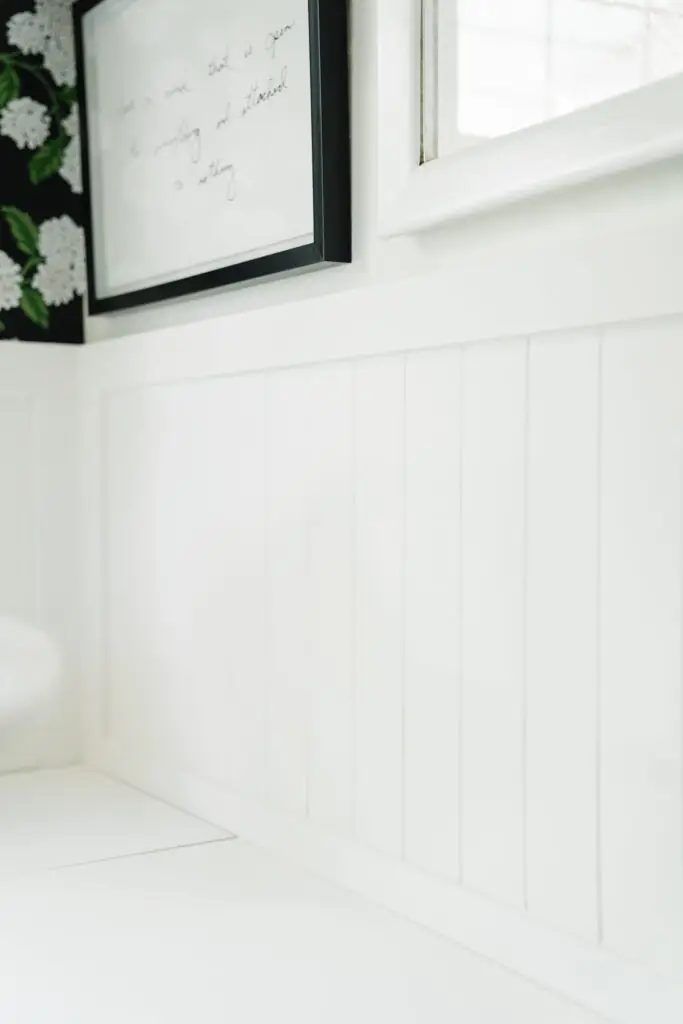
- We then added the cedar paneling inside of the trim on both the top and bottom of the nook to give it a more finished look. If you do not want to add paneling, then you can add 1/4 inch plywood on the seat back before adding trim around the edges. This will also give it a finished look instead of leaving the drywall exposed. In adding the paneling, we again used the Ridgid brad nailer, but with 1/2 inch nails.
- The last cuts that we made were for the seat. We decided not to add a lip around the outside edge of the seat, so we measured from the trim along the bottom of the setback out to the front of the nook on each side. We knew that the seat would need to be cut into two pieces in order to make accessing the storage easier. In looking at the way the frames were assembled together, we decided that make sure that the edges of each cut on the seat rested along the 2×4 stud frame underneath it. This is why the longer seat is not straight, but rather contains an “L” shape. This “L” shape ensured that the smaller seat also rested on a 2×4 stud from the frame beneath it. We felt that this also allowed us to get away with not placing a brace toward the middle of the frame thus leaving more space/access for storage.
- Fill the holes.
- Having finished all of the necessary cuts and assembly of the nook, the next thing to do was fill all of the holes and knots in the wood. Luckily we had some … [wood filler] in our shed from the last project that we did. Don’t worry too much about getting messy with the wood filler. After you finish, let it dry for about an hour or so, and then simply vacuum it up. We used our Dyson vacuum several times a day to tidy up the space while we worked.
- After letting the wood filler dry overnight, we used a high-grit sanding block to smooth out and remove the excess wood filler and obtain a smooth finish in preparation for painting.
- Before painting, however, we then used paintable caulk to fill in any additional spaces or gaps that the wood filler could not cover. Make sure to let the caulk dry for at least a few hours before painting.
- Prep for paint.
- Now that all of the holes and spaces are filled and dried, you want to make sure to clean up the space one more time before painting. Again, you do not necessarily need a shop vac for this but can use a regular vacuum.
- You also want to wipe down the entire nook to remove all dust or debris, preferably using a microfiber cloth like [this one].
- Next, you want to tape off around the edges of the nook with a painter’s tap to prepare for your primer and paint.
- Paint.
- We wanted to make sure that the paint adhered well to the nook since, in our experience, the nook gets a lot of wear, tear, and traffic (because it is the only place to sit and eat in our home and also doubles as a work station) so, we first applied a good coat of exterior primer. After allowing the primer to dry overnight, we then used the high-grit sanding block to lightly sand the primed surface. This will ensure that there are no drips or bumps on the surface when painting.
- Before applying your first coat of actual paint, you want to make sure to again clean up the space by vacuuming and wiping the surface with a microfiber cloth.
- Now, you are ready to paint!
- We opted to use Ultra Pure White paint to offset the new black appliances in our kitchen. We ended up applying two coats.
- With the paneling on our nook, we found it was easiest to apply the paint by doing small 3 or 4-foot sections, first using a roller with a thick coat of paint. Then, you use a brush to paint the spaces between each panel. Then, you come back through with the roller to make sure that the paint is applied evenly with the same texture. Repeat this process every 3 or 4 feet until the entire nook is painted. Then, allow the nook to dry overnight before applying the final coat.