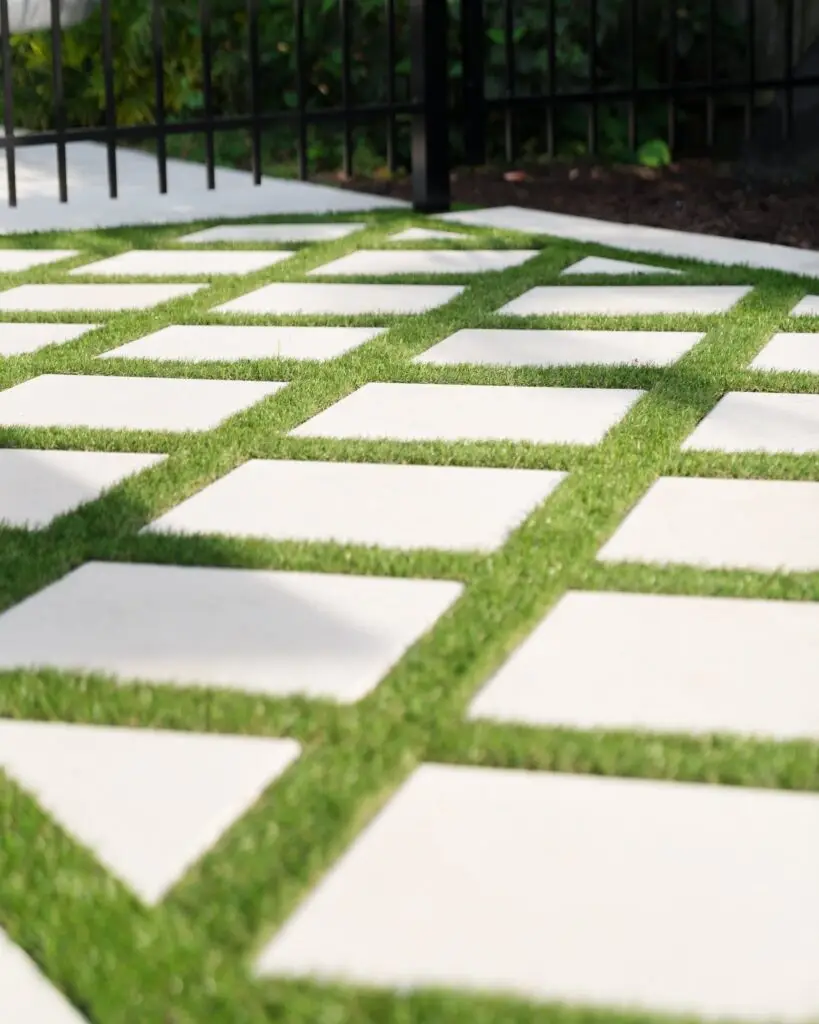
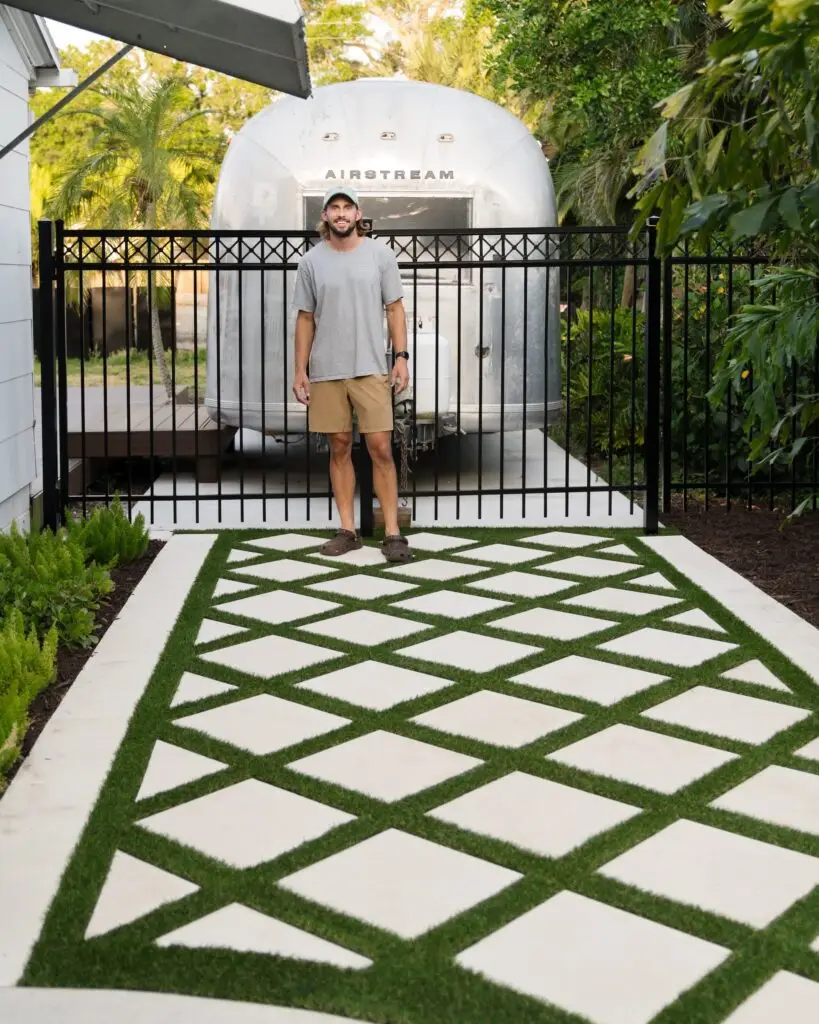
So much progress has happened in our yard, it only makes sense to have the walkway to get there looking updated also. Installing artificial turf was an easy decision because it will stay looking lush-year round in the Florida heat, while being low-maintenance. This DIY project is surprisingly straightforward when following the steps. This post will go over specifically installing the artificial turf, but we also have a tutorial on the entire diagonal paver walkway that you won’t want to miss!
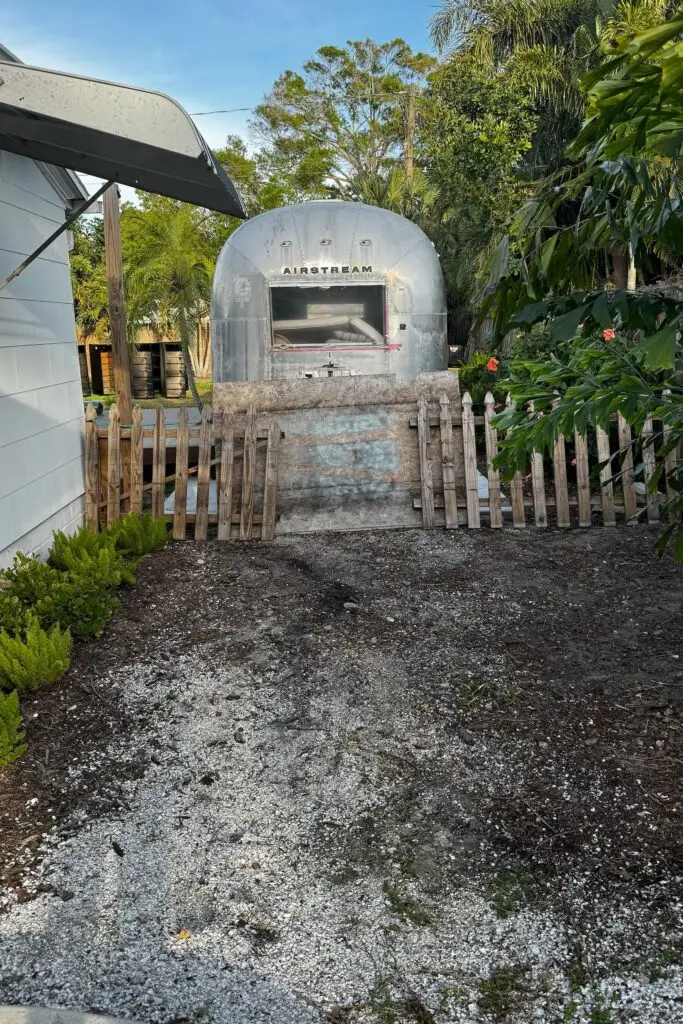
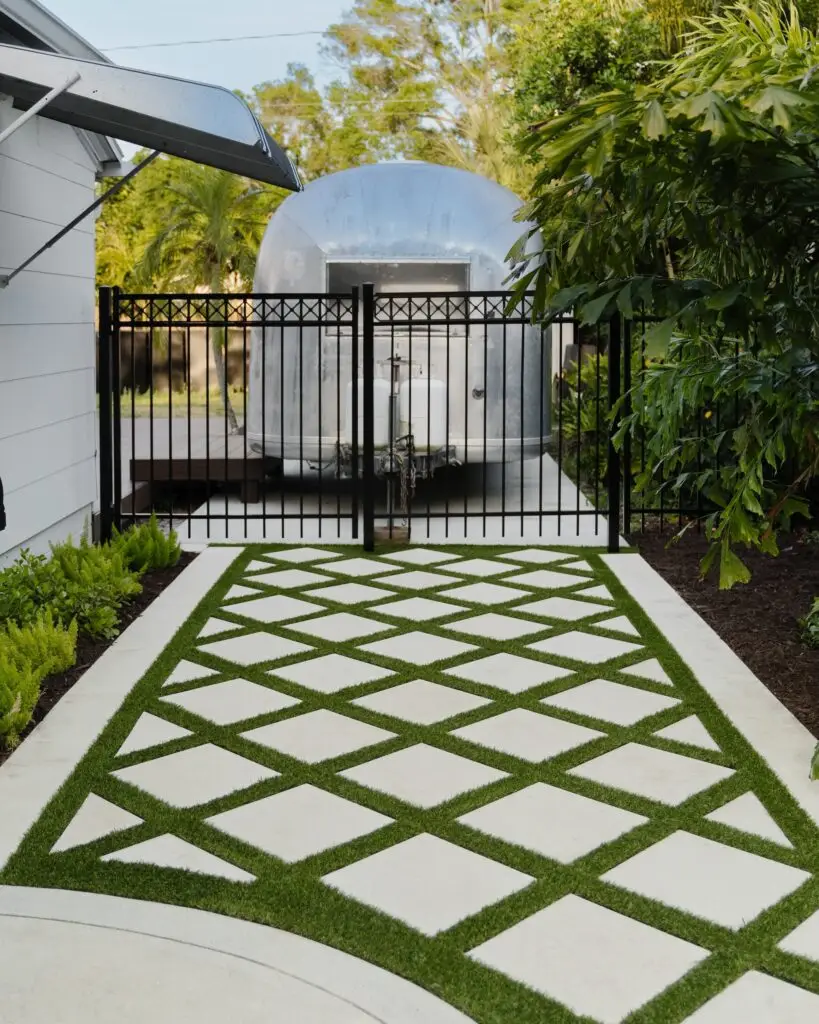
Materials Needed
- Artificial turf
- Carpet knife or Heavy duty tradesman shears
- Measuring tape
- Landscape fabric (optional; not recommended for installations with pets)
- Landscape nails (6 inch 60D nails) and landscape staples
- Hammer
- Turf infill
- Pen
- Broom (preferably with stiff bristles)
Step 1: Plan Your Layout
Before you begin, it’s important to plan the layout of your turf. Measure the areas between your pavers to determine how much artificial turf you will need. Consider any curves or unique shapes that will require more unique cuts. Something important to keep in mind is that turf blades will all need to go the same direction, so not every scrap will be reusable just because it is the right size. It’s always a good idea to purchase a little extra, don’t ask me how I know though.
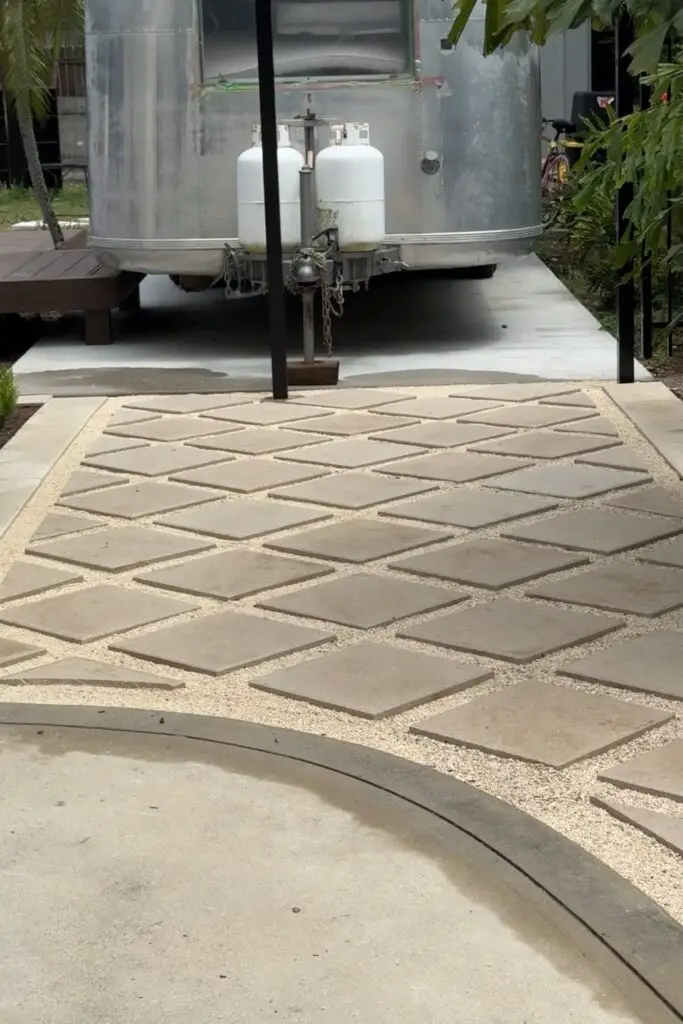
Step 2: Prepare the Area
Clean the area between the pavers by removing any weeds, debris, or loose material. Make sure that the ground between pavers is level. To prevent weeds from growing through your new turf, lay down landscape fabric across the area you plan to cover. Secure the fabric with landscaping staples or nails.
Step 3: Measure and Cut the Turf
Before cutting artificial turf, it is important to roll it out on a flat surface in the sun for at least 1 to 2 hours. While the turf is getting some vitamin d, you can begin planning your first cuts by measuring the spaces between the pavers. This is also a good time to figure out the direction of the turf blades, you can tell my running your hand across the the turf. One direction will feel soft, while the opposite direction will feel prickly.
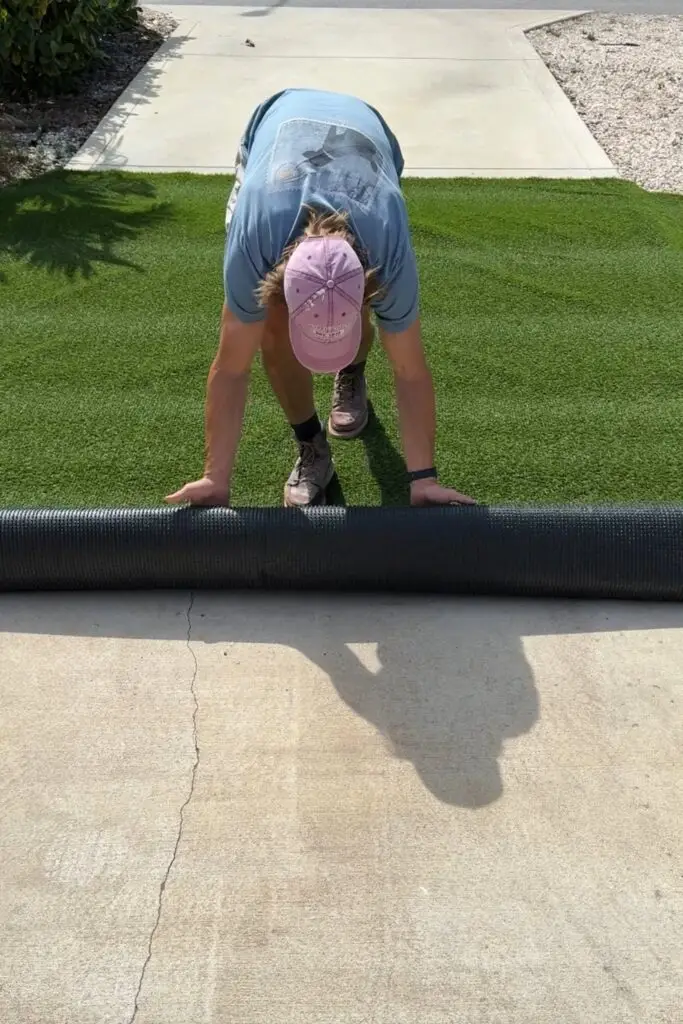
We found that it was most efficient to cut the outer edges of the paver pattern first. Once you determine the width needed, flip the edge of the turf so that it is upside down and mark the proper width with chalk or a colored sharpie pen. On this backside of the turf, you will be able to see the stitching that holds the turf blades in place. Try to avoid cutting across these stitches as this will cause the turf blades to fall out.
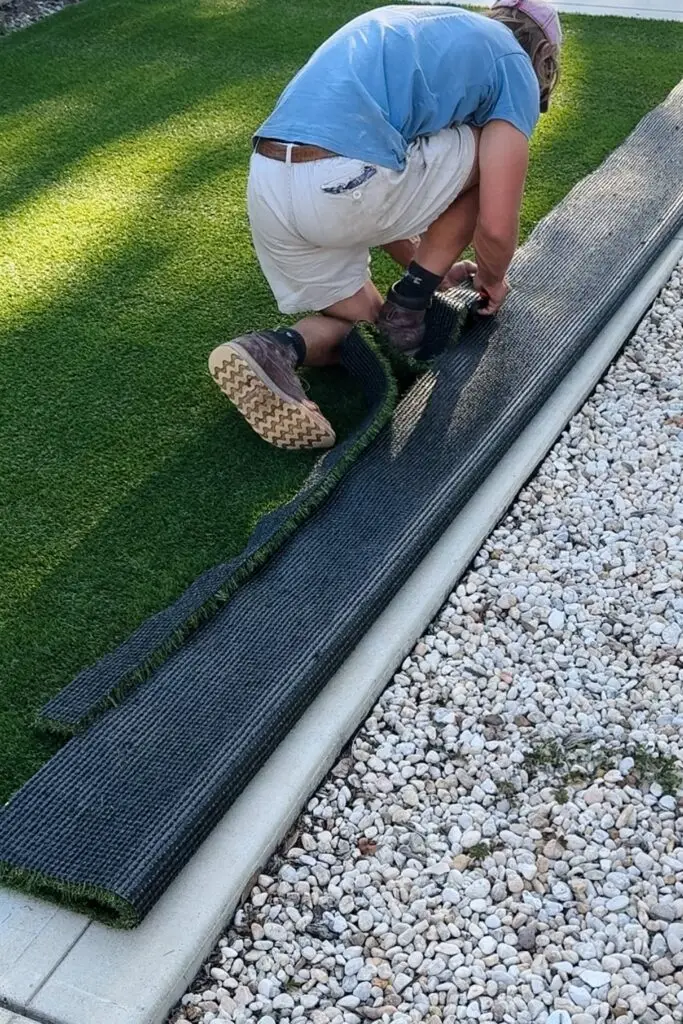
Using a carpet knife or Heavy Duty Tradesmen Shears, start cutting along the line you marked for the proper width. Make the width as precise as possible. If it is too narrow, it will be noticeable where the turf meets the pavers. On the other hand, if it is too wide, the turf will not lay flat against the ground. Take your time with each cut and avoid, as much as possible, cutting the turf blades on the under side. For each cut you make lengthwise, make each strip at least 6-8 inches longer than needed. Giving yourself some extra material will allow a proper angle cut, once the piece of turf is in.
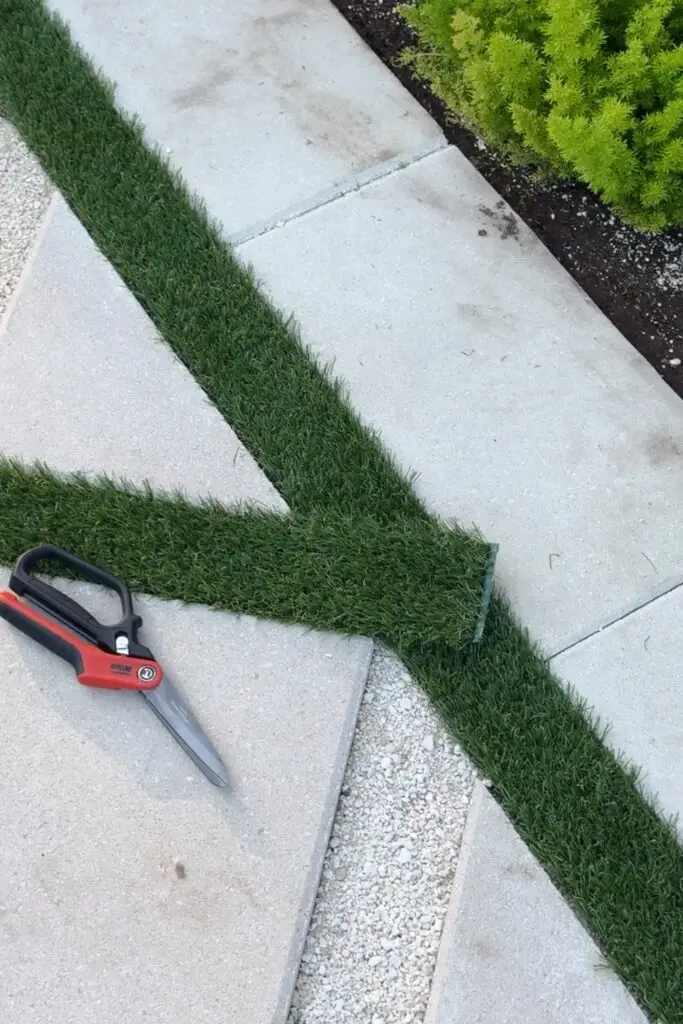
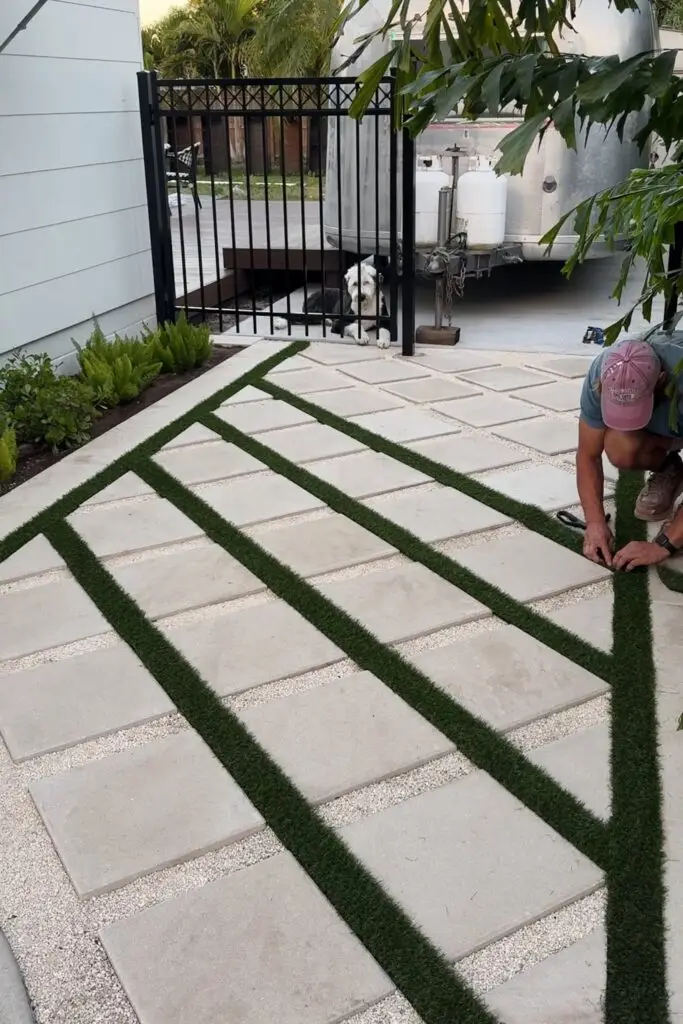
Lay each strip in its place after making each cut so that you can begin to envision the pattern. This is also important so the turf seams and blade directions work together for a seamless look.
Step 4: Secure the Turf
Once you’ve cut your turf to size and laid it in its proper place, it’s time to secure it. Make sure each piece is positioned perfectly and is laying flat in between the pavers. Once you have the piece properly positioned to match up with the seams, place a nail on one end. Then go to the other end of the turf strip and gently pull it so that it is tight (do not pull to hard as this will cause the sides to raise up), and place another nail.
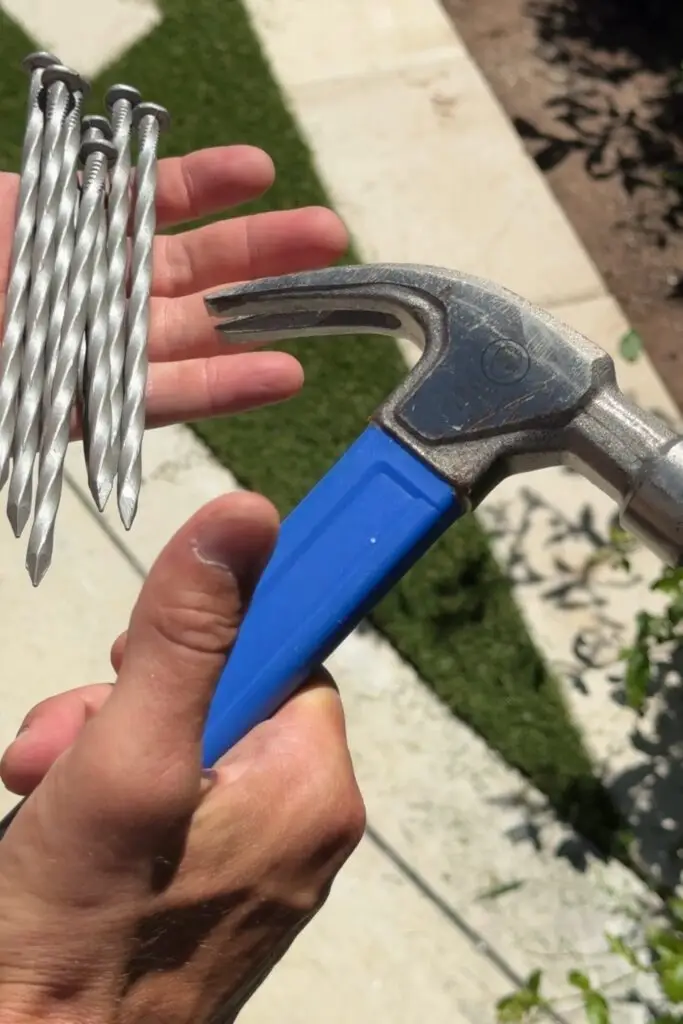
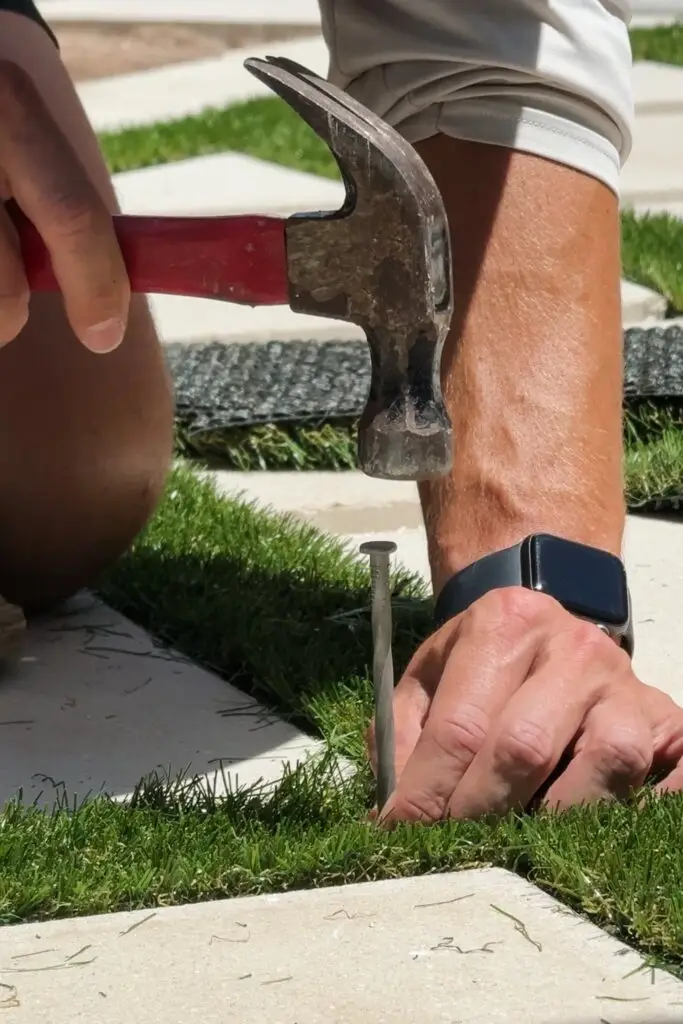
When placing the nails, make sure to use your hands and move the turf blades apart. Drive the nail down until it is even with the top of the turf blades, then use your hands again to move the turf blades out from underneath the nail head (any blades that are not moved will be trapped, causing the nail to be visible). Drive the nail in the rest of the way, but do not drive it too far into the ground as this will also cause the sides to raise up. Rub your hands over the area again so that the turf blades cover the nail head. Repeat this process every 3-6 inches along the edges. Repeat this same process with landscaping staples at the seams where two pieces of turf meet.
Step 5: Add Infill
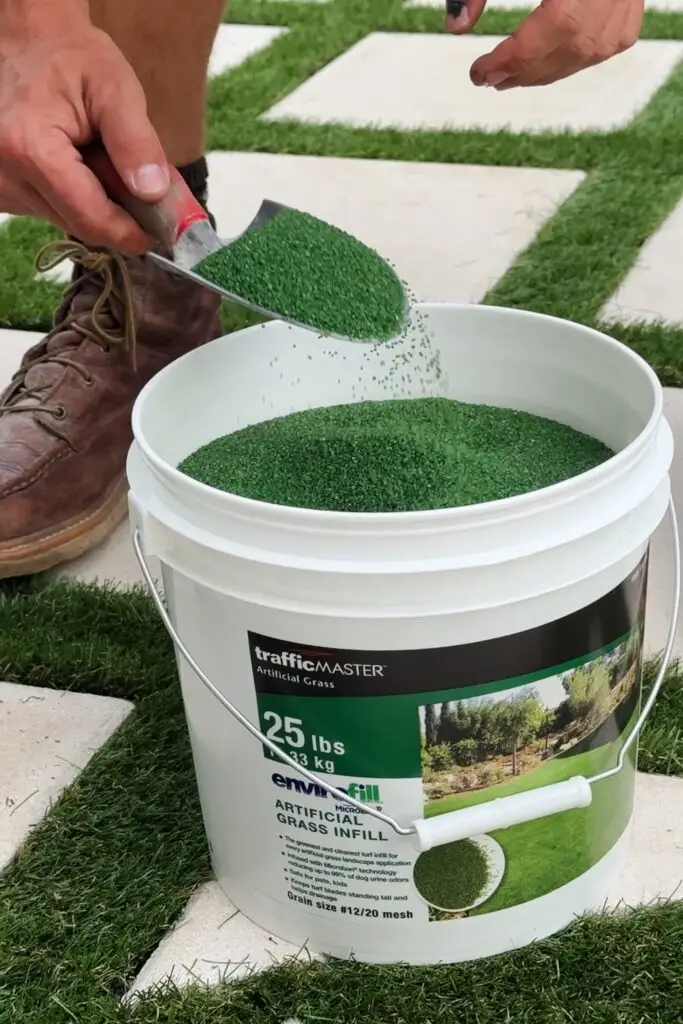
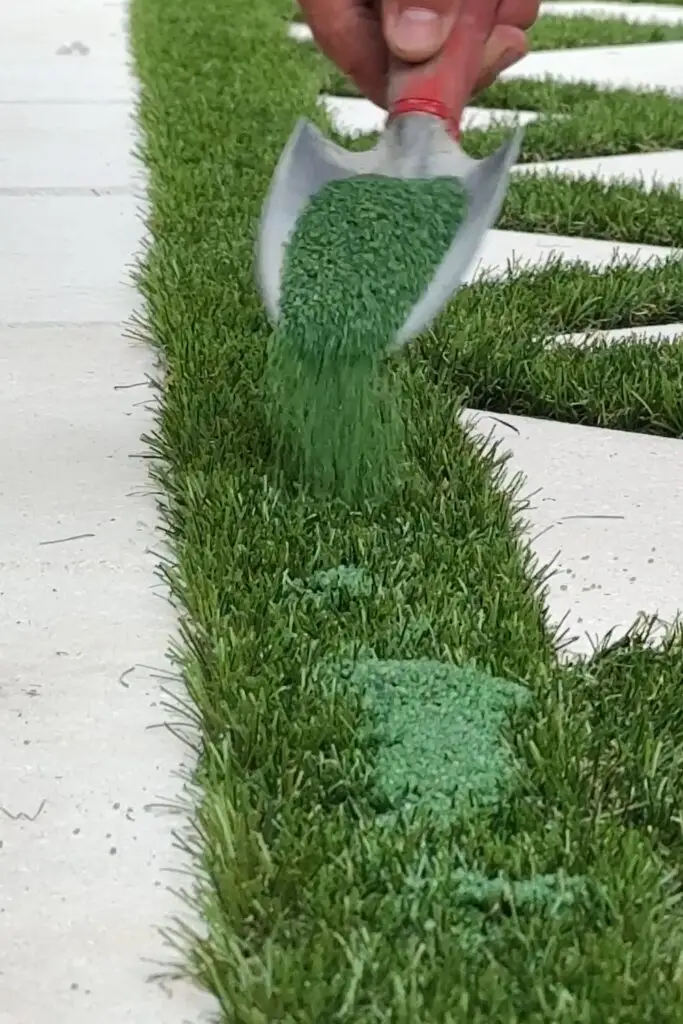
Next, add your infill! This is an important step so don’t skip it. First, adding infill will increase the lifespan of the turf and hold up better from all the years of traffic. Second, the turf will stand up better and look more natural. Plus, infill can help minimize any imperfections like visible nail heads or slight gaps in seams. Generally infill is applied using a broadcast spreader, but we did not feel like this would work for a turf and paver installation. So, we used a garden trowel and spread the infill by hand. While this does take a little bit of extra effort, it makes a big difference in the long run! Spread the infill as evenly as possible, about 1-2 lbs per square foot.
Step 6: Brush the Turf
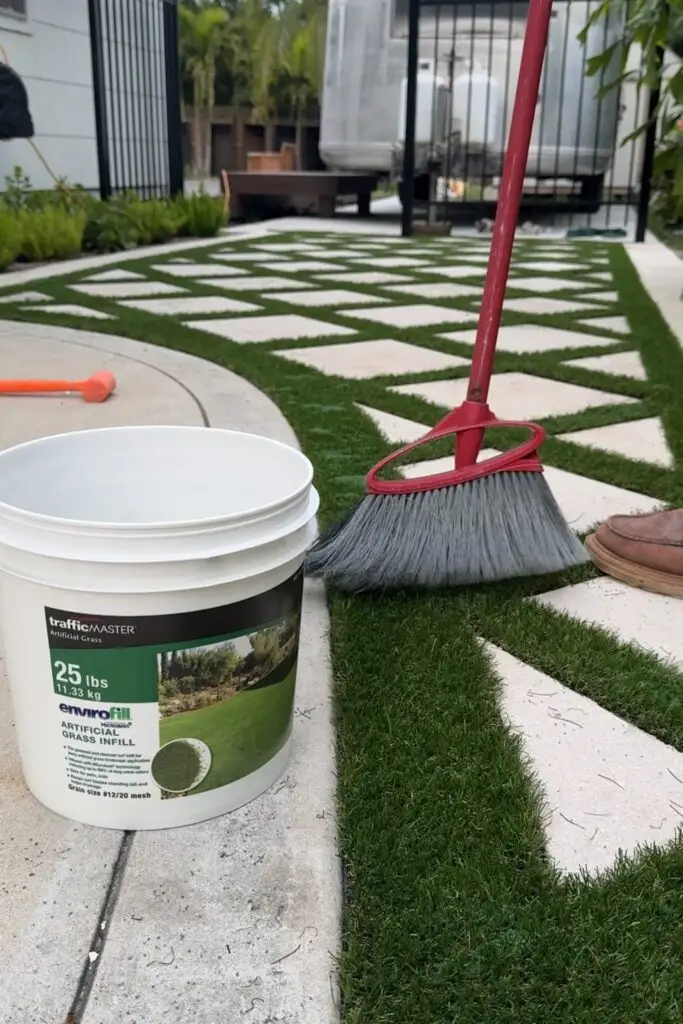
Use a broom with stiff bristles to aggressively brush the infill into the turf. A little hint that we figured out is broom against the grain of the turf as well as with the grain of the turf. Check the turf after each application, and add more infill as needed!
Tips for Maintenance
- Regularly remove debris from your turf with a broom or leaf blower.
- Occasionally rinse your turf with water to prevent dust buildup.
- If any area of your turf becomes damaged, simply cut out the damaged piece and replace it with a new strip.
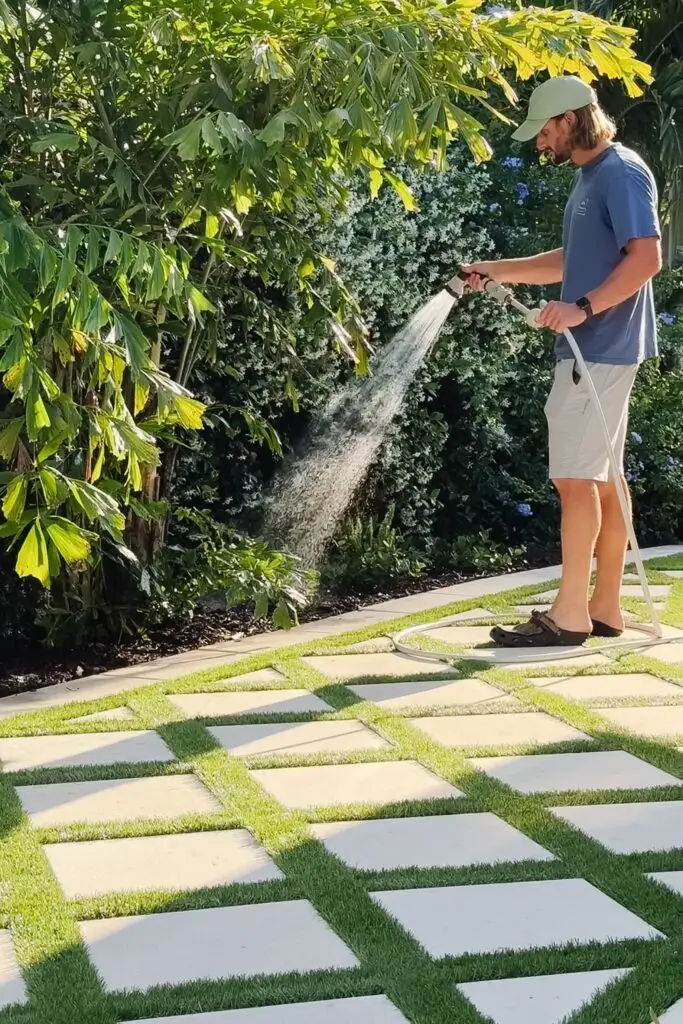
Installing artificial turf between pavers will bring so much life into your outdoor space! Not only is it easy on the eyes, it is so practical! Turf has a durable surface that withstands weather and wear (trust me, we live in Florida). I wish we would have done this sooner!
