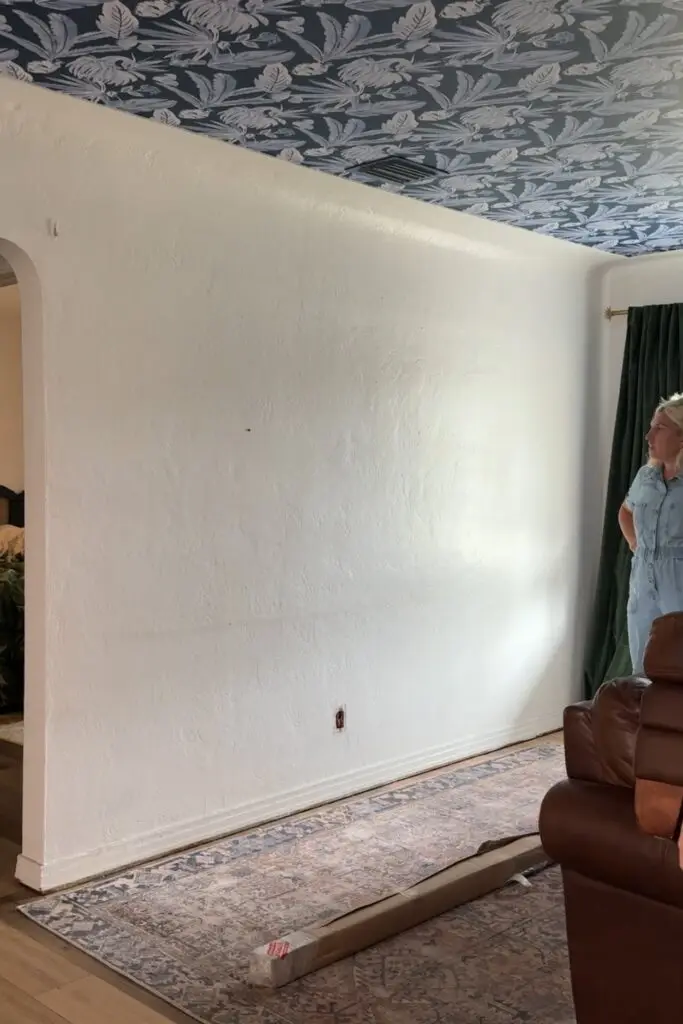
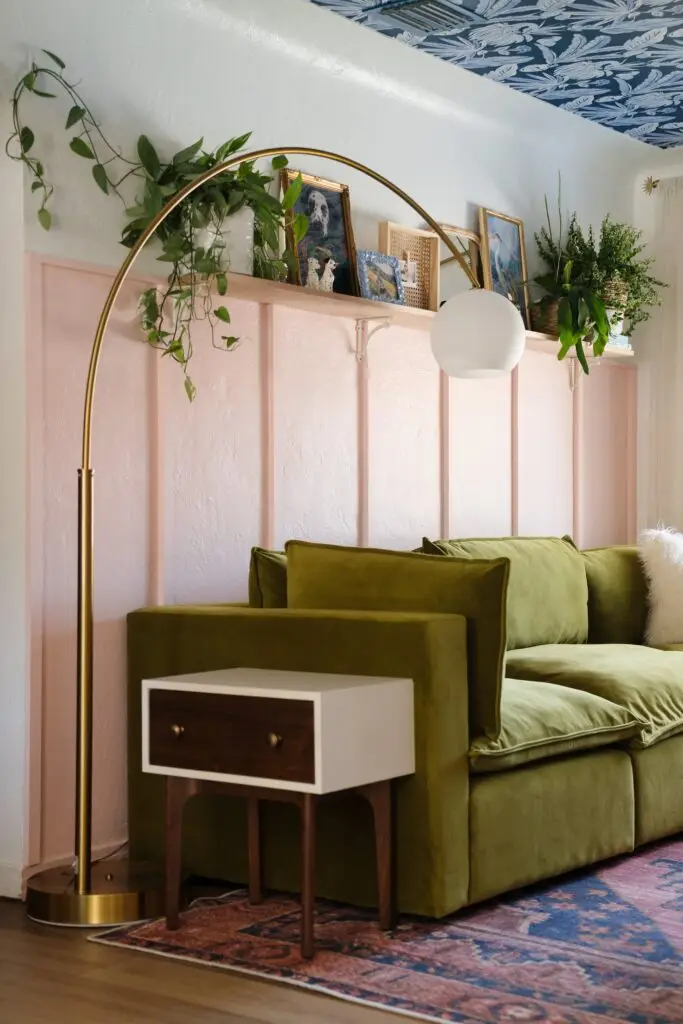
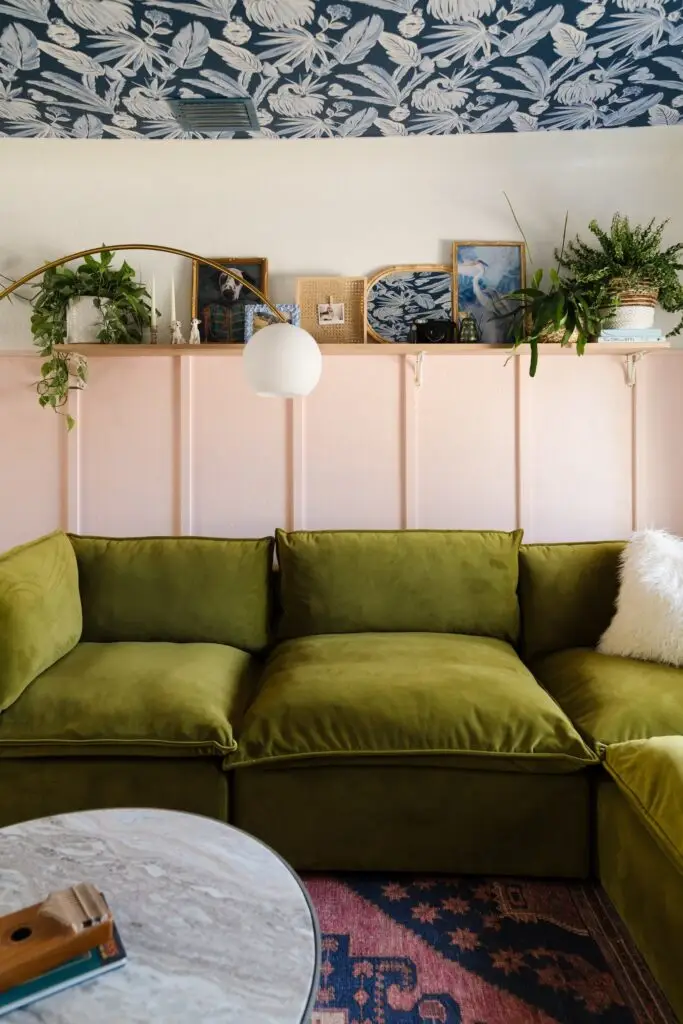
I recently completed a 70s-style living room makeover for our delightful friends, who are full of fun and character! To give the space a unique touch, we added a DIY board and batten accent wall with a long shelf. This feature is ideal for showcasing fun elements like art or books. The best part? This project is quite straightforward and perfect for beginners. It’s a fantastic way to make any room feel special and personalized. We also did a long display shelf in our own living room and love it!
COUCH | PILLOW | SIDE TABLE | RUG | FLOOR LAMP | COFFEE TABLE | GOLD FRAME | CURTAINS | CURTAIN ROD | PINK PAINT | WALLPAPER
What Materials Do You Need:
- Pencil
- Measuring tape
- Level
- Pack of four 1×2-inch pine slats (may need multiple depending on wall size)
- 8-foot oak piece of wood for the shelf
- Brad nail and nails
- Caulk
- Paint (we used “Resort Sunset”)
- Paint brushes and/or roller
- Brackets and accessories needed to attach them
Step 1: Plan Your Design
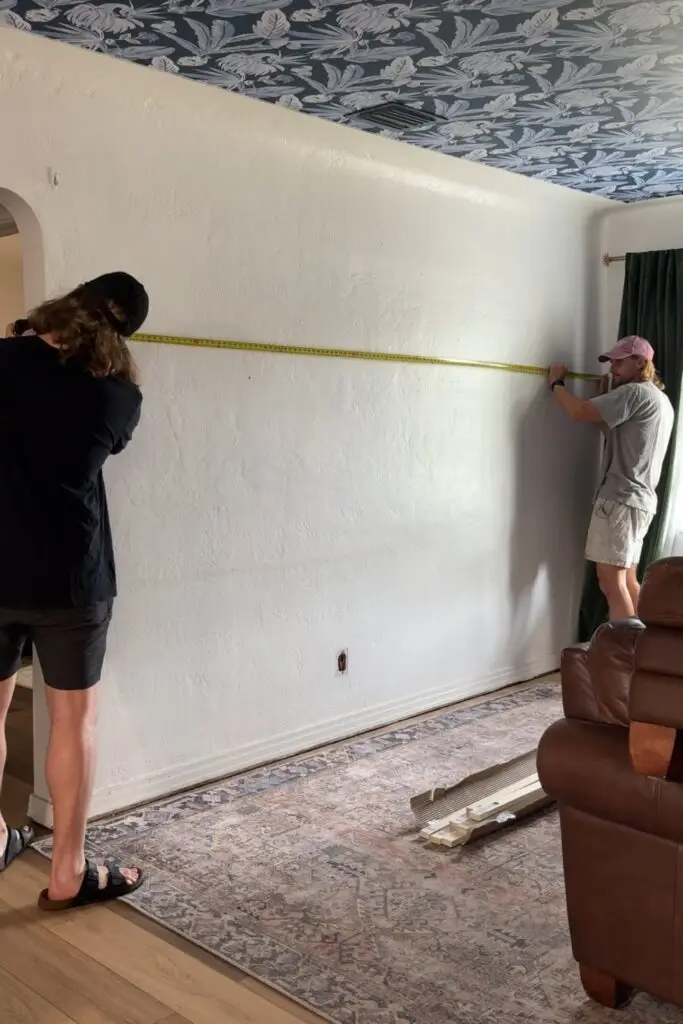
Planning your wall layout in advance can save you a lot of headaches later on! I find it really helpful to streamline the process by using an online wall feature calculator, particularly for getting the spacing right. Just enter your dimensions into the calculator, and it will give you precise measurements for slat spacing and the necessary wood length for any shelves. It’s as simple as that!
Step 2: Gather Your Materials
Once you’ve determined your measurements and figured out how many slats you’ll need, you can start gathering your materials. I made a trip to Home Depot to pick up everything required. While I always enjoy an excuse to visit Home Depot, I aimed to get this project in an afternoon so I made sure to have everything I needed.
Opt for the 4-pack of pine slats as they tend to be more affordable. However, I recommend choosing higher-quality wood for the shelf, as it’s definitely worth the investment. I chose an 8-foot oak board with a 3/4-inch width. You can either extend the shelf across the entire wall or just a section of it. We decided to place our shelf in the middle, spanning most of the wall, with slats on the sides that were flush with the shelf’s width.
Although you can buy slats pre-cut to the size you need, we chose to cut ours to ensure they match perfectly. Then comes the fun part—selecting a paint color! We chose “Resort Sunset,” a perfect shade of pink that looked stunning in our friend’s living room.
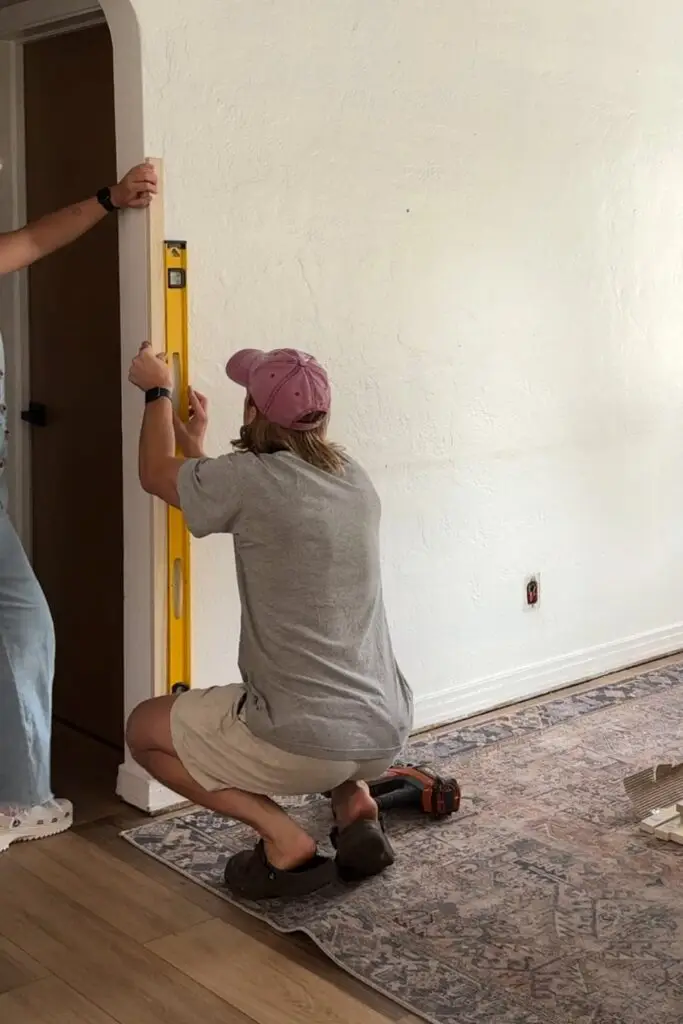
Step 3: Prepare Your Wall
Start by cleaning and preparing your wall surface. Fill any holes and sand down rough areas to ensure a smooth base. Using the measurements from your initial planning, grab your pencil, level, and tape measure. Carefully mark where each slat will be placed, making sure to double-check that the spacing is even and everything is level. This attention to detail will help ensure a professional-looking finish.
Step 4: Install the Pine Slats
Following the pencil marks you made as a guide, begin attaching the pine slats vertically along the wall using brad nails. It’s crucial to ensure each slat is perfectly level before securing it in place. Continue this process until all of your slats are installed. If you’re also extending the shelf to align with the slats, install that trim at this time as well. This methodical approach will help you achieve a neat and cohesive look.
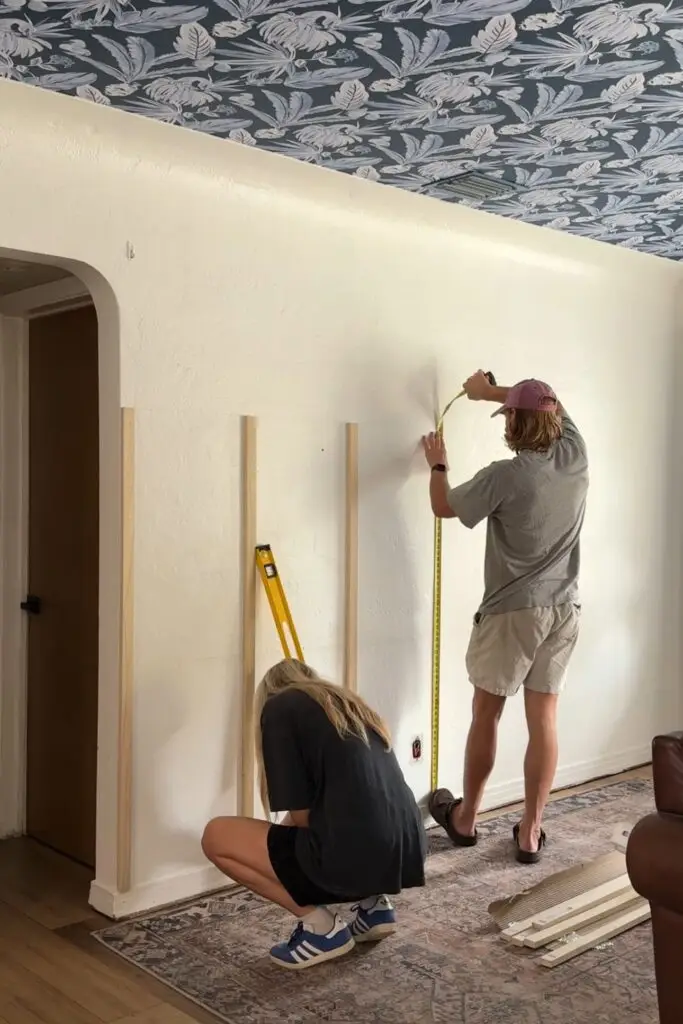
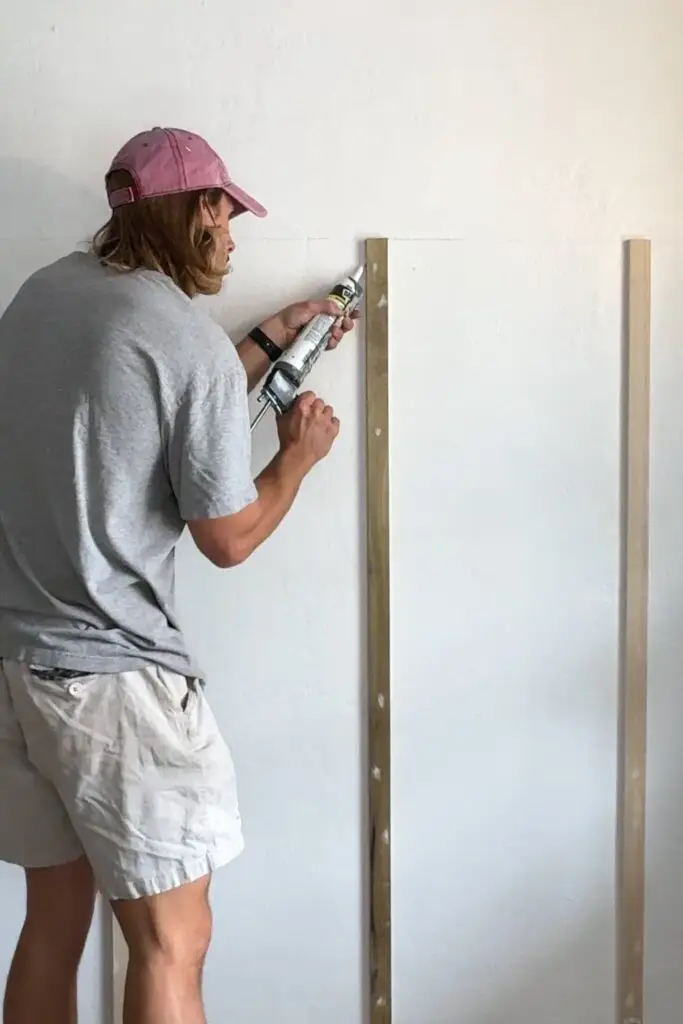
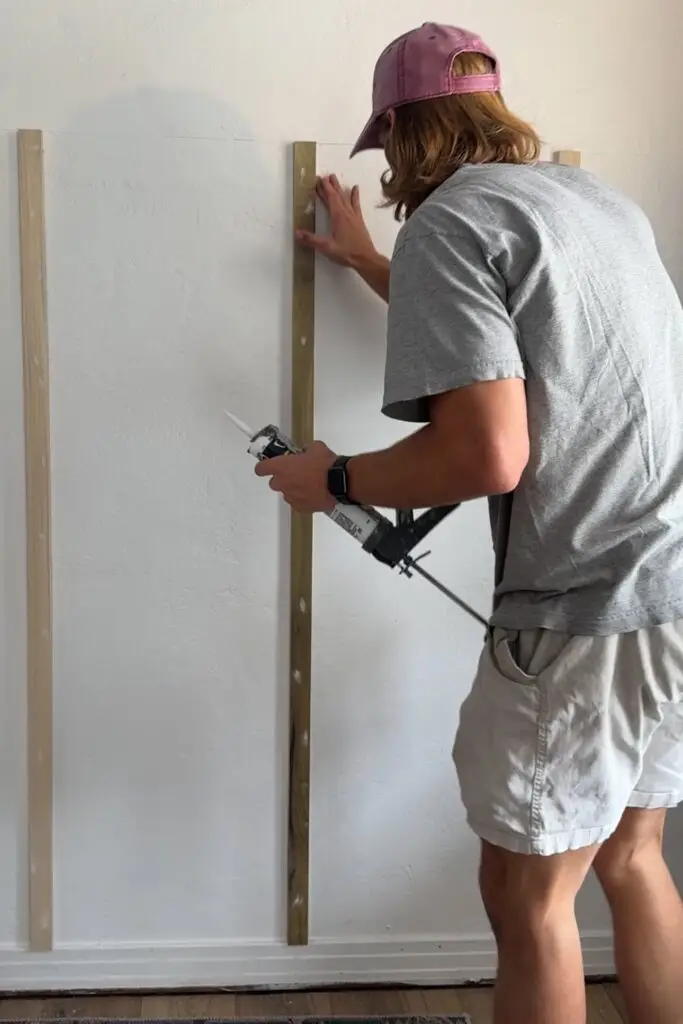
I recommend sanding the slats to smooth out any imperfections. After that, we caulked the sides and the areas around the nails, then sanded once more for a flawless finish. A quick tip: if you’ve never used a blow dryer to remove stickers, give it a try! The stickers on the slats were quite stubborn, but using a hair dryer made removing them effortlessly and left no residue.
Step 5: Paint
Once the slats are securely in place, caulked, and smoothly sanded, you can begin the first phase of painting. I recommend using a paint roller for the main wall areas for efficiency.
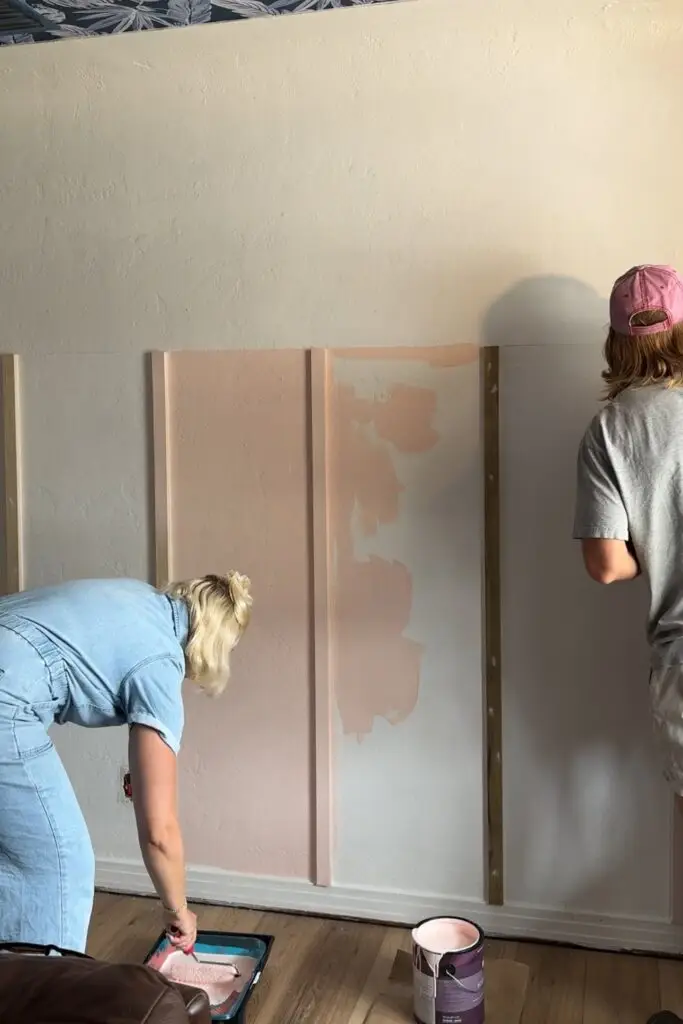
For the slats, along the line where the shelf will be installed, and the side trim next to the shelf, use a brush to ensure precise application and to reach into the crevices. After the initial coat, assess the coverage and apply additional coats as necessary to achieve a uniform and polished finish.
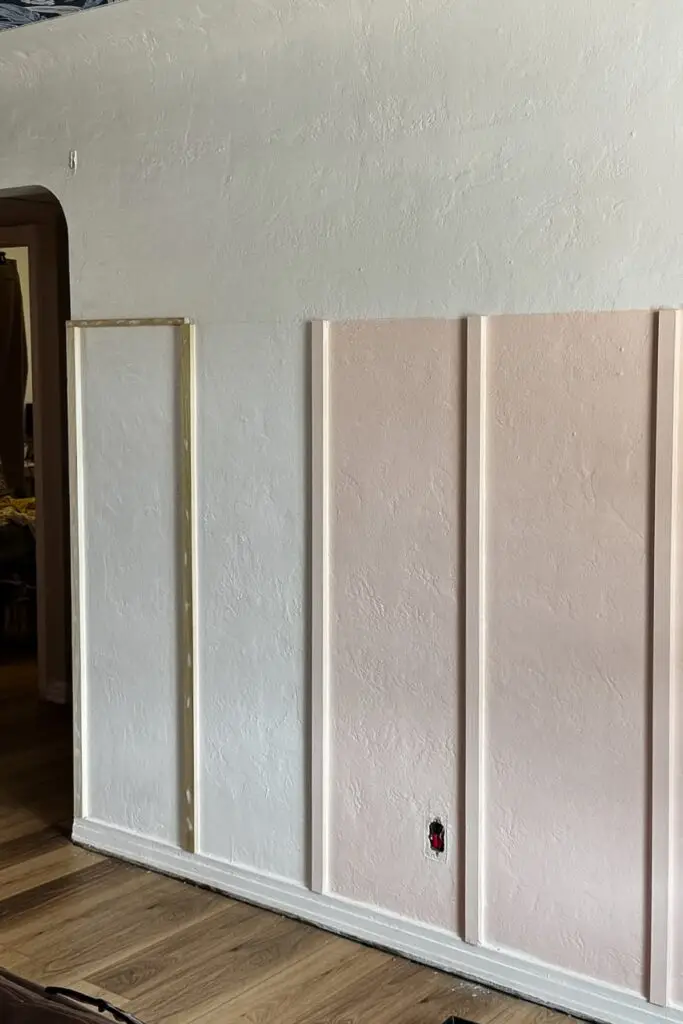
Step 6: Add the Shelf
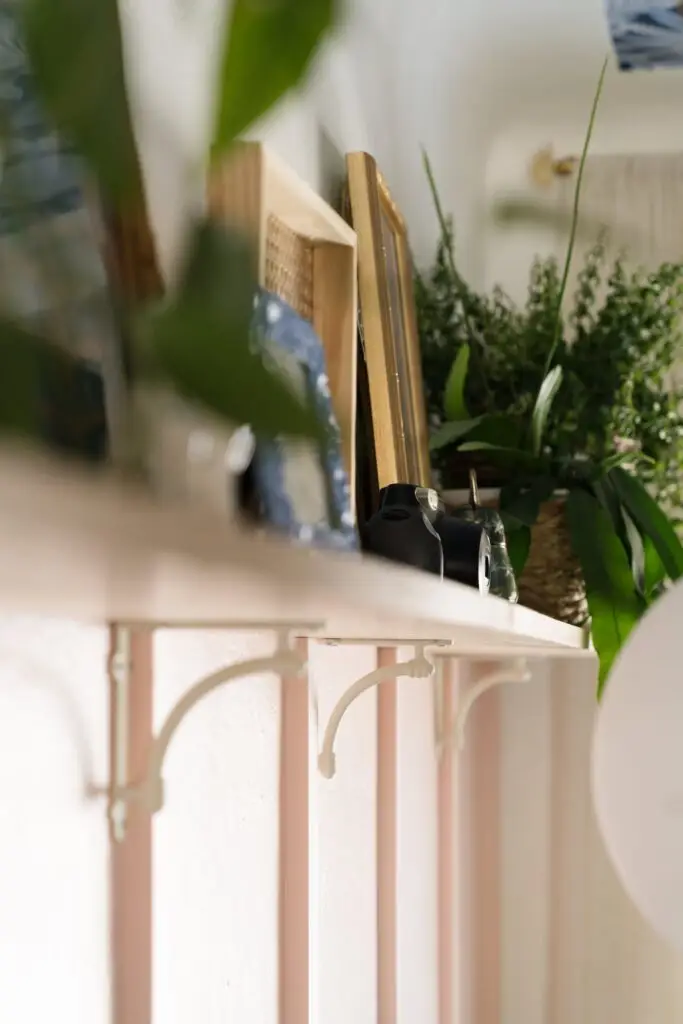
You can certainly create a board and batten wall without a shelf, but adding one provides both character and functionality. To install your shelf, start by evenly spacing out your brackets according to the instructions that came with them, as these can vary.
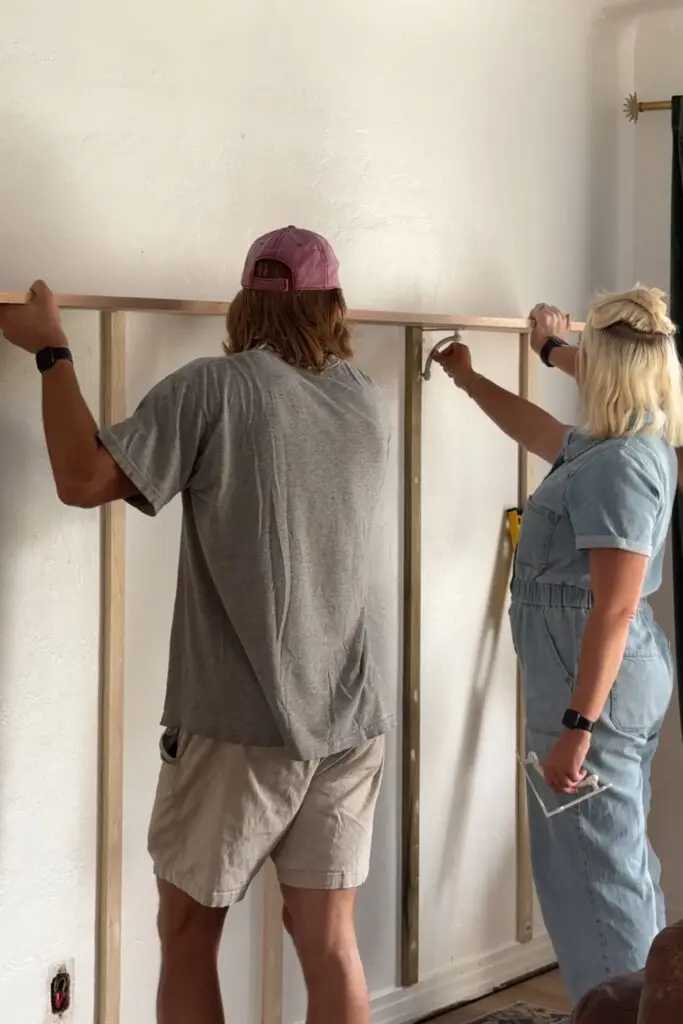
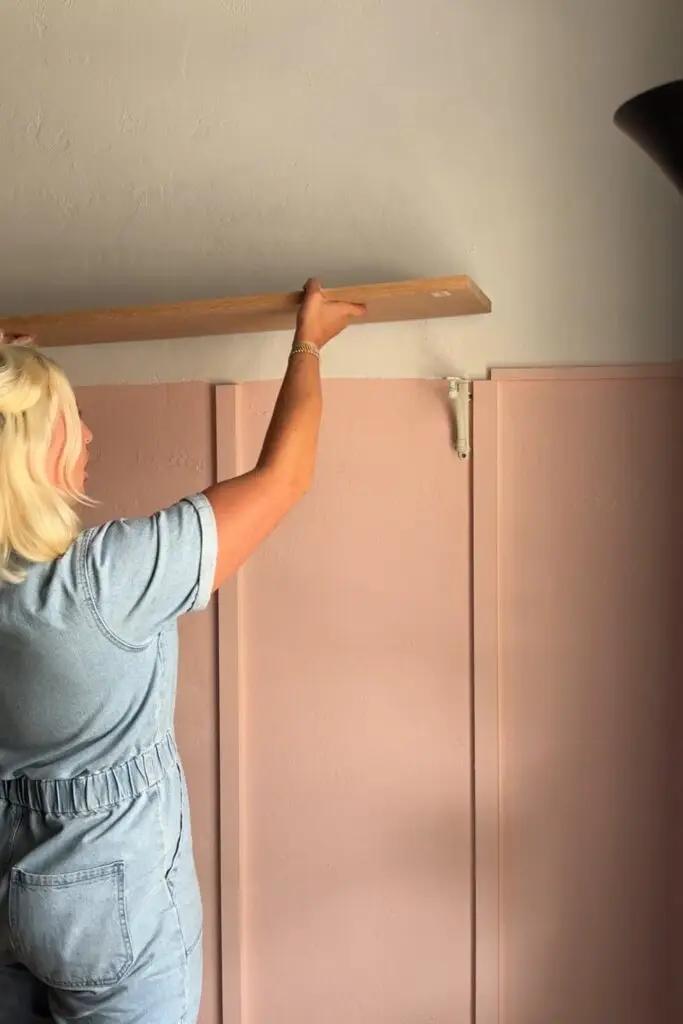
We also added trim pieces on the sides, which not only helped secure the shelf but also made it look more integrated and seamless against the wall. This extra step can make a big difference in the overall appearance and stability of your project.
Step 7: Decorate your board and batten wall
You’ve done it! Now it’s time to add your personal touches to the shelf to really make it your own. Decorate with items that reflect your style, such as art, plants, books, mirrors, or candles.
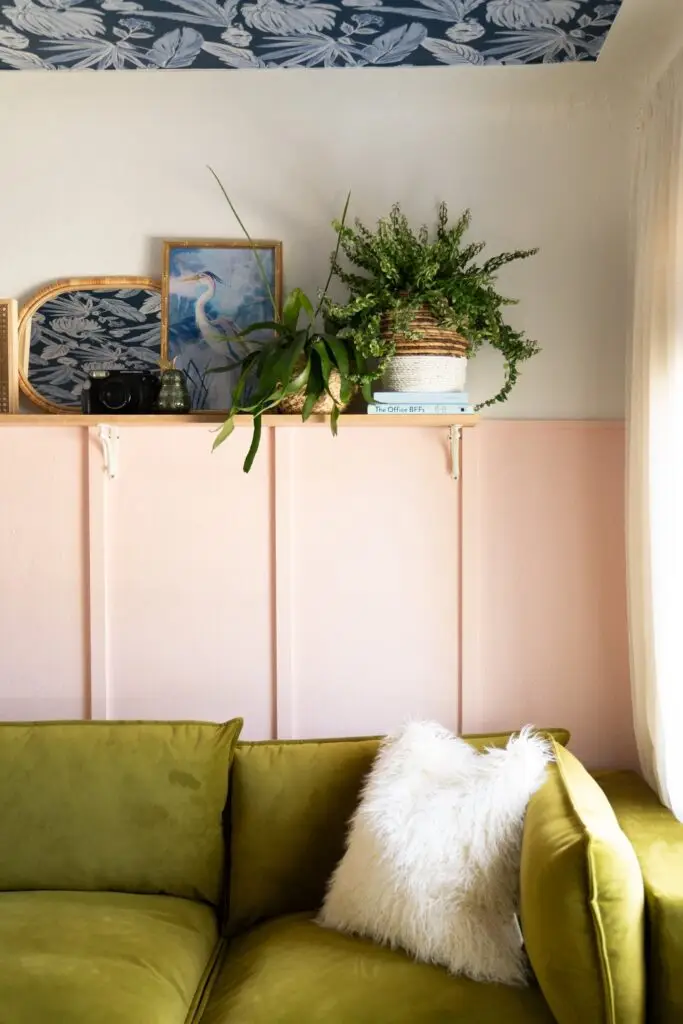
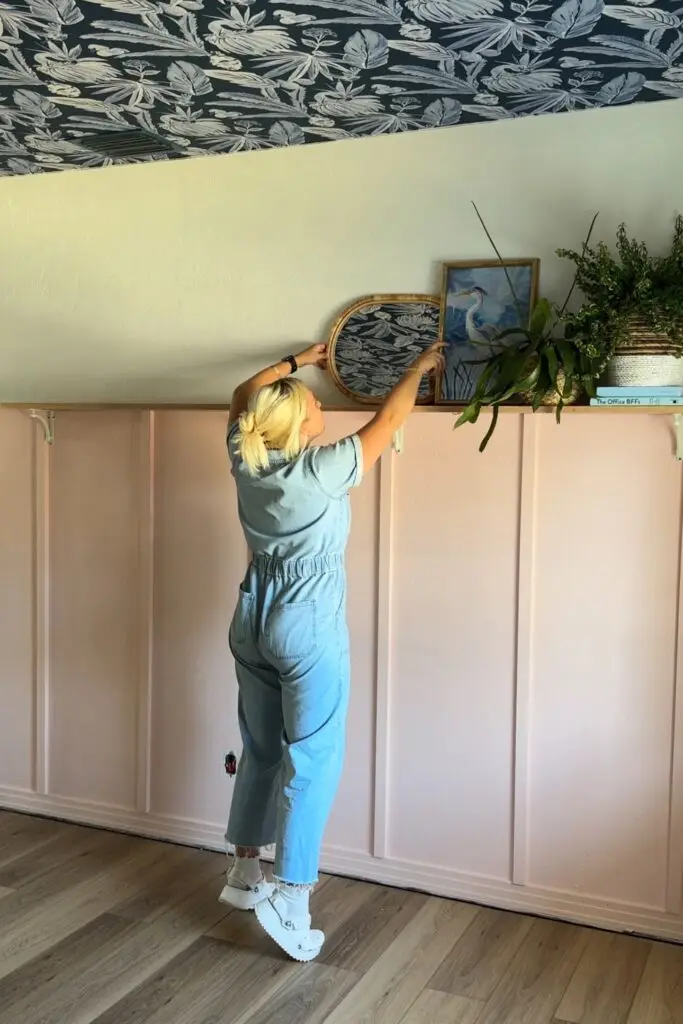
There’s a wonderful sense of satisfaction in bringing your furniture back into the space and seeing it all come together—enjoy this moment! Our friends were thrilled with how their room turned out, and the accent wall played a HUGE role in transforming the space.

COUCH | PILLOW | SIDE TABLE | RUG | FLOOR LAMP | COFFEE TABLE | GOLD FRAME | CURTAINS | CURTAIN ROD | PINK PAINT | WALLPAPER