Can we talk about how cords can really take away from a room? I mean we got to have them, but sometimes I don’t want them all over my floors and walls. A couple of years ago I macramed my light cord and so many people, including myself, became obsessed with this hack. Most people try to hide or conceal the cord but I think this small detail looks intentional and you can get so creative with the material.
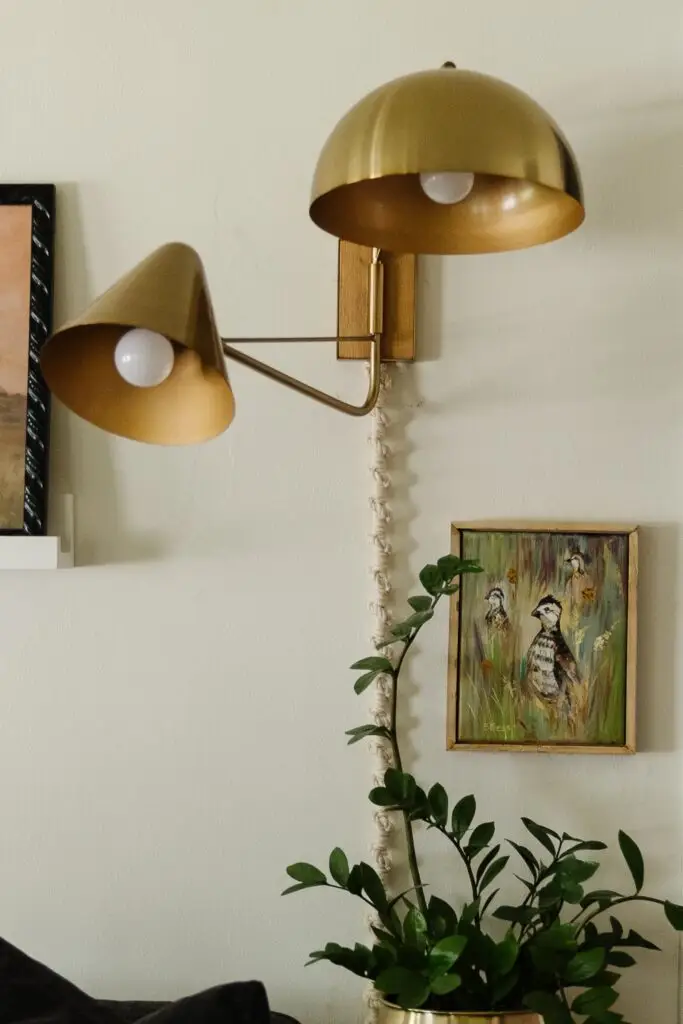
Fast forward and I find myself still obsessed with this hack! I used it in a recent makeover for my friend’s Bridgerton inspired bedroom makeover and it turned out so cute!
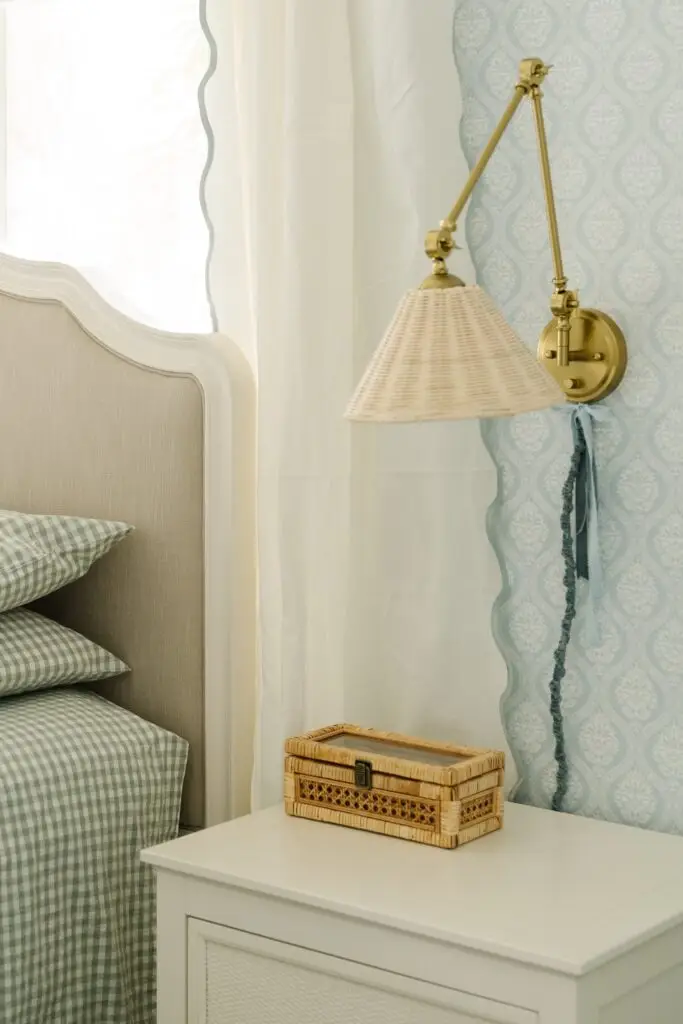
RATTAN LIGHTS | RIBBON FOR CORD | RIBBON FOR BOW | BOX | WALLPAPER
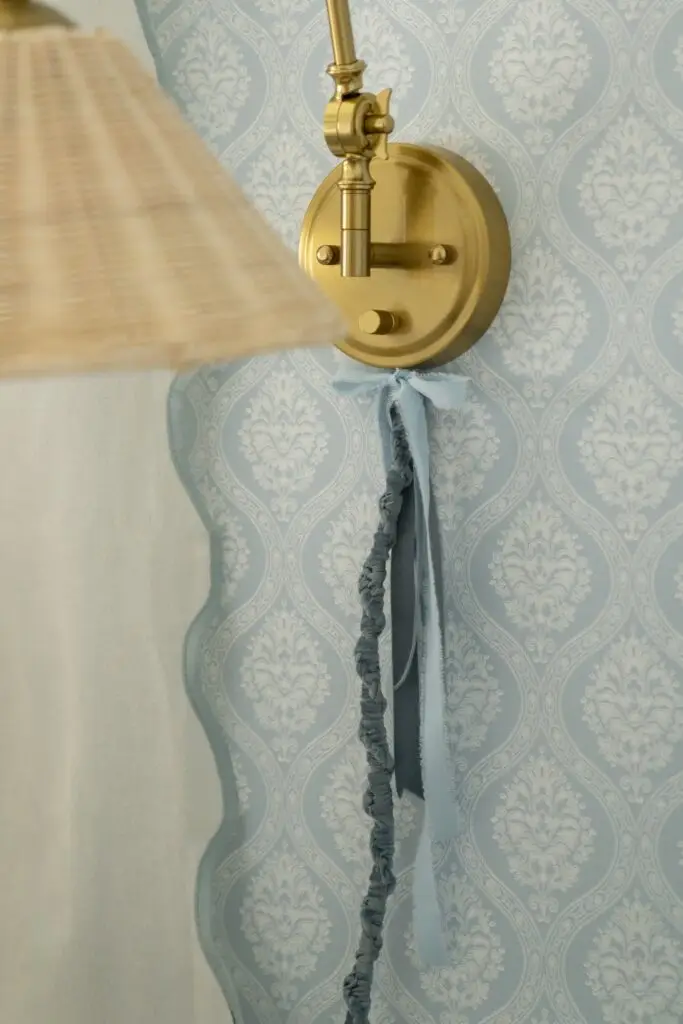
Materials:
- Wall Sconce or any unsightly cord (or phone charger, tv cord, etc.)
- Macramé cord, rope, or ribbon
- Scissors
- Tape (optional)
Step 1: Measure Your Light Cord
A rule of thumb to make sure you have enough ribbon is to have about 6 times the amount of material of the cord itself. This can change depending on how thick your ribbon or rope is. I used a velvet ribbon that was ⅝ of an inch. However, almost any ribbon will do. I do not actually cut my ribbon until the end of my project, just in case I end up needing more than what I originally thought.
Step 2: How to Start
First you want to tie the ribbon to the top of the cord using a simple knot. If the ribbon doesn’t stay put you can use tape to secure it. It is easiest to start by putting the ribbon behind the cord so that the majority of the ribbon is on the right side, while leaving a couple of inches on the left. You are going to begin by doing the knot that you will continue to do throughout the entire process. Some people call it the half square knot, spiral knot, or the Chinese ladder. It is very simple and easy to get the hang of! Take yourself back to the good old days of making summer camp friendship bracelets, and you’ve got it!
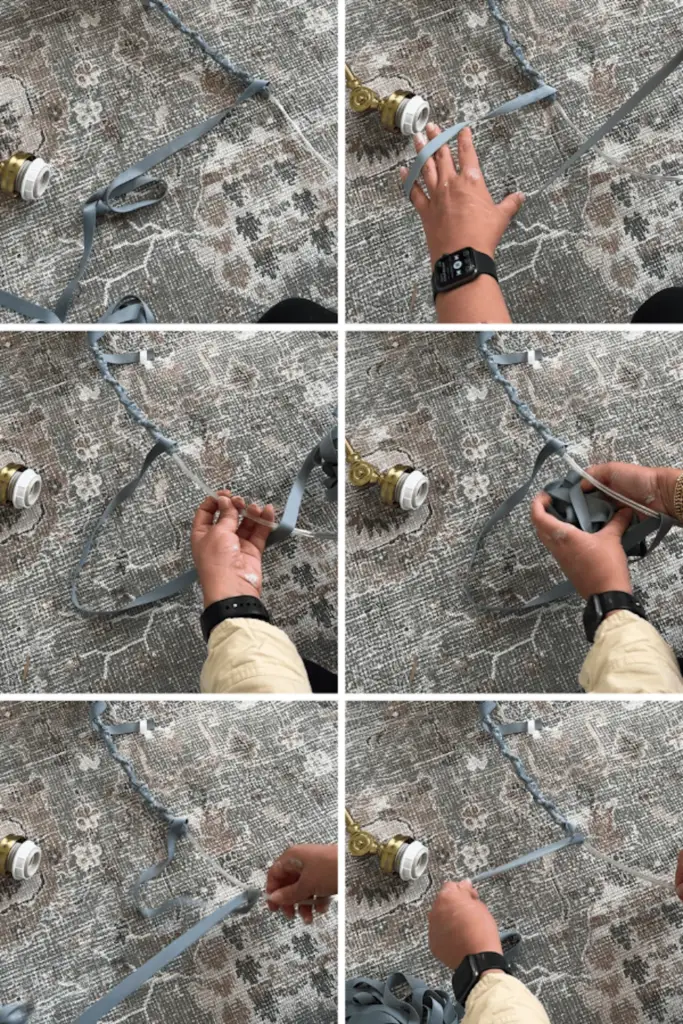
(You can see a video example of the project here!)
Doing this knot reminds me somewhat of the number “4.” You will take the right side, and bring it over onto the left so that the ribbon is hanging over your cord. Take the left side and put it on top of the “right” ribbon. At this point, it should look like the number 4.

RATTAN LIGHTS | RIBBON FOR CORD | RIBBON FOR BOW | WALLPAPER
Step 3: Continue to Wrap the Cord
Now that the first knot is done, there is no need for two sides. Hold the bundle of ribbon in your left hand, on the left side, then bring it to the other side. Bring the bundle through the loop that has been created from switching sides. Here you will want to pull right and make sure the knot is at the top of your cord. Keep going all the way down the cord, pulling tightly each time. This is my favorite part because you’ll be able to see the spiral that naturally takes form!

BED FRAME | NIGHT STAND | DUVET COVER | BLUE COVERLET | LUMBAR PILLOW | WALL LIGHTS | CURTAINS | CURTAIN ROD + CLIPS | RIBBON FOR CORD | RIBBON FOR BOW | WALLPAPER | RATTAN BOX
Step 4: Finish and Secure
Once the cord is all covered, it is time to finish and secure it!
– hang it
-safety tip: make sure the light and ribbon don’t touch
Overall this project took me no more than an hour! If you’re anything like me, that hour is 100% worth not seeing those cords that stick out. There are so many colors and ribbons out there that any room can receive an upgrade!
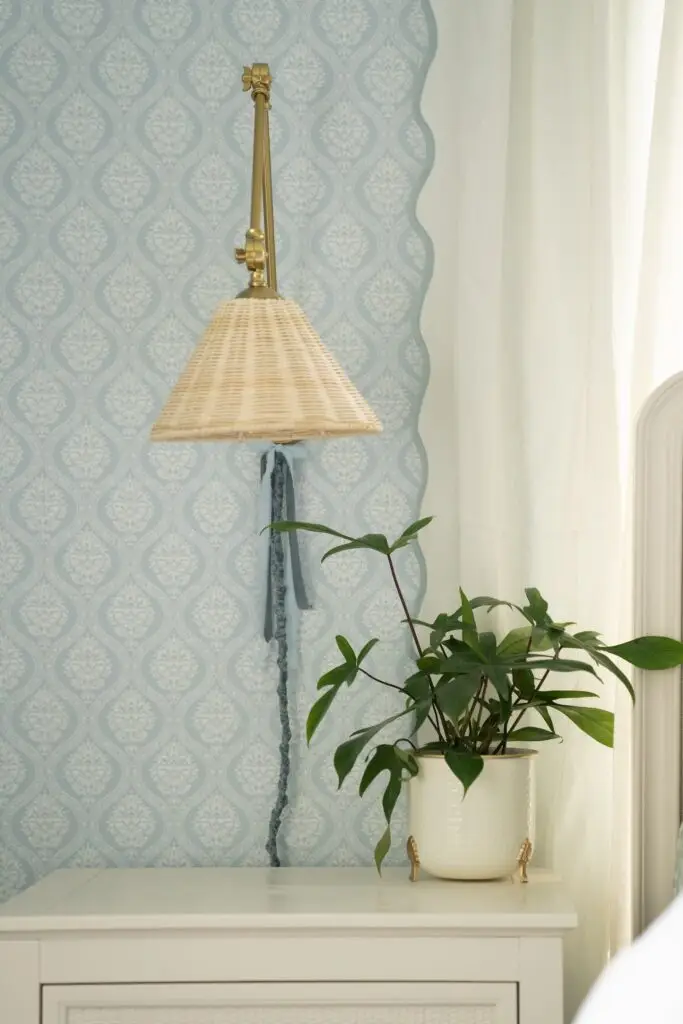
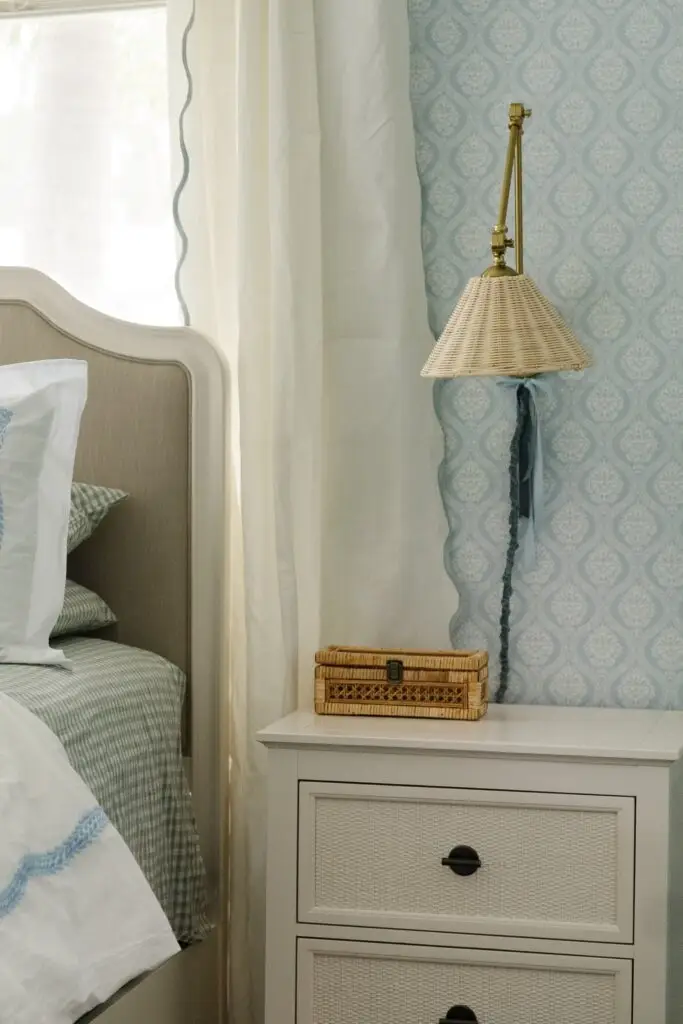
RATTAN LIGHTS | RIBBON FOR CORD | RIBBON FOR BOW | BOX | WALLPAPER | NIGHT STAND