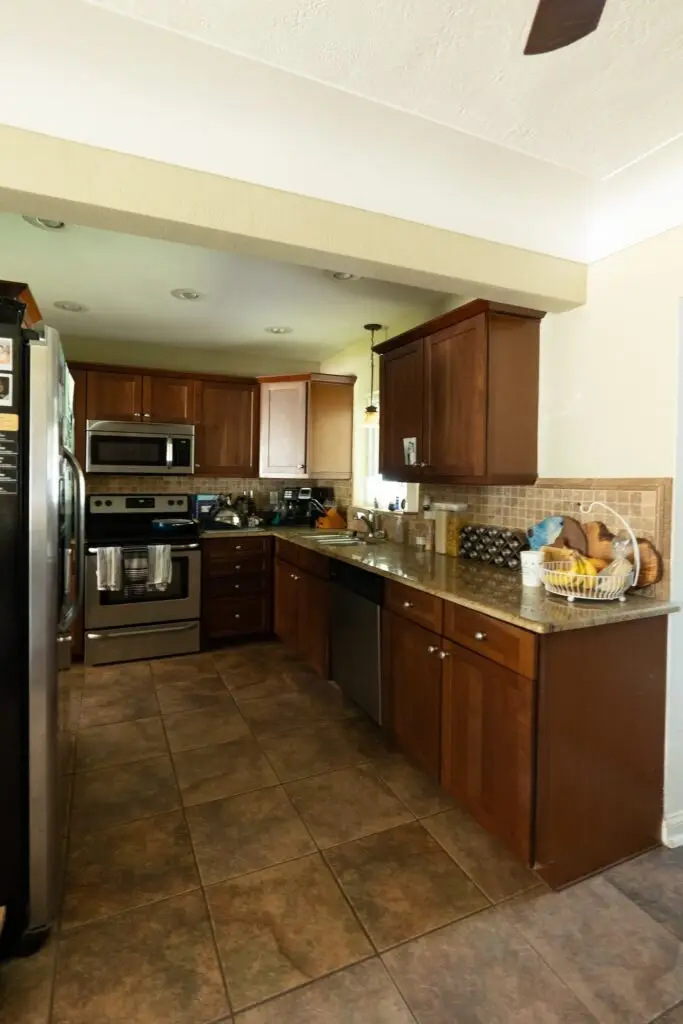
If there is one thing that I want people to learn from my own experiences through design and DIY… is just DO the project you have been dying to finish but have been putting off. Don’t wait! You deserve to live in a space that you enjoy and makes you happy regardless of your budget size. I’m going to break down our budget for this affordable kitchen renovation and explain why I’m making certain budget-based decisions, like choosing to spend more on the floors while keeping the dated granite countertops.
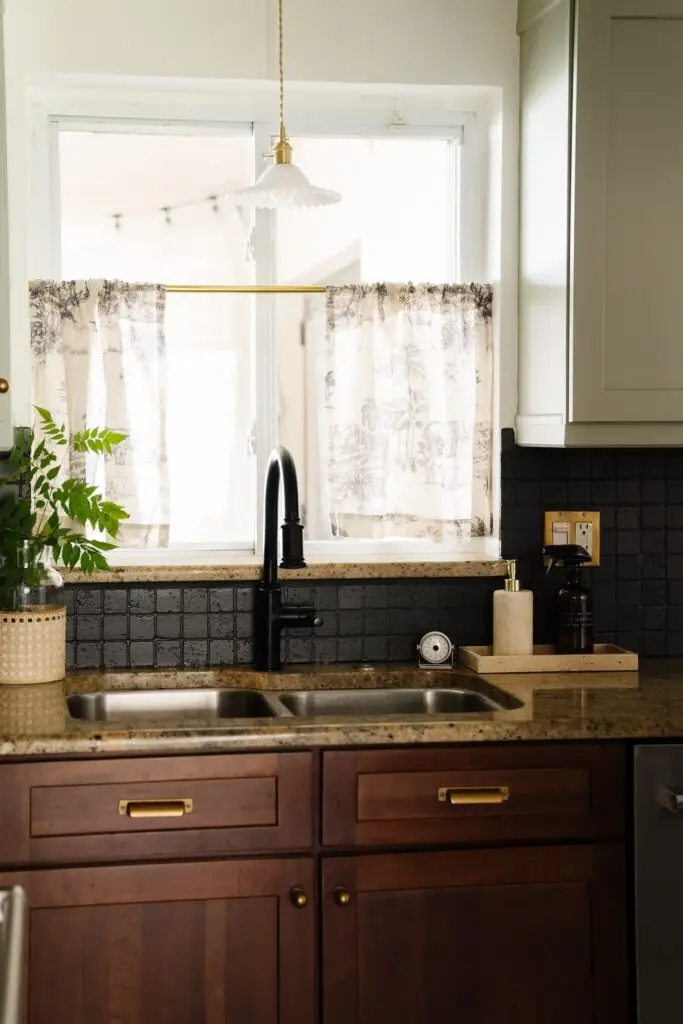
LAMP (SIMILAR) | RUG | YELLOW CANDLES | FAUCET | PENDANT LIGHT | PULLS | KNOBS | SHELF BRACKETS | CURTAIN ROD | CURTAINS | WICKER BASKETS | BRONZE WALL PLATE | TILE
Cabinets
- Extending to Ceiling: $750
- Paint: $150
- Hardware: $50
Extending to Ceiling
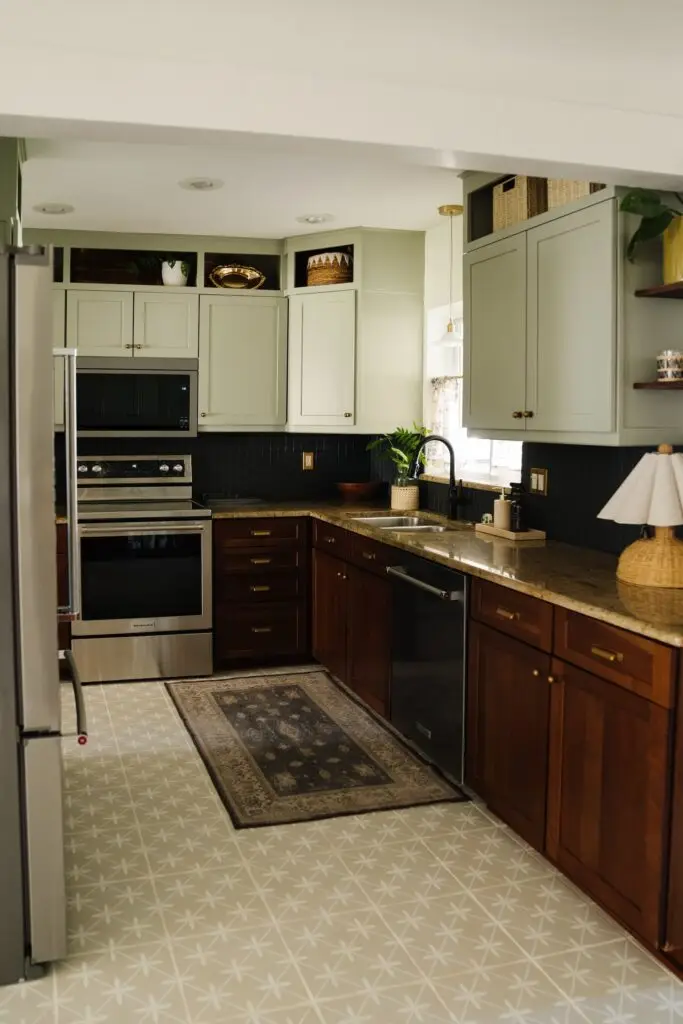
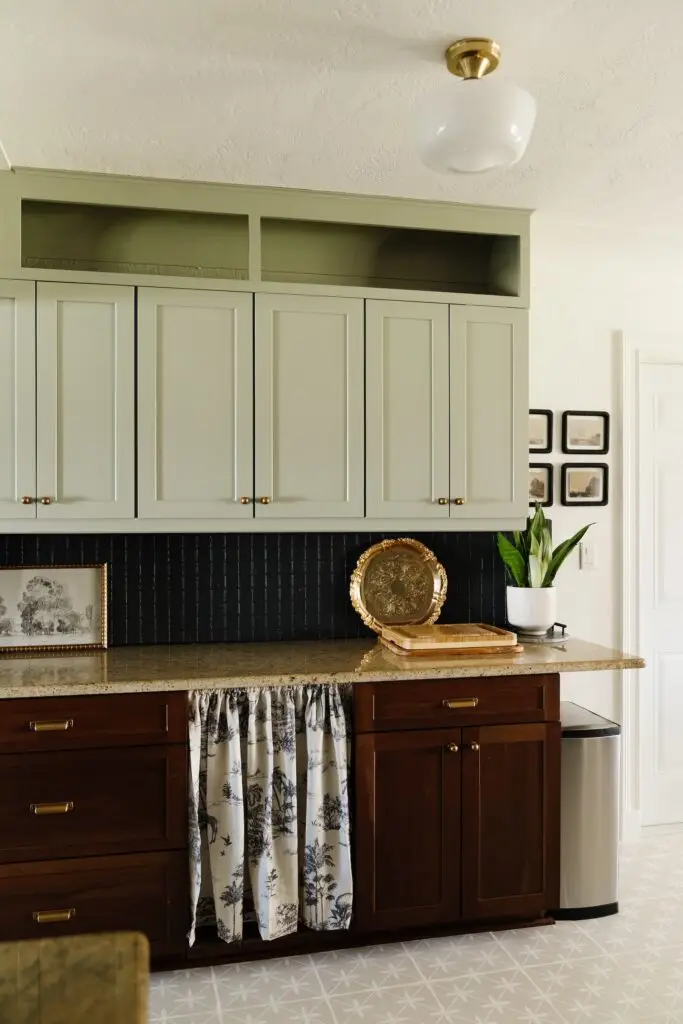
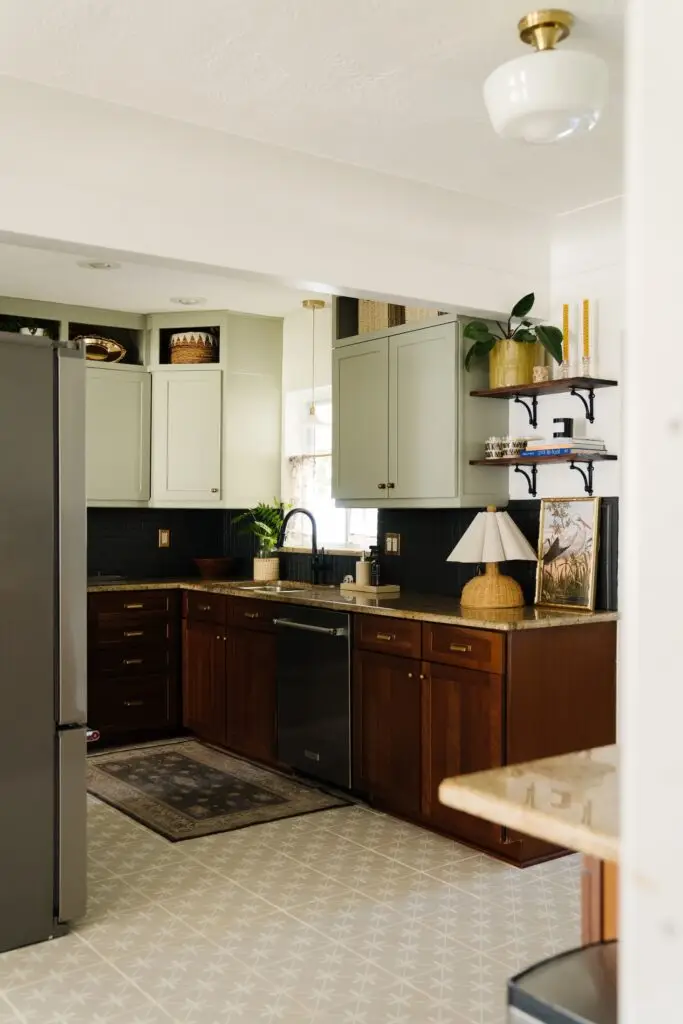
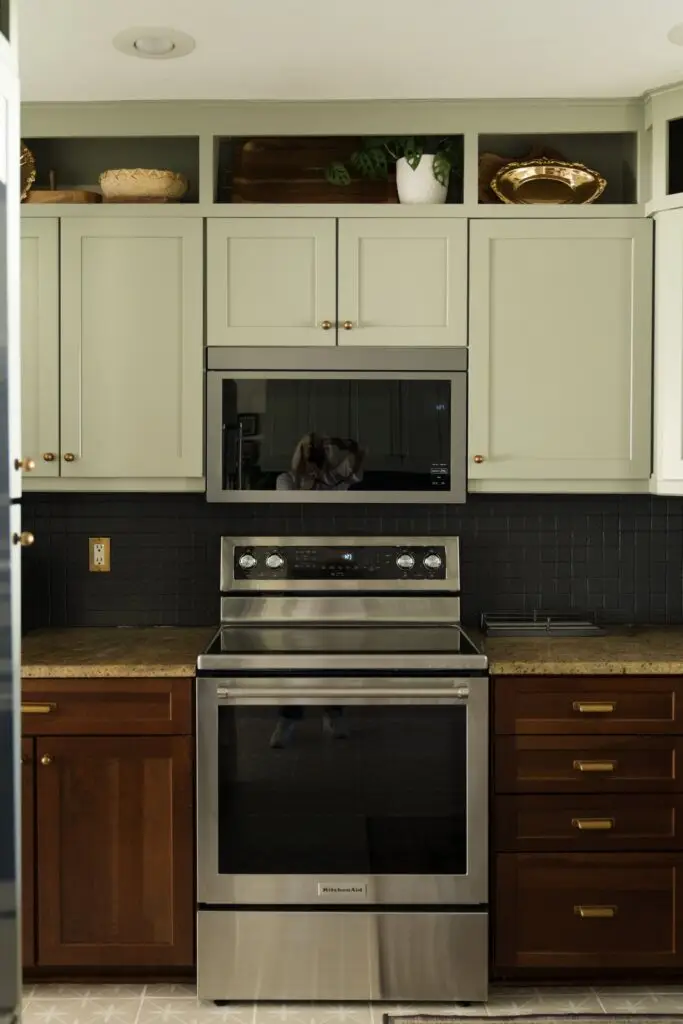
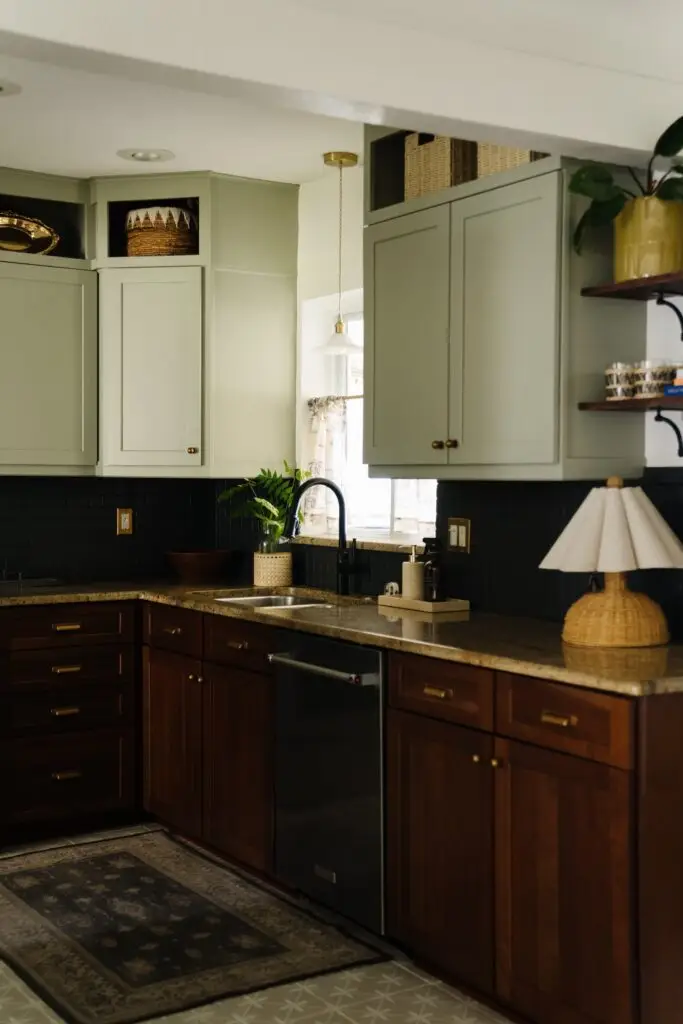
Extending the cabinets to the ceiling made ALL the difference in this space. Doing this not only looks like a whole new space, it creates a more spacious feeling with more storage. You will notice that the extended portion of the cabinets is open. This was a decision made to save money by not adding doors. Which then led me to the decision to paint the upper cabinets. I personally love the look of open shelving, so I was happy with the end result. We spent $750 on wood and materials to extend the cabinets.
Paint
Two-toned cabinets are in, you will start to see this style everywhere! Plus, color-matching wood can be hard and I wasn’t confident in my skills to do so. All in all, I ended up painting the upper cabinets and I LOVE this green color with the dark wood.
Hardware
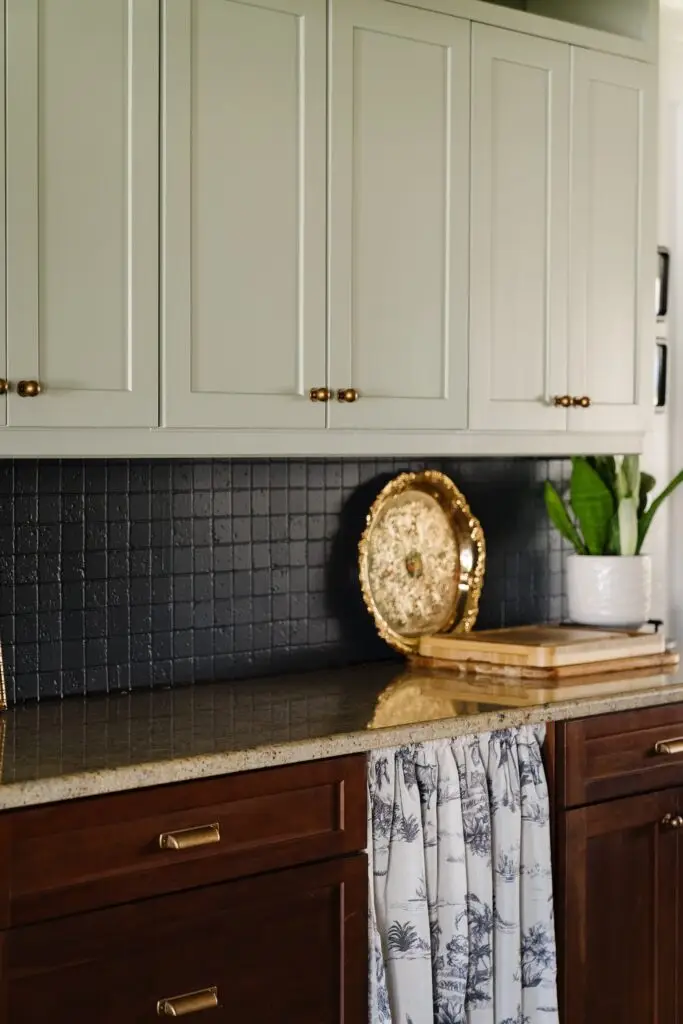
Hardware is such an easy and affordable swap and I think it totally makes a kitchen! These brassy knobs and pulls cost $50 in total.
Floor
- Demo: $200
- Flooring: $500
- Supplies: $300
Demo
Demoing floors is an essential step; it’s what sets you up for success! When you remove the old flooring, you can assess if the subfloor is in good condition, checking for issues like water damage, uneven surfaces, or structural concerns.
Flooring
This is where we spent most of our budget and I am so glad we did it this way! While peel-and-stick floors are budget-friendly, they weren’t the right choice for this kitchen. The existing texture required us to demo and redo the floors. I absolutely love this tile, and the best part is, it’s built to last!
Backsplash
- Paint and Primer + Supplies: $75
Nothing a little paint can’t fix! When I say this is the most underrated DIY project, I mean it. $75 for a backsplash that looks brand new? Yes, please! We primed it first, then painted it with a low-luster concrete paint called “Satin Black“. This trick works really well with a matte finish, rather than glossy.
Fixtures
- $275
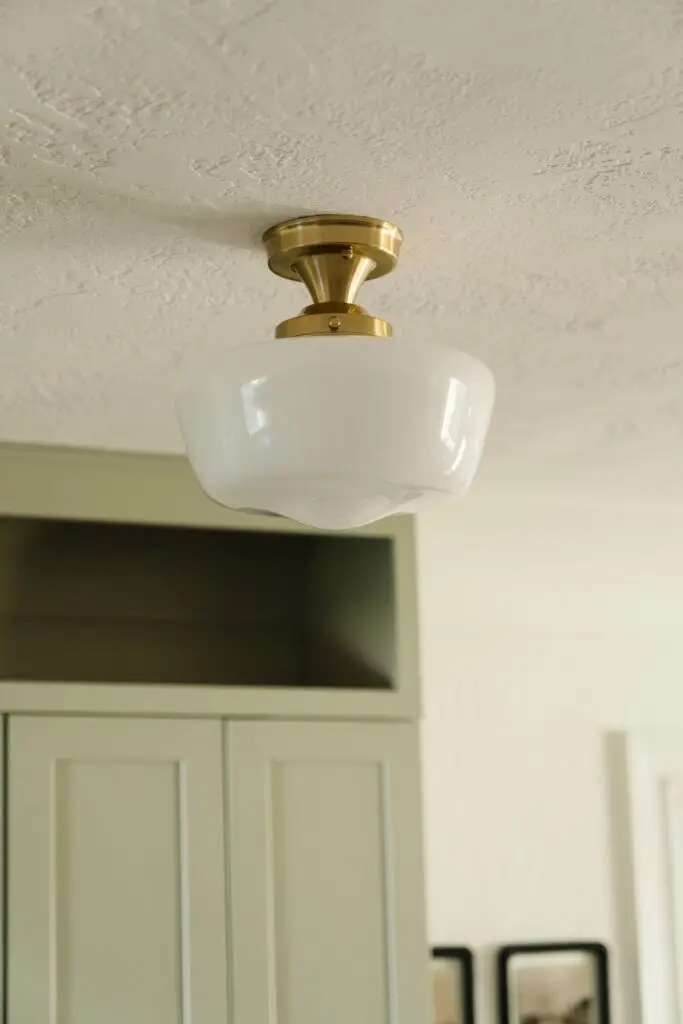
Changing fixtures is another fun option to change up a room that can be affordable. We changed up both the lights in here for a total of $275. This small investment made a big difference in the overall vibe and style of the room.
Walls
- Paint: $100
Undoubtedly painting the walls has always been one of my favorite DIY projects. With the beautiful green and brown tones of the cabinets, we decided to go with my tried-and-true paint color, “Whisper White” from Behr.

Shelves
- Materials: $130
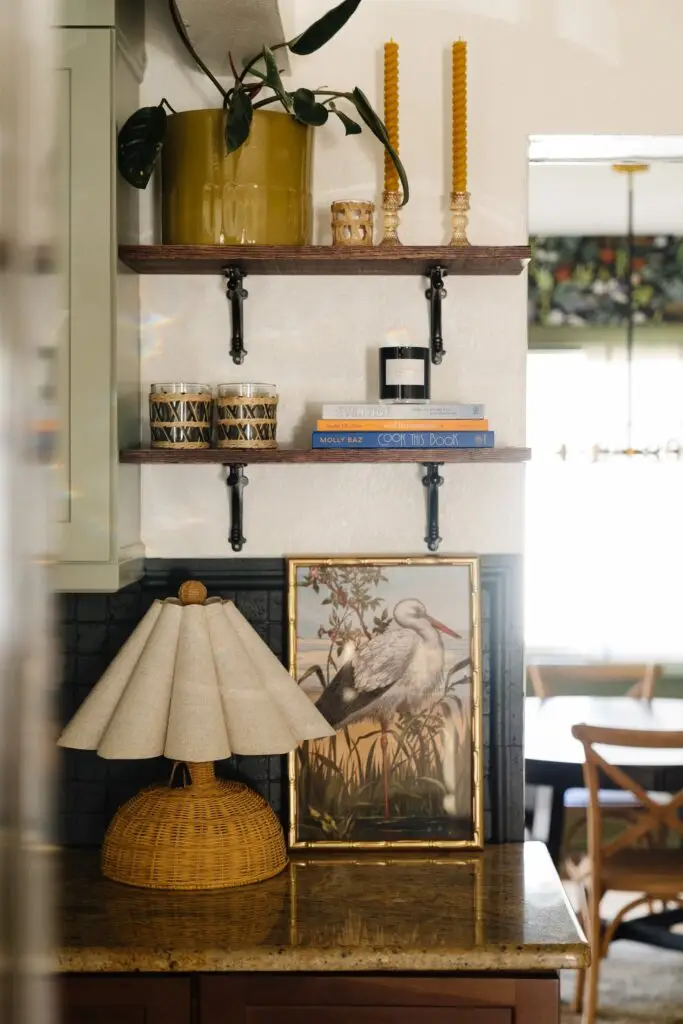
We spent $100 on good quality wood to ensure a premium look and avoid any blotchiness. Additionally, we spent the remaining budget on brackets to install the shelves, which is the best way to add style and create more functionality.
Extras
- Extras for clean up: $100
- Extras for supplies: $100

Total
All in all, we spent $2580 to take a brown kitchen and turn it into an inviting modern space. It is all about using what you already have and working with it.
Appliances
- Refrigerator: $ 3,799.00
- Dishwasher: $999
- Oven: $999
- Microwave: $599
We didn’t include the cost of new appliances in our budget breakdown for the kitchen renovation. Our goal was to demonstrate that when it’s time to invest in new appliances, you can still achieve an elevated design to match the look and feel without overspending. This is one of the things I love about DIY projects – you get to pick and choose what works best for you!