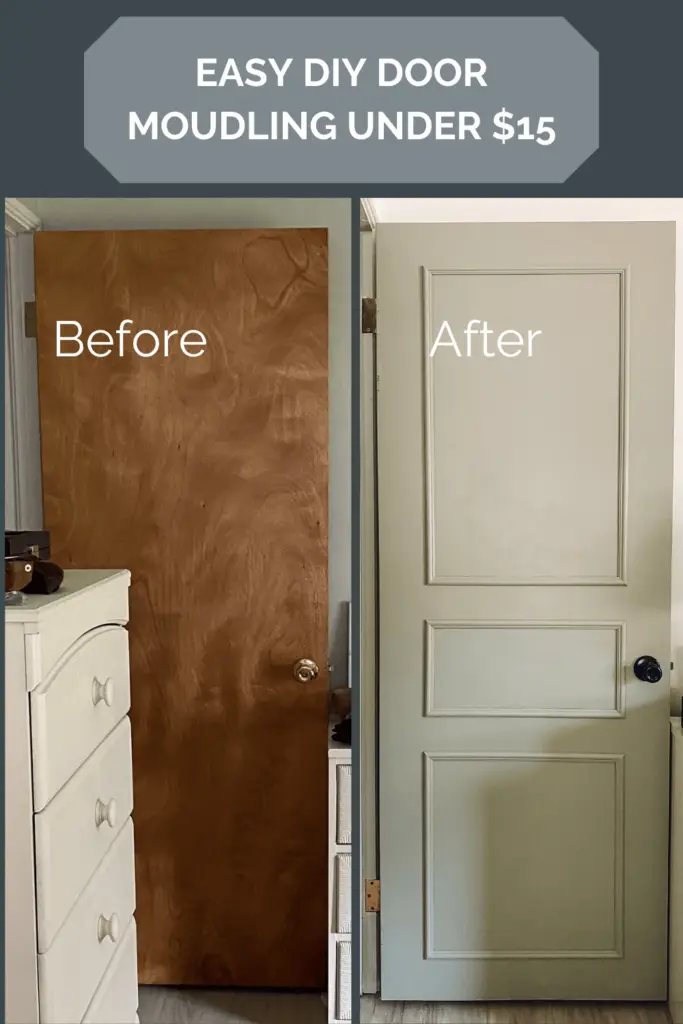
When we first moved into our home I knew that these brown doors couldn’t stay long. Something about the hollow 70’s look just wasn’t giving me the right vibes. Replacing the doors was going to cost more money than we wanted to spend on them, so it was not an option. We opted for a little easy DIY door moulding because it would allow us to do so many other updates we wanted to do in our home.
This DIY was so easy and inexpensive (like, the “we didn’t even have to take the door off the hinges” kind of “so easy”). In only a few hours, it totally changed our doors from drab to fab.
BLACK SPRAY PAINT | GREEN PAINT | MOLDING | CLAMPING MITER | GORILLA GLUE | WOOD FILLER
Spray Painted Door Knob
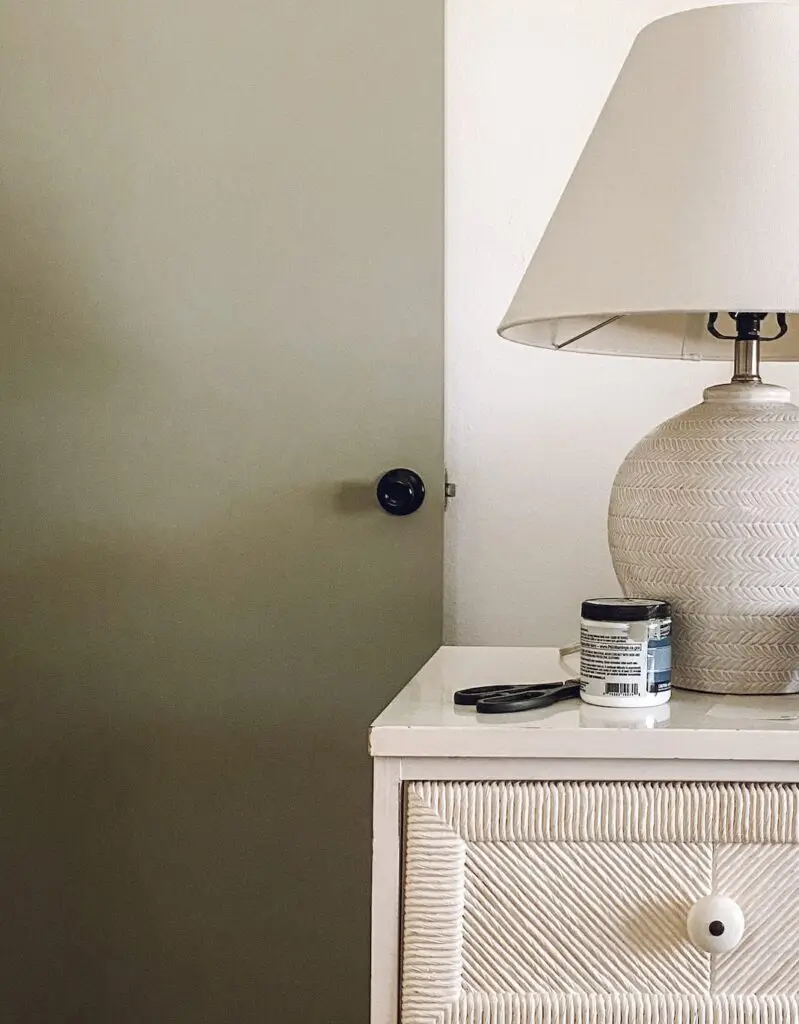
We started the door makeover by removing the door-knobs and using a spray paint similar to THIS to change them from the brassy gold to black.
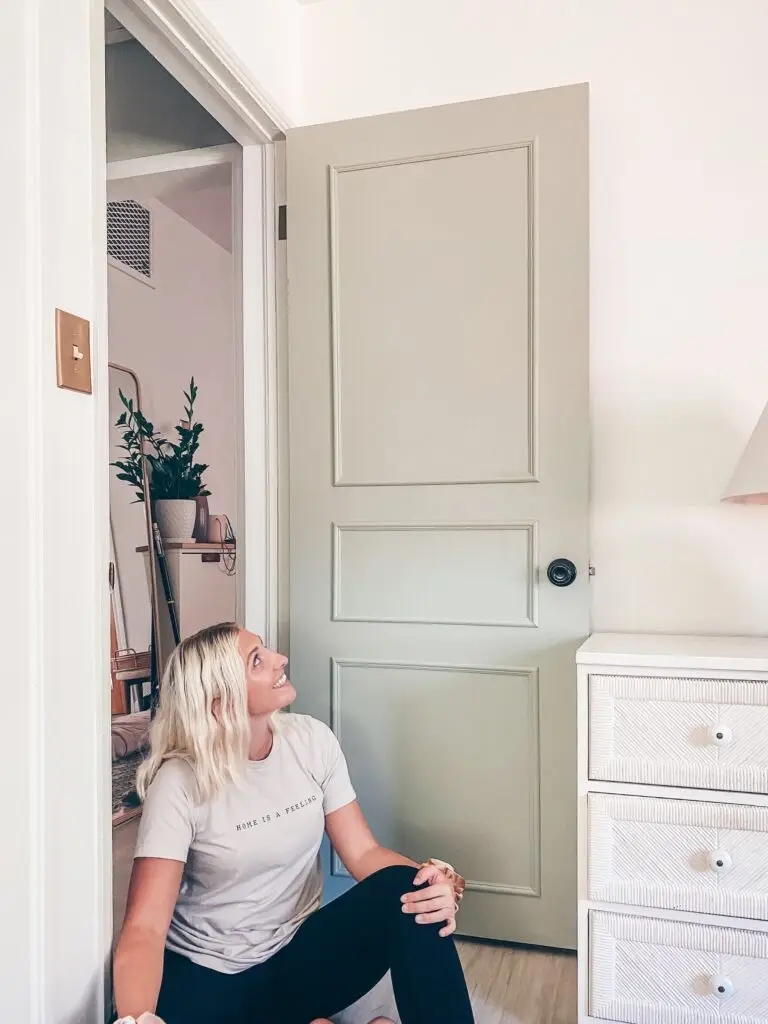
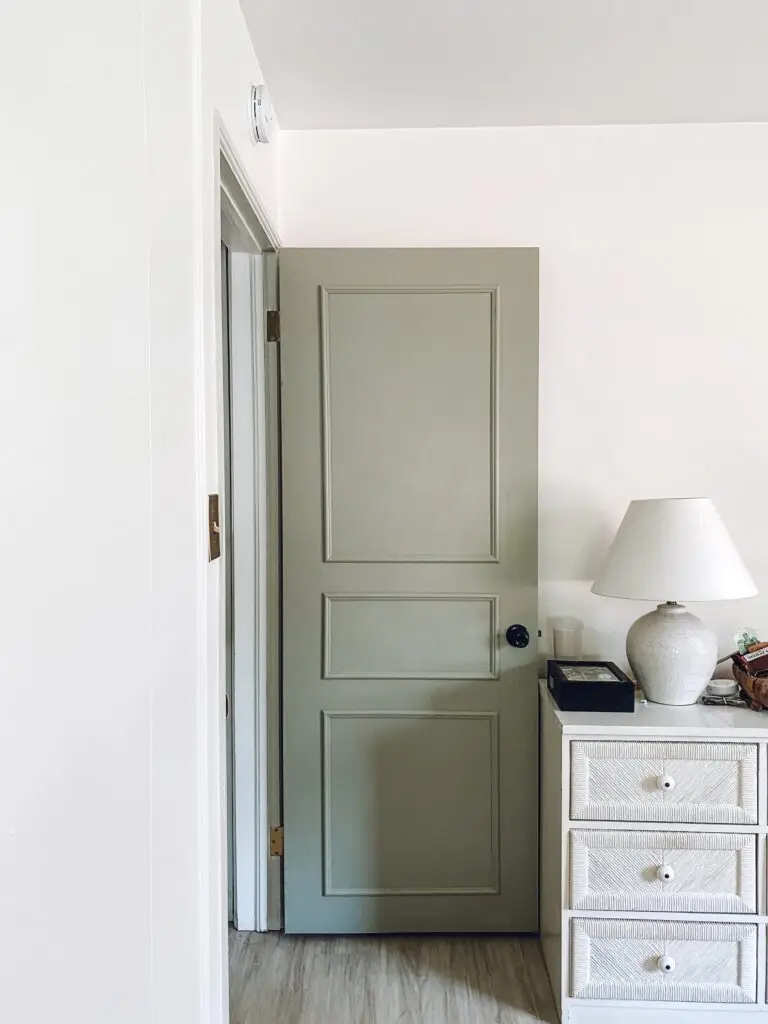
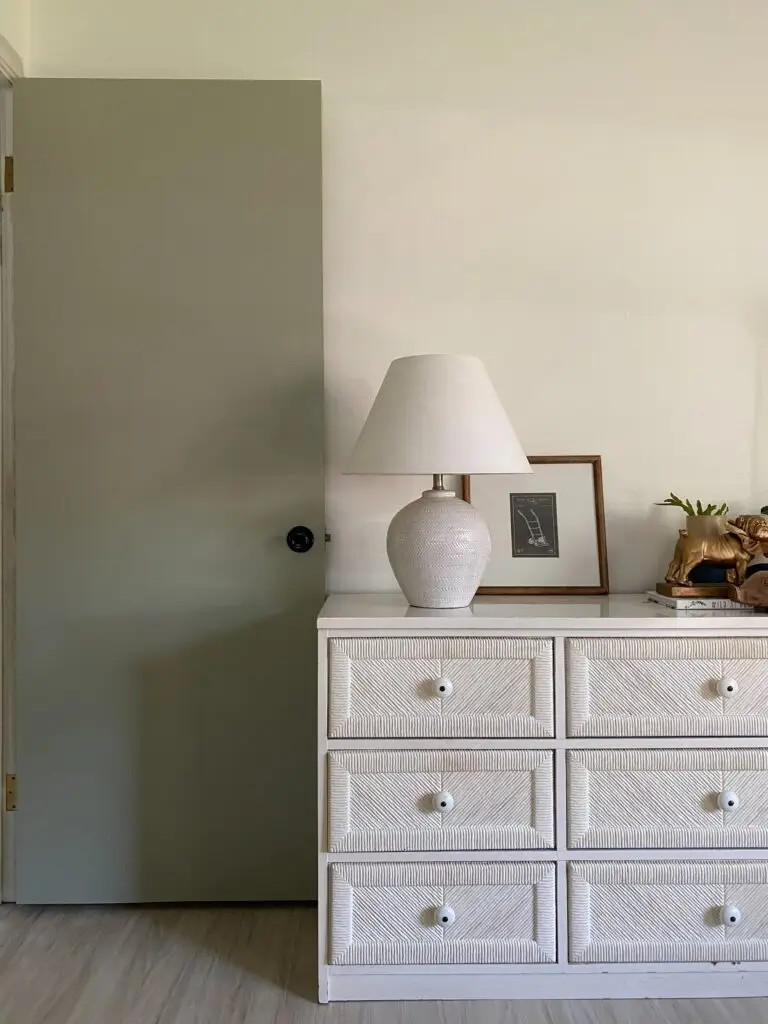
Next, we moved on to painting the door this gorgeous natural green. The color that we decided to use is called “jungle camouflage” by Behr. You can find it HERE. The best part is that painting the door required less than a sample size.
Painted Door
Several people have asked if the paint soaked into the wood. Luckily, our door already had a protective finish over it so we didn’t need to add that. We did use a paint and primer, however. If you need a protective finish THIS one should work. The protective finish will give it more of a smooth finish allowing the paint to go on nicely (but be sure to allow sufficient time to dry before painting over the finish).
We definitely recommend priming any paint job before painting if you’re not going to be using the two-in-one paint and primer.
Measure Twice, Cut Once
Now for the nitty-gritty. While the change of color was great, we felt that the door was still too plain and could use an extra bit of love. For our door makeover, we wanted to add moulding. We opted for the DecraMold wall and cabinet trim moulding, which you can find HERE from Home Depot. Since our door is hollow, we decided to glue the moulding on the door rather than nail it. We purchased three (3) 8 ft pieces of moulding. BUT, measure your own door because door sizes differ. We placed the moulding 4.5 inches from the edges of the door as this allowed enough room between the moulding and the doorknob.
One of the most tedious parts of this door makeover is making sure that the moulding lines up correctly. In order to cut the 45° angles on the moulding we used this clamping miter box by Stanley which you can find HERE. It’s an inexpensive option and comes with a saw.
Now I know you might be thinking that glue is no substitute for nails, but that just means that you haven’t tried Gorilla hot glue sticks which you can find HERE.
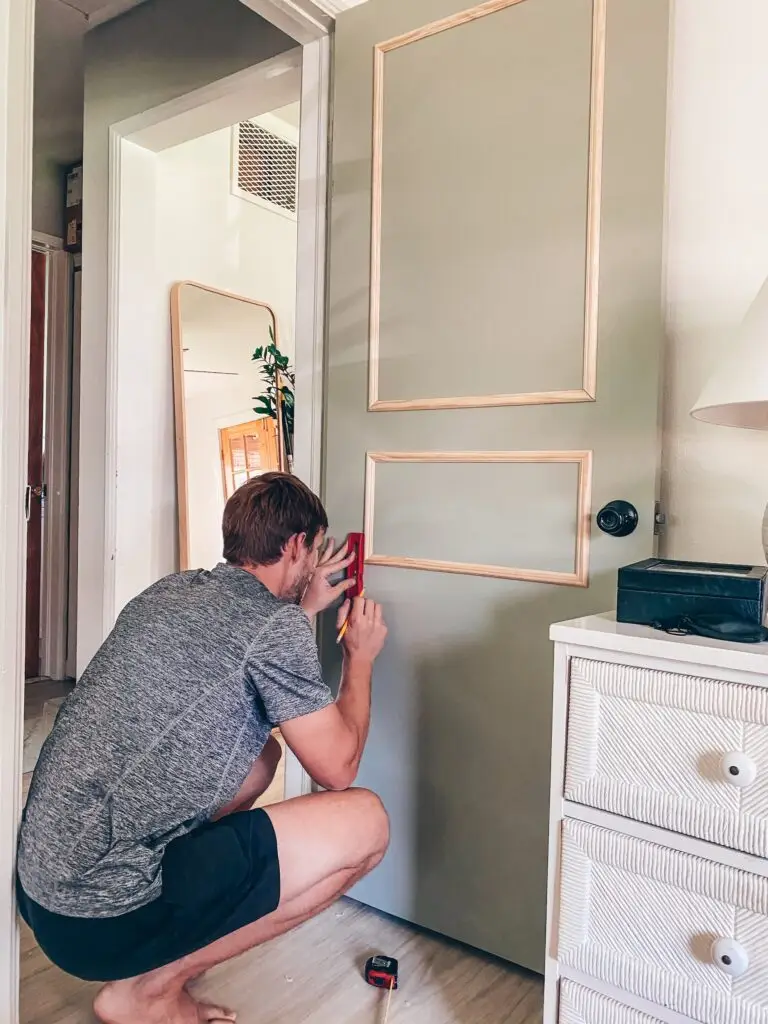
After deciding on the design, we measured out how far the moulding would lie from the from the edges of the door. If you are doing a three-box design like ours, it’s easiest to begin with the middle box and ensure that the middle of the box lines up with center of the door handle. Be sure to use a level and draw where each piece of moulding will go first. Another pro tip: measure each individual piece as you go instead of doing all of the cutting at once…you will be surprised what 1/16 of an inch off looks like when the box comes together).
Glue + Paint Moulding
When we were attaching the molding the hot glue dried REALLY fast, so we had to be quick. Make sure that when you apply the glue to the back of moulding, you are close to the door. (To use some of Carter’s old football terminology, you are going to want to be in the “power position”). Also, be sure to have the level close by so that you can double-check that the moulding is level. (If you mess up and it dries to quickly, don’t worry, you can carefully pry the moulding off with something like a paint scraper).
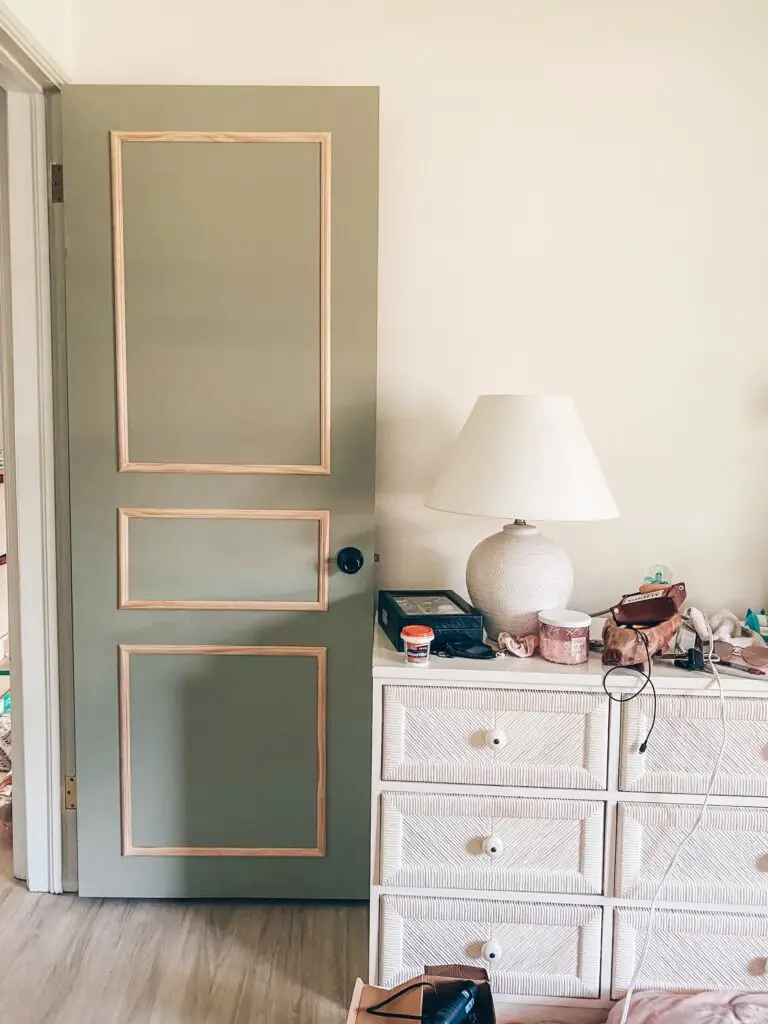
We then added wood-filler in the corners and smoothed it out. We used similar wood filler to THIS. Finally, we slapped a coat of paint on the moulding and we were finished!

This whole project cost us about $15 (because we already had tools like the saw and level).
Don’t Wait, Start Now
Don’t wait to fix things up around your house. Use this extra time at home for some creativity/productivity…quarantivity! Changing this door made all the difference in our master bedroom! The easy DIY door moulding was exactly what this area needed. We are so happy that we no longer have to look at that brown 70’s door.
This is the start of our Master Bedroom Makeover. You can see the design board in THIS post and follow me on Instagram HERE.