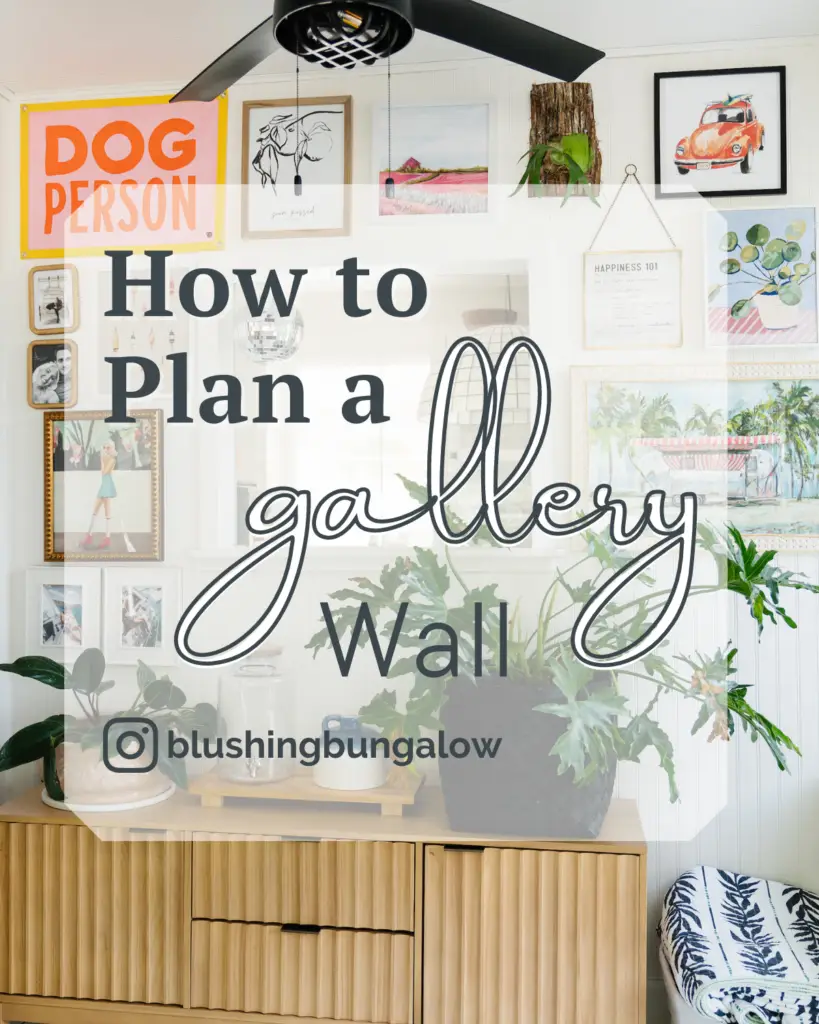
I can’t believe this is my first official gallery wall. If I’m being honest, I’ve always been a little afraid to attempt a gallery wall. They are intimidating because there are so many steps to make it look just right! I decided to come up with my own method after much online research.
Eclectic Gallery Wall
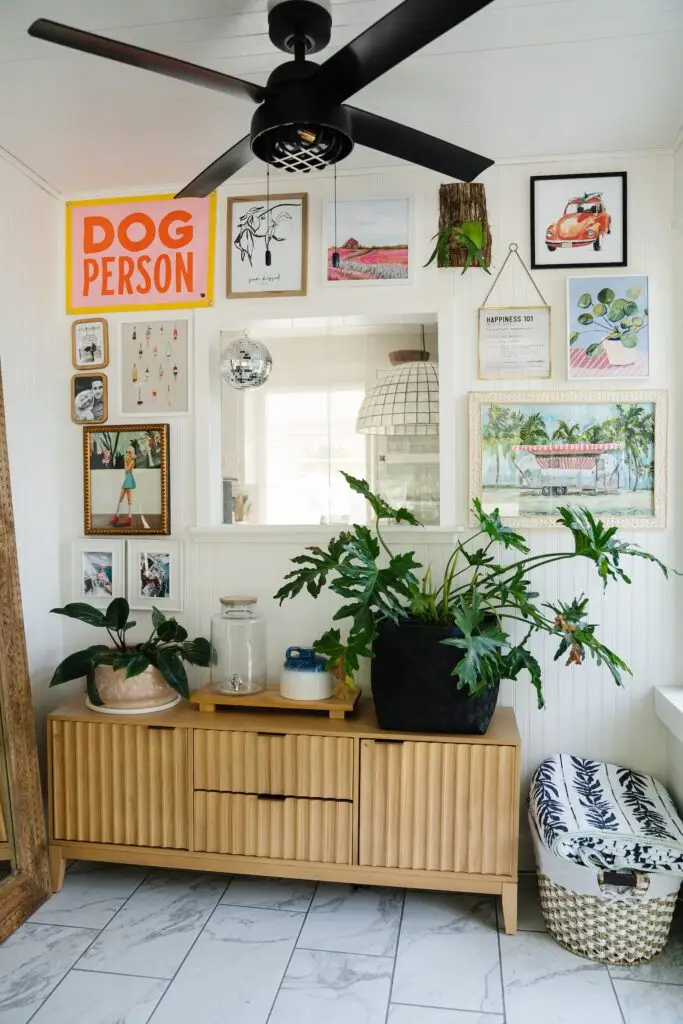
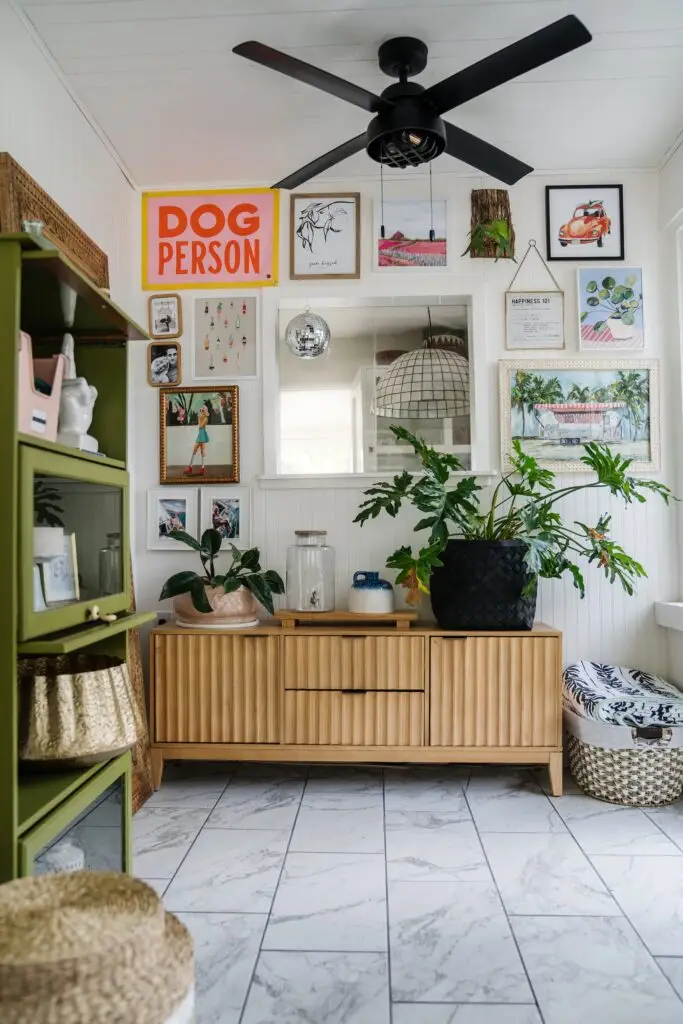
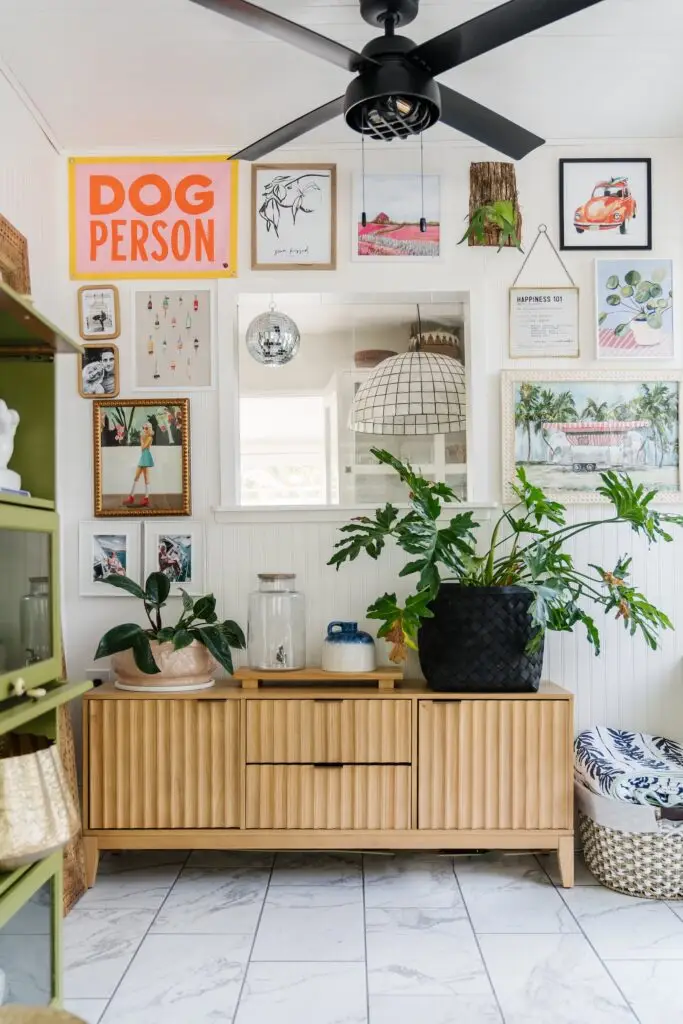
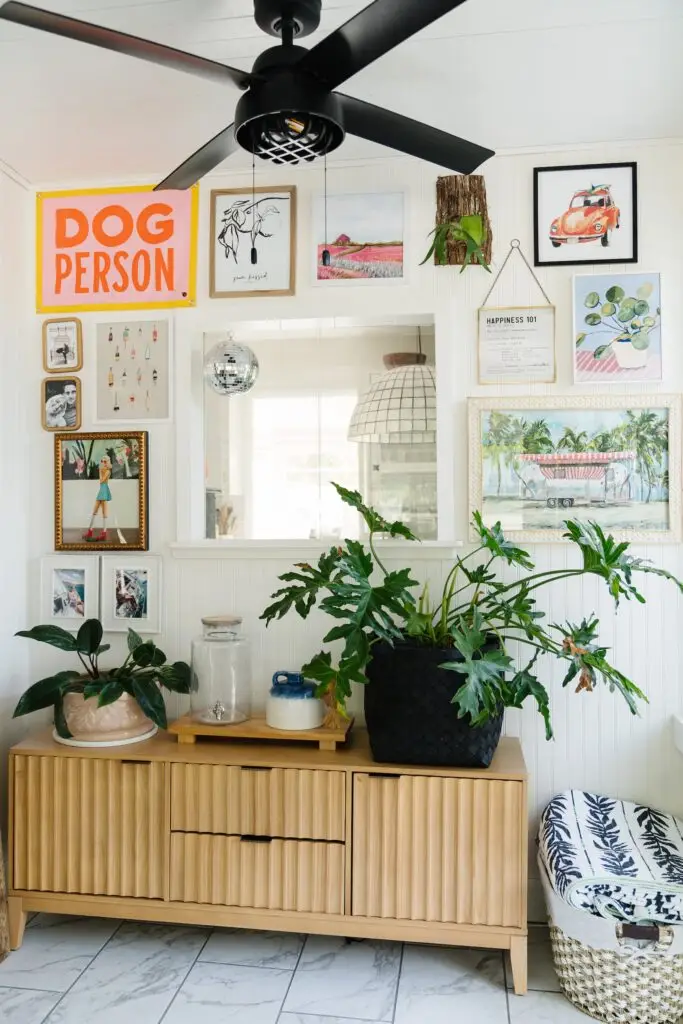
There are so many different types of gallery walls. This won’t shock most of you, I wanted a really fun, colorful, eclectic design. This meant I needed to find a variety of items that had different shapes, sizes and materials! Since this was on my Florida room I really focused on staying to a bright, coastal theme!
Gallery Wall Prints
The first step in creating the perfect gallery wall is finding the right prints. I recommend searching your favorite art shops and screenshot your favorite prints. (This is just for planning.)
I personally like purchasing the digital downloads and printing them off myself. This way I determine what size I would like each piece of art to be. It’s more flexible and less expensive than getting the art printed. Here are a few of my favorite places to get art from! I have an ongoing code with Kamdan Kreations 15% off your entire purchase using promo code BLUSHINGBUNGALOW. A few of the pieces I used in this gallery wall are from the art collection we created together!
- Kamdon Kreations (use code BLUSHINGBUNGALOW for 15% off)
- Juniper Print Shop
- Minted
- Etsy
- Frame Bridge
- Society 6
- West E
- Chairish
- CB2
- Artfully Walls
- Target
- The Poster Club
- Serena and Lily
- Anthropologie
- McGee & Co
- Urban Outfitters
After you select all of the prints… take the screenshots and upload them onto a mood board. I like to use the software app Canva. For this gallery wall, I selected more pieces of art than I actually used. That way I could play around with the pieces of art and see which ones balanced each other out the most! After I finalize which prints looked the best together, I picked the frames. I did the same thing with the frames as I did with the art. I put the frame over the art in Canva and this helped me to really visualize what it will look like on my wall.
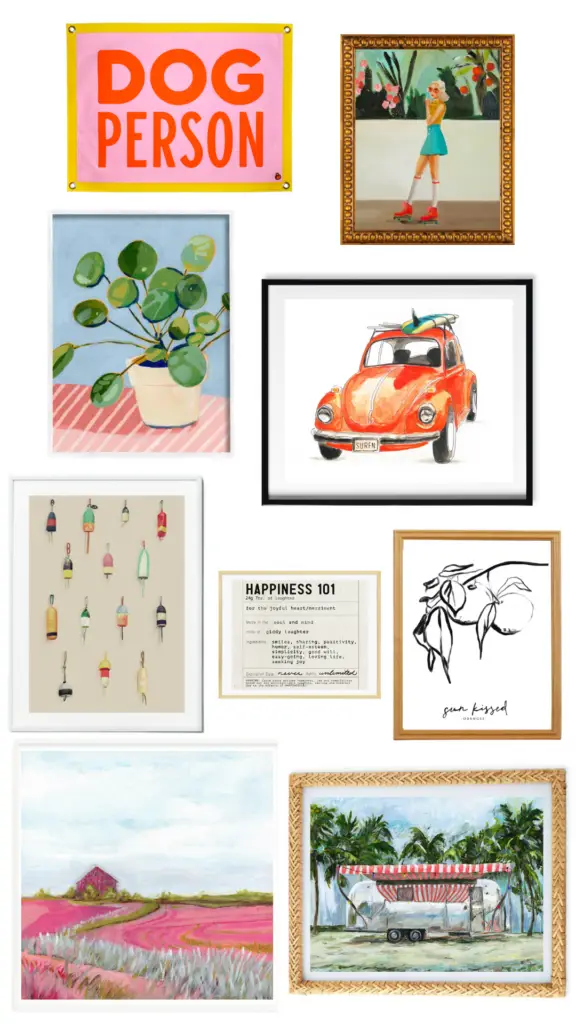
Select Your Prints
I wanted to use a few different types of art so I did a flag, a wall plant, and several different framed prints. Using different types of frames and pieces of art made the perfect eclectic gallery wall. I tried to focus on a balance of art in the same color tones as well as a few black-and-white pieces to break up the bright colors. Here are links to all the prints for my gallery wall.
Prints
- Girl on Skates
- Fishtail Art
- Sunkissed Oranges
- Pink Farm
- Happiness 101
- Airstream on the Beach
- Red VW Bug
- Pilea Plant
- Staghorn Plant
- Dog Person
Frames
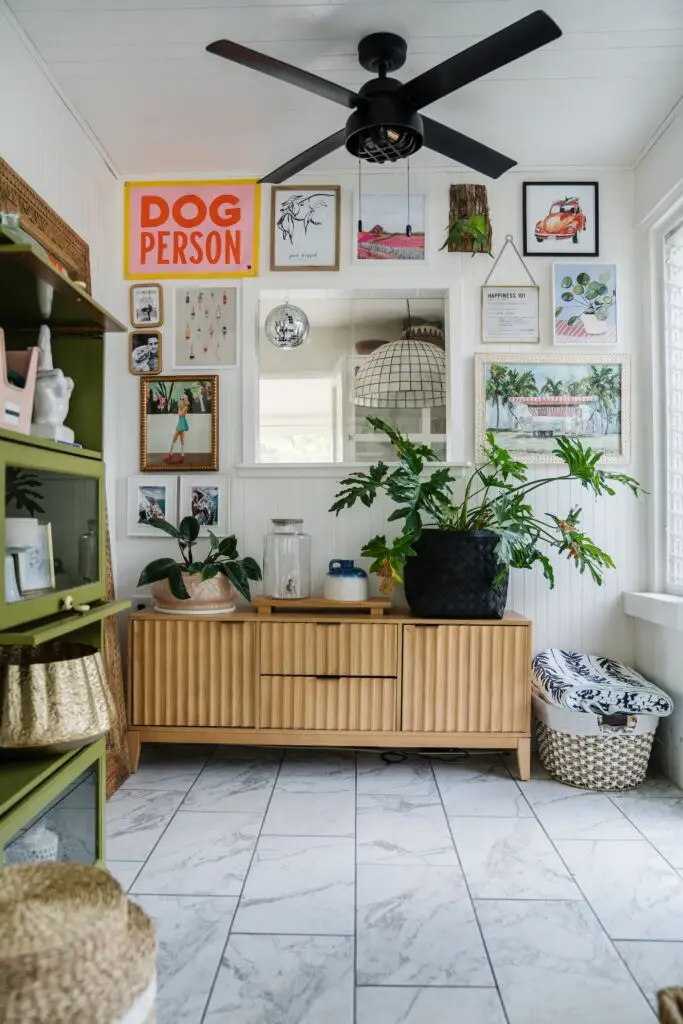
Gallery Wall Layout
The second part of a gallery wall is the layout. I recommend picking out your art and frames before thinking about a layout. I know it might seem counterintuitive, but I was able to pick a collection of art based solely on color and design before deciding where each piece would go.
Map Out the Prints
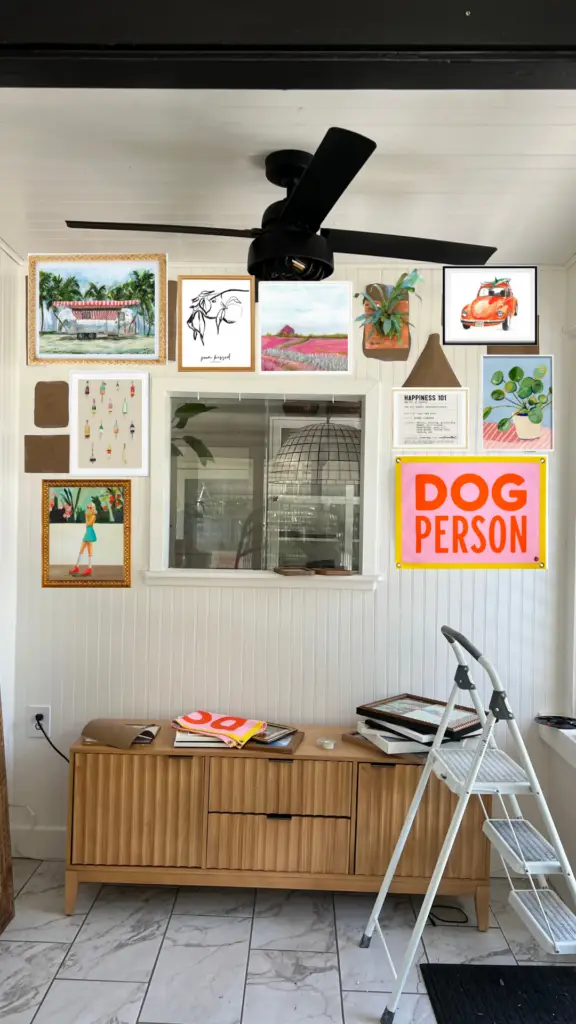
After, use either wrapping paper or large construction paper to cut out the exact sizes of your art by tracing them on the paper. This way you can hang up the pieces of paper and move them around easily before making a single hole!
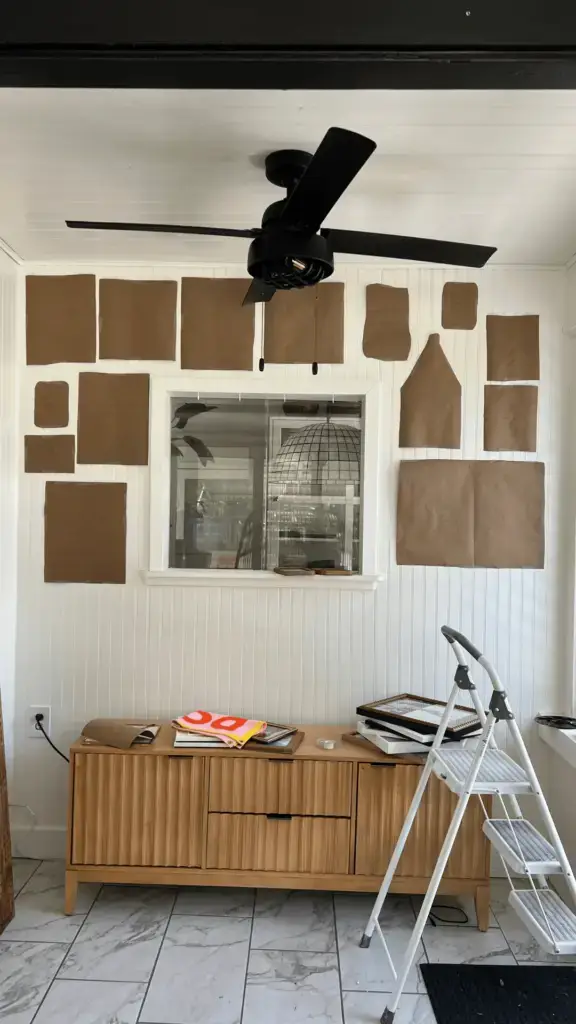
Once the paper is up and you feel comfortable with the layout, go ahead and exchange the paper for the pieces of art! I actually took a picture of the paper up on the wall and uploaded the art on my computer to double-check that it would look how I wanted. I was able to get this gallery wall done in just a couple of hours start to finish!
Gallery Wall with Family Pictures
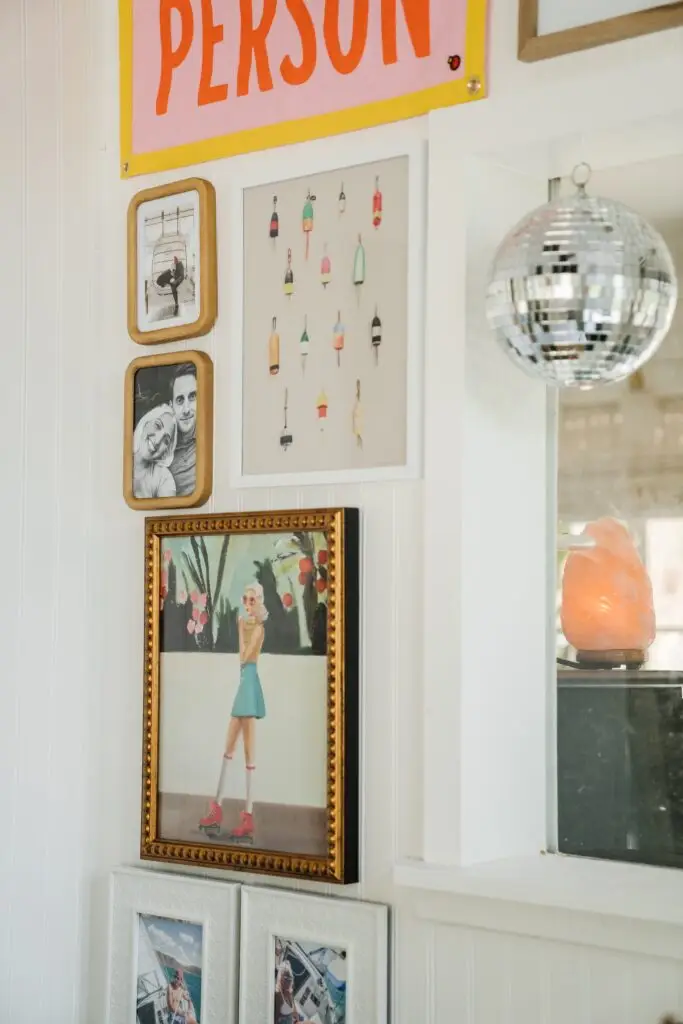
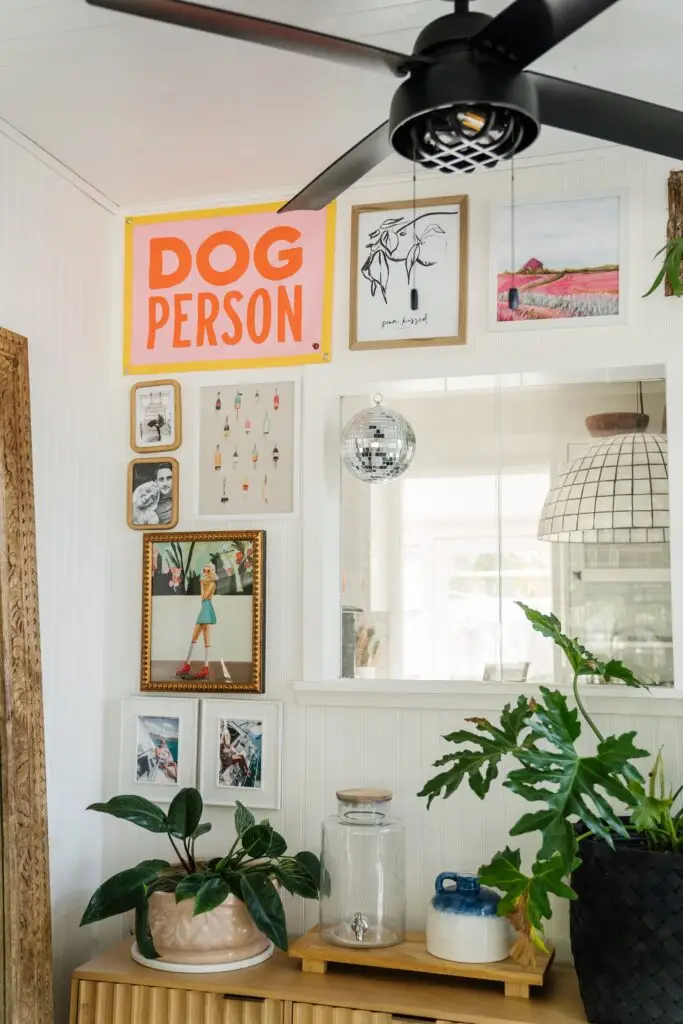
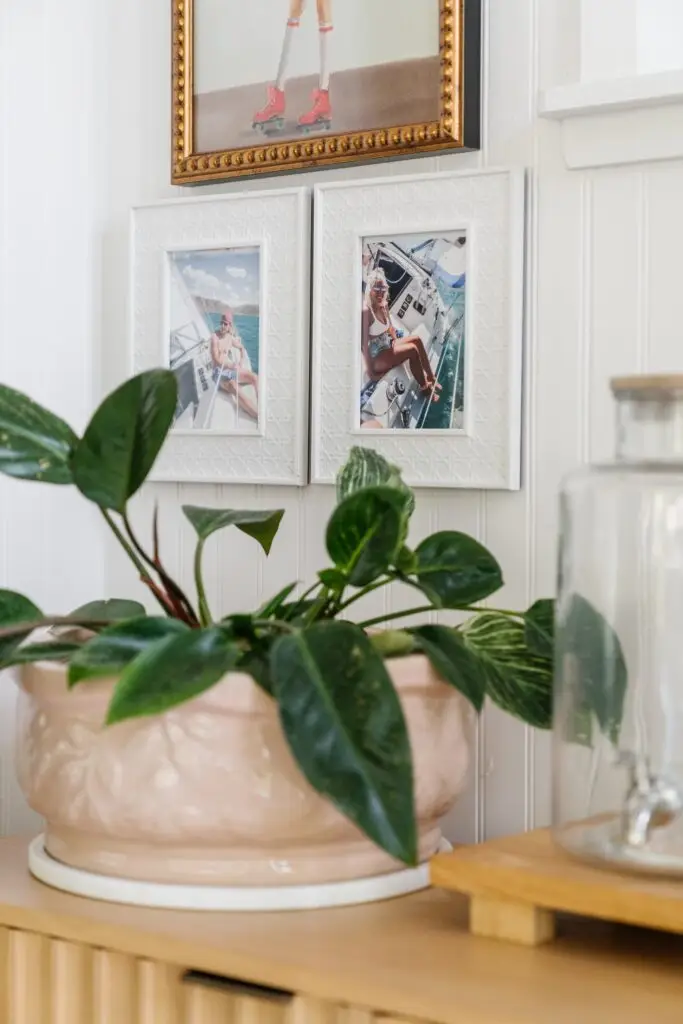
This is a personal preference. I think adding family pictures to a gallery wall adds a cozy element. I made the family photos small with wood frames to add an additional warmth aspect. I also picked some cute pictures of us on a sailboat that fit easily with the rest of the color scheme!
Try this gallery wall method and let me know if it works for you!