Our kitchen is one of my favorite rooms in the bungalow. I spend a lot of time here between cooking and eating meals, working at my kitchen table, and hosting intimate dinner parties. This breakfast nook has been getting a lot of attention this past month. Building our table, sewing tufted French cushions, and creating a DIY rattan pendant light from a basket, you would think the space is almost finished. I knew it was missing something which was wallpaper and a fancy window. So this week we added Kitchen Wallpaper and DIY Window Panes and Trim.

WOVEN PILLOW | WHITE PILLOW | BLACK PAINT | WALLPAPER | LIGHT | VASE | STOOL | INSTANT POT | CHAIR (SIMILAR) | TABLE | BENCH FABRIC | BLUE PLANTER
Before
Before I get into the details on what upgrades we’ve done, let me just share a before picture with you. This is the picture that was on the listing before we bought the home.
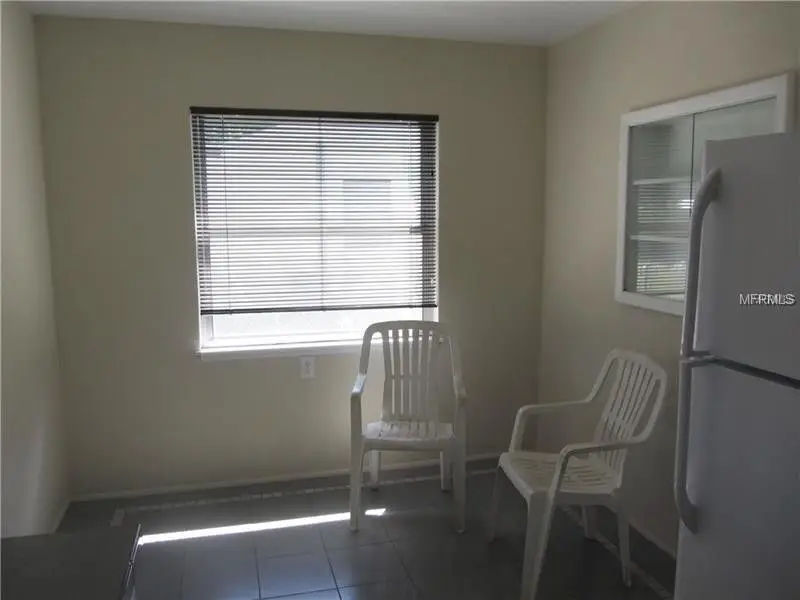
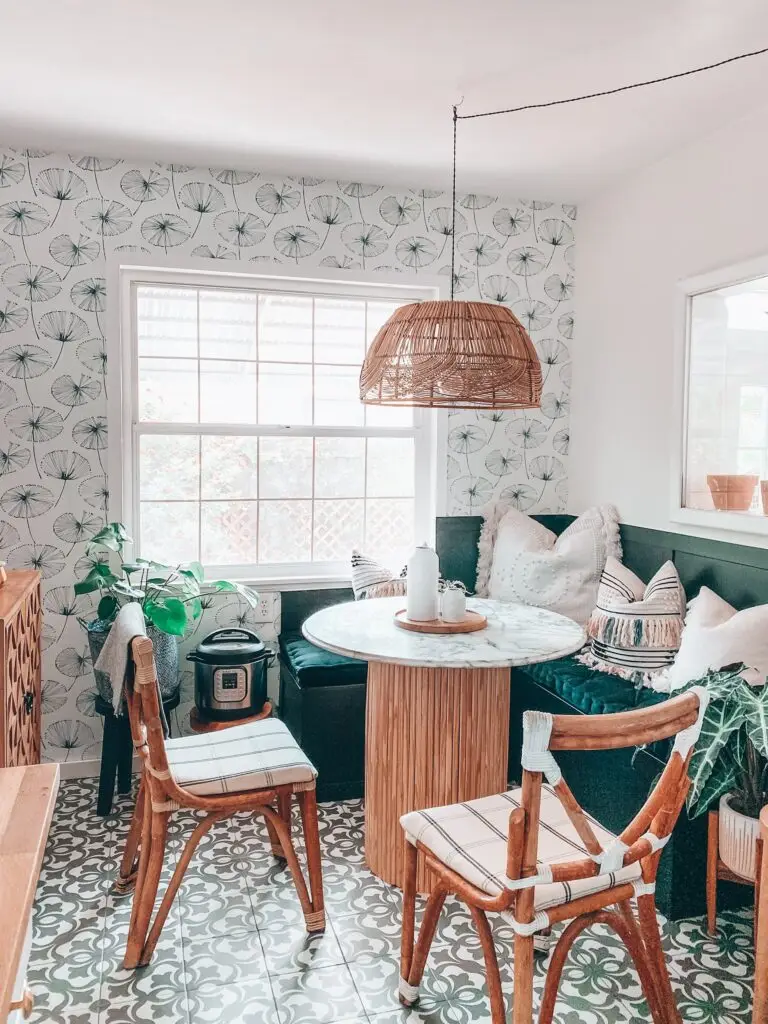
Yes, we’ve done a ton to our little space! Adding the breakfast nook really utilizes the space in this tiny kitchen. We can seat five people comfortably around our table.
Wallpaper
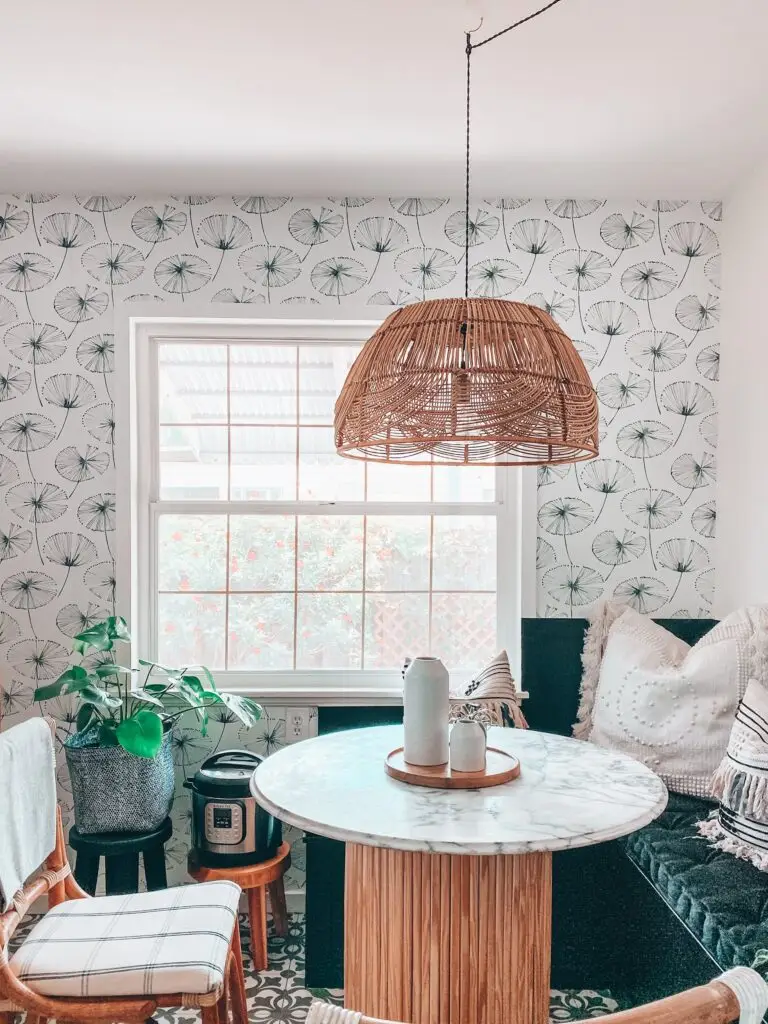
The back wall with the window was really needing some sort of design aspect to it. I had prints on the wall, however, the art alone wasn’t cutting it. That’s when I knew I needed to add wallpaper. I went with THIS peel and stick dandelion wallpaper. With the two other patterns going on in the room it was important for me to choose a wallpaper in the same color scheme so it wouldn’t overwhelm the space.
Wallpapering Tips
My first wallpapering tip is to draw a level line for the first piece of wallpaper. You’re going to draw the level line down the wall where the edge of the first piece can follow along. Then you can follow the rest of the pieces up against the piece before it, which will make your pattern seamless and straight. I’ve done it freehand before and the pattern always looks a little rotated. Drawing the level line will ensure that your wallpaper goes on smoothly.
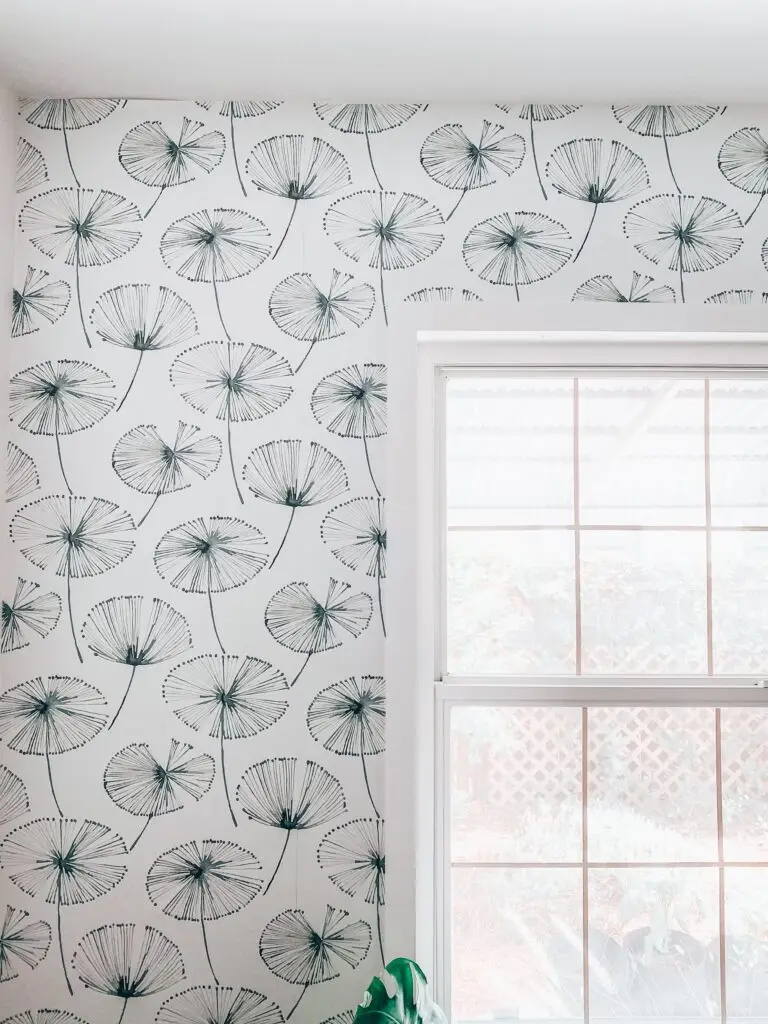
I also used tape to hold up the wallpaper as I work my way down. I put two pieces of tape on each side and would work about a foot of wallpaper down the level line and smooth out from edge to edge. I’d move the tape and do another foot of paper until I reached the bottom of the floor. For more information on wallpapering and the three different types of wallpaper, you can find a post HERE where I discuss all things.
DIY Window Pane and Trim
The aluminum window really needed some attention. It’s not in our budget yet to replace the windows, so I decided to DIY my own pane and trim on this window. I first started by painting the aluminum frame white. This gave the window a fresh look.
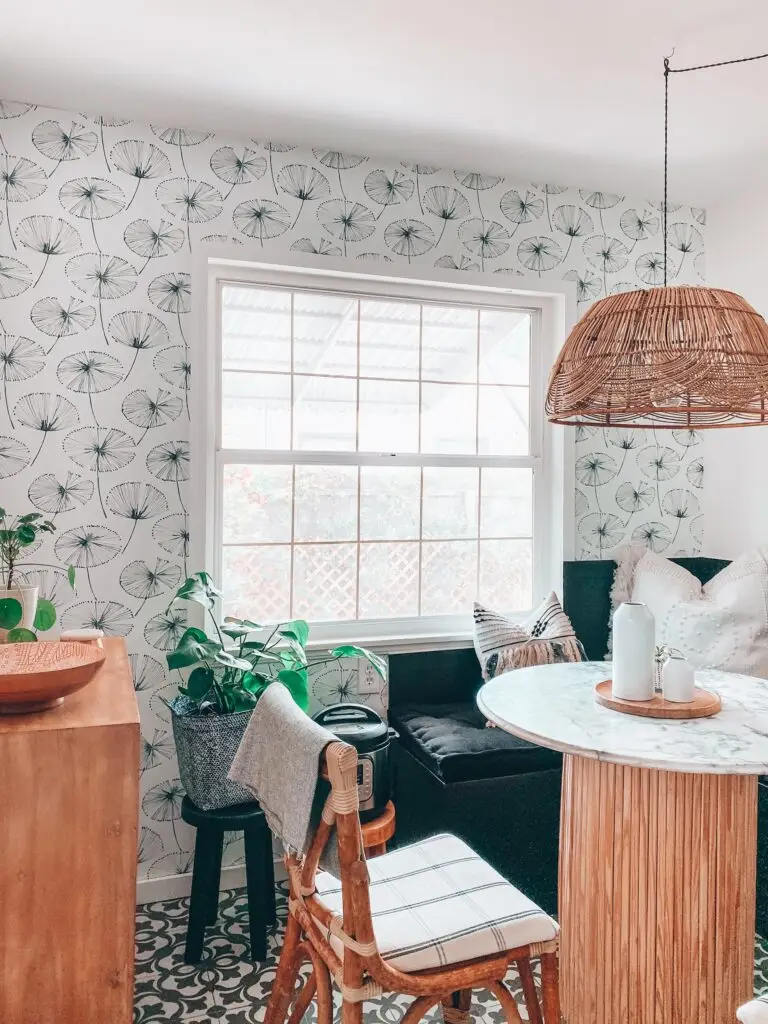
We then added the trim around the window. We didn’t do anything fancy but cut pieces of trim wood at 45° angles in the corner and used a nail gun to attach it to the wall.
Panes
For my DIY window pane, I was inspired by a fellow Floridian home decor influencer, Aubrey @helloimaubs. I purchased THESE wood sticks and THIS double-sided tape. I painted the wood sticks white and use the double-sided tape to attach them to the window. From the outside, it looks like real window panes! I also added a little bit of wood filler between the panes to make sure it looks seamless. I did have to do some touch-up paint and clean the window!
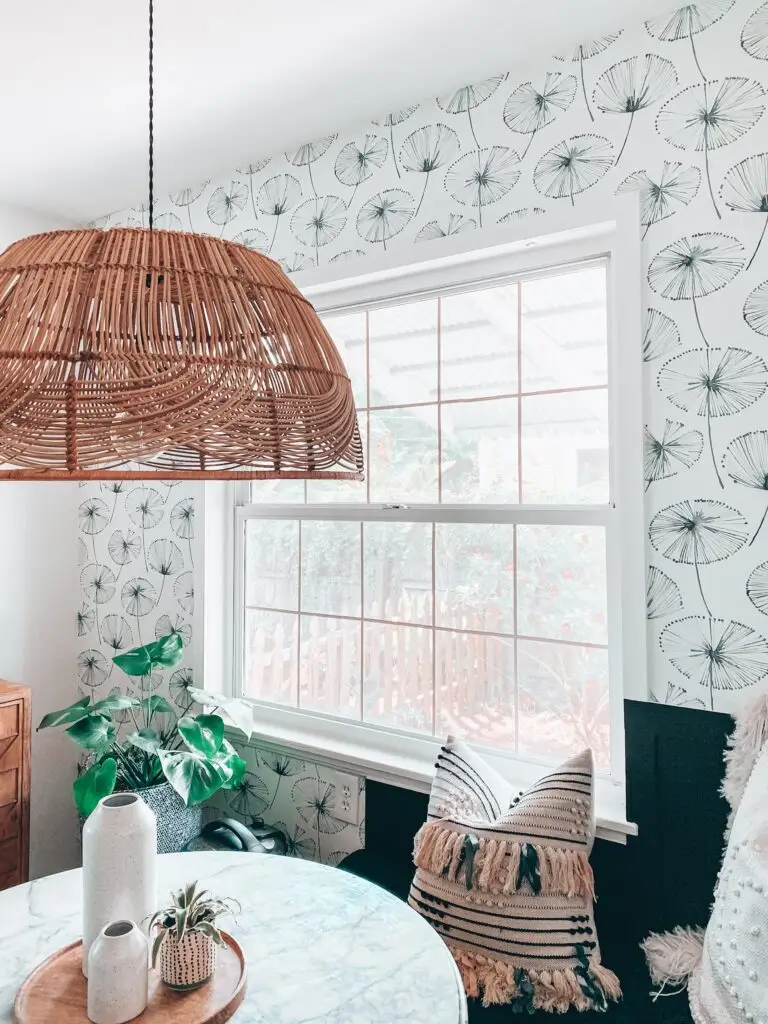
This project was so easy and totally transformed this breakfast nook. The Kitchen Wallpaper and DIY Window Panes and Trim are definitely going down in the books as a doable and fun project. You can see more of my projects HERE on my blog or follow me on Instagram HERE.