Today I am excited to share with you our project, a painted shower tile, for week 2 on the One Room Challenge Spring 2020. The One Room challenge™ provides participants with a supportive, enthusiastic forum in which to share the process of transforming a room. The ORC is not a competition, but rather a celebration of creativity, inspiration, and original ideas. I will be sharing our bathroom remodel for this challenge. You can find all the rooms and designers participating in the ORC HERE. You can also follow along on Instagram HERE. That’s where I will be sharing live videos and pictures.

Before
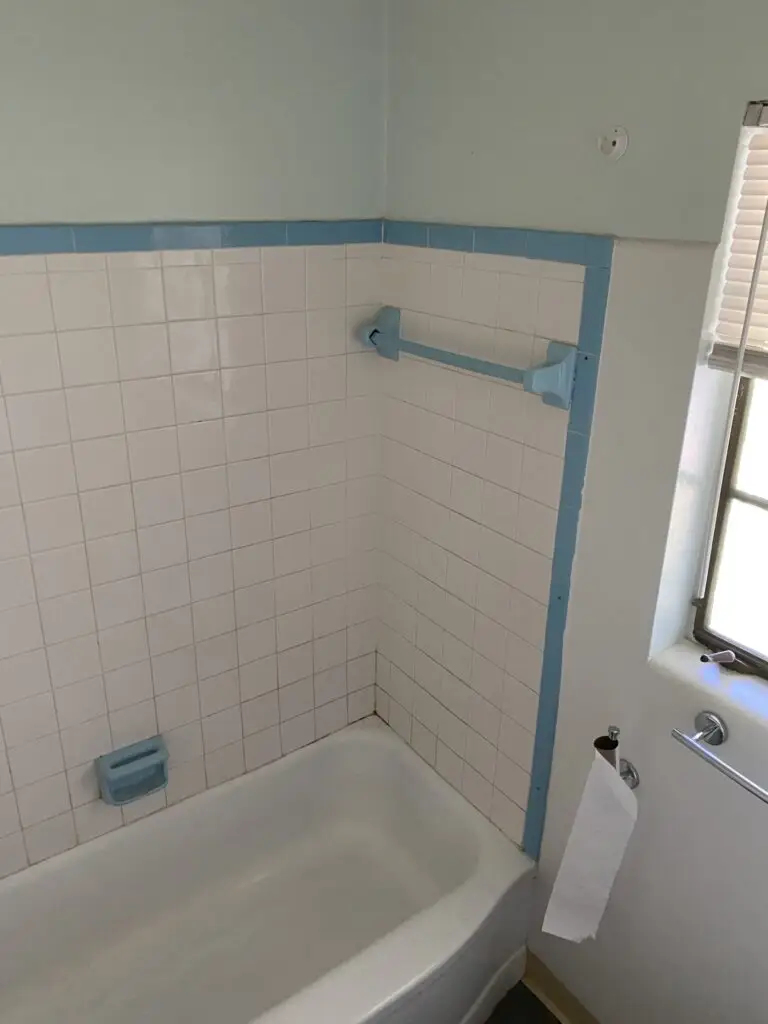
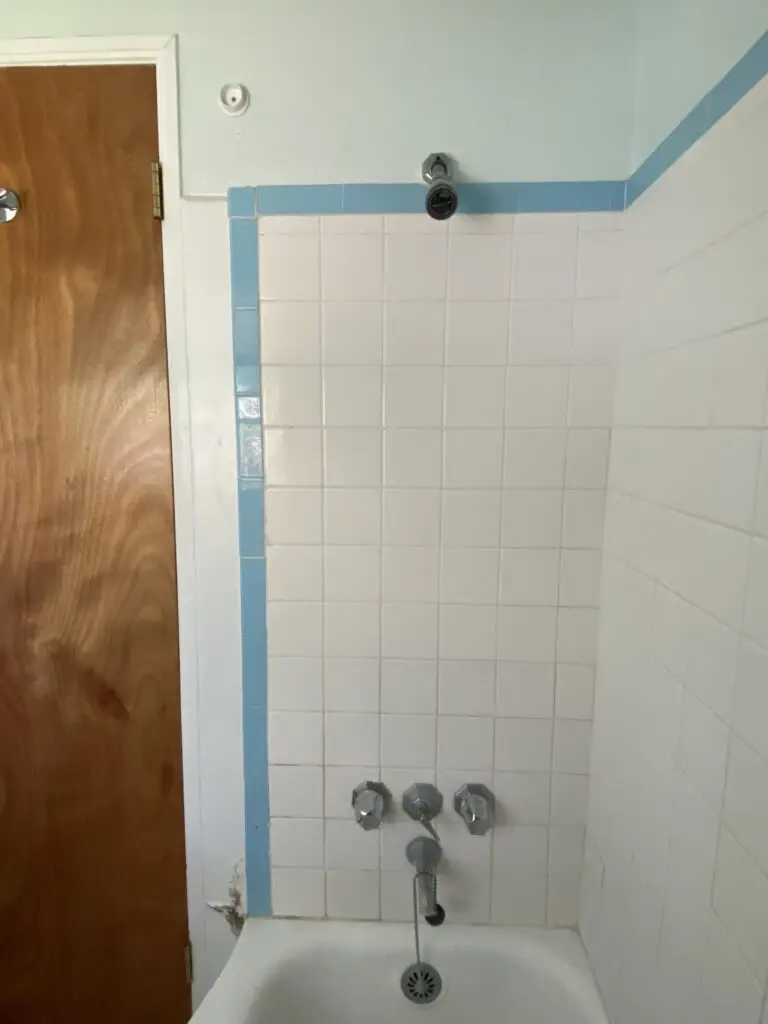
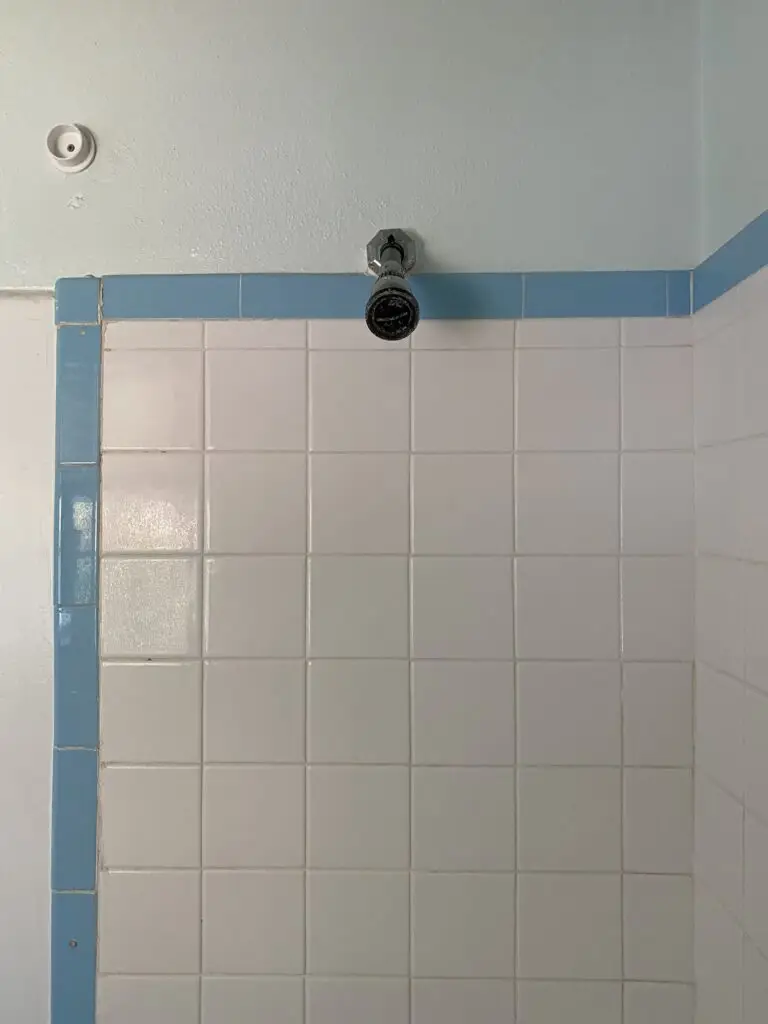
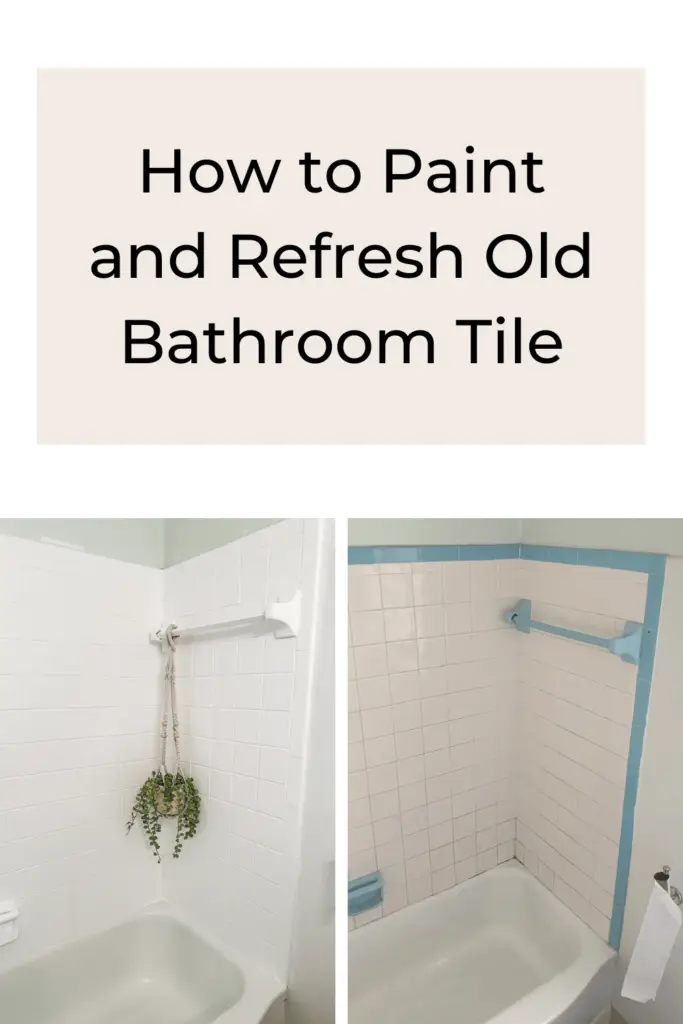
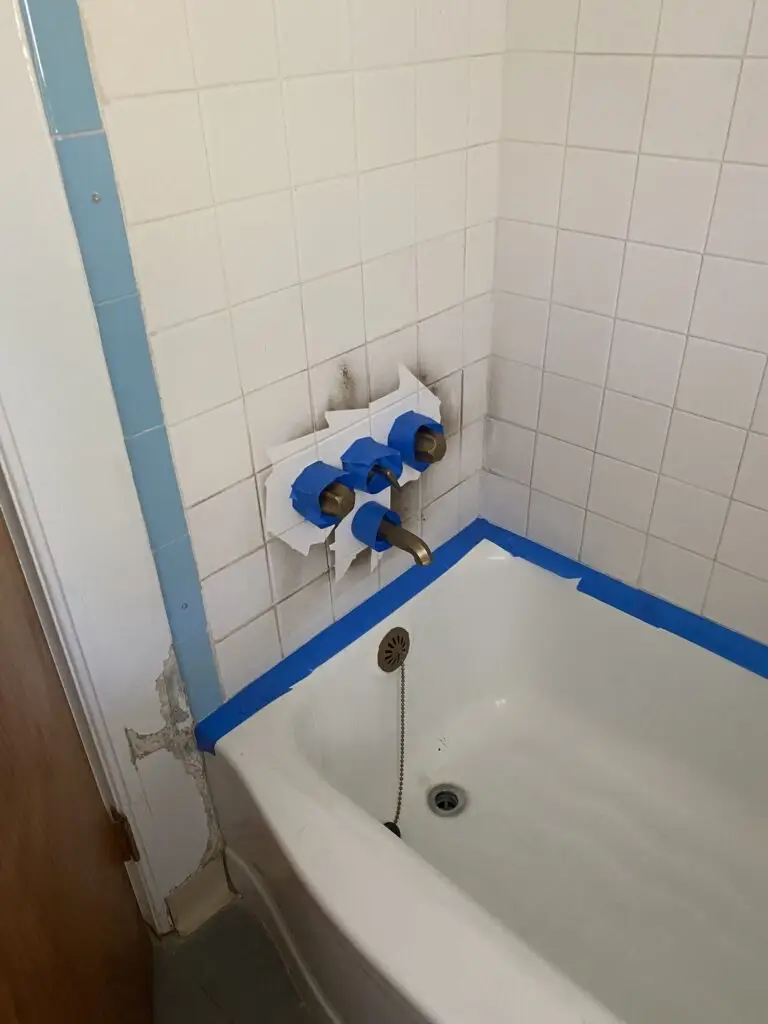
This bathroom has the original blue tiles from the 1940s. So needless to say it was time for a major refresh. The grout was stained and looked dirty no matter how much scrubbing happened. For this refresh, we decided to clean up the tiles with a simple paint job. We expect this paint job to last a few years until we can get in there and renovate the entire shower area.
Shower Fixtures
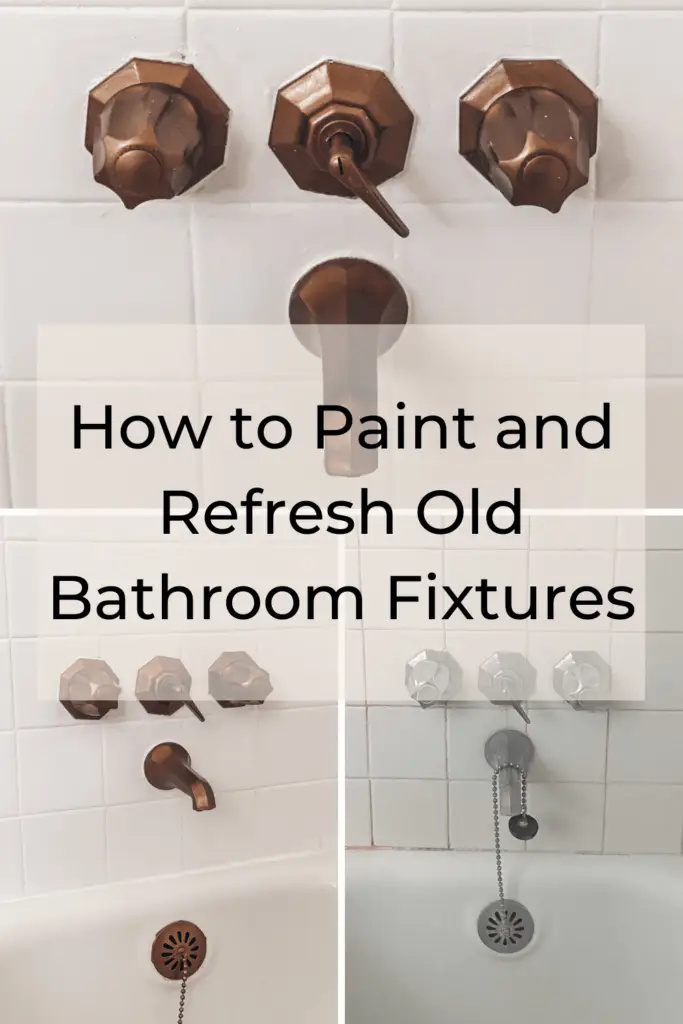
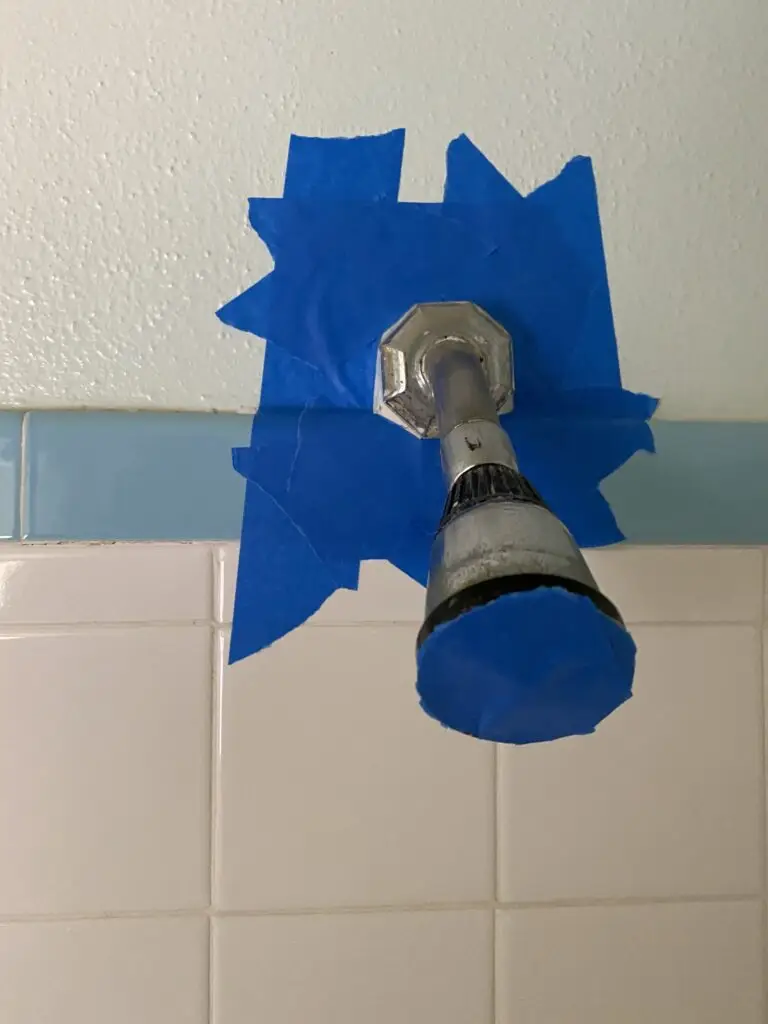
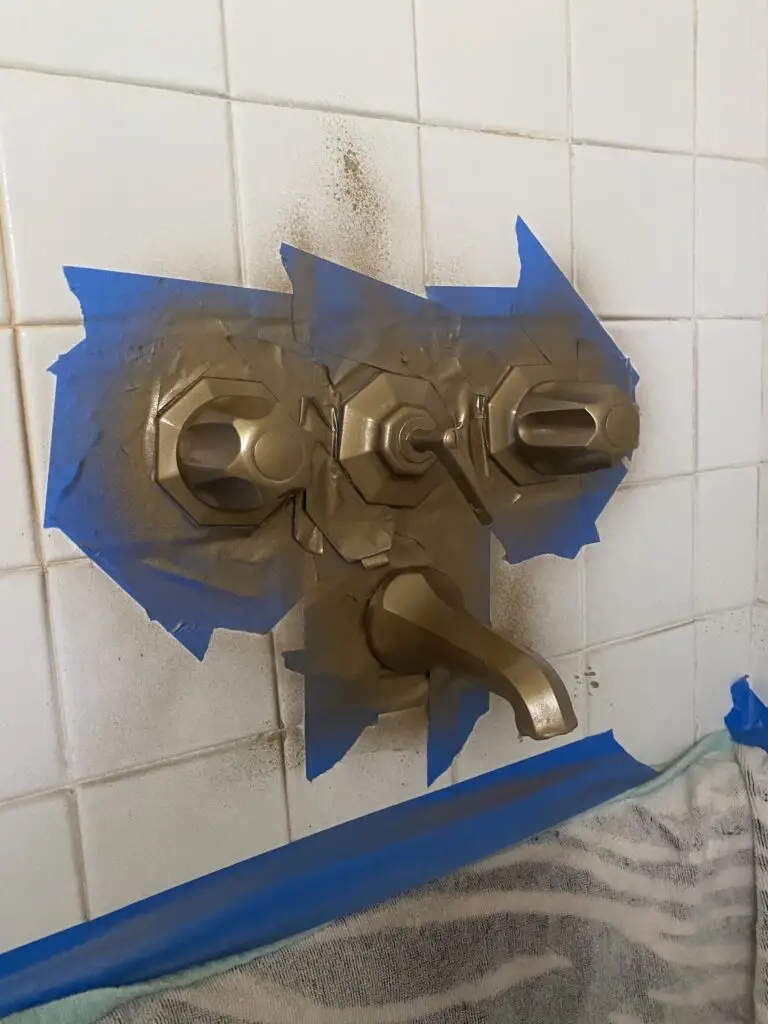
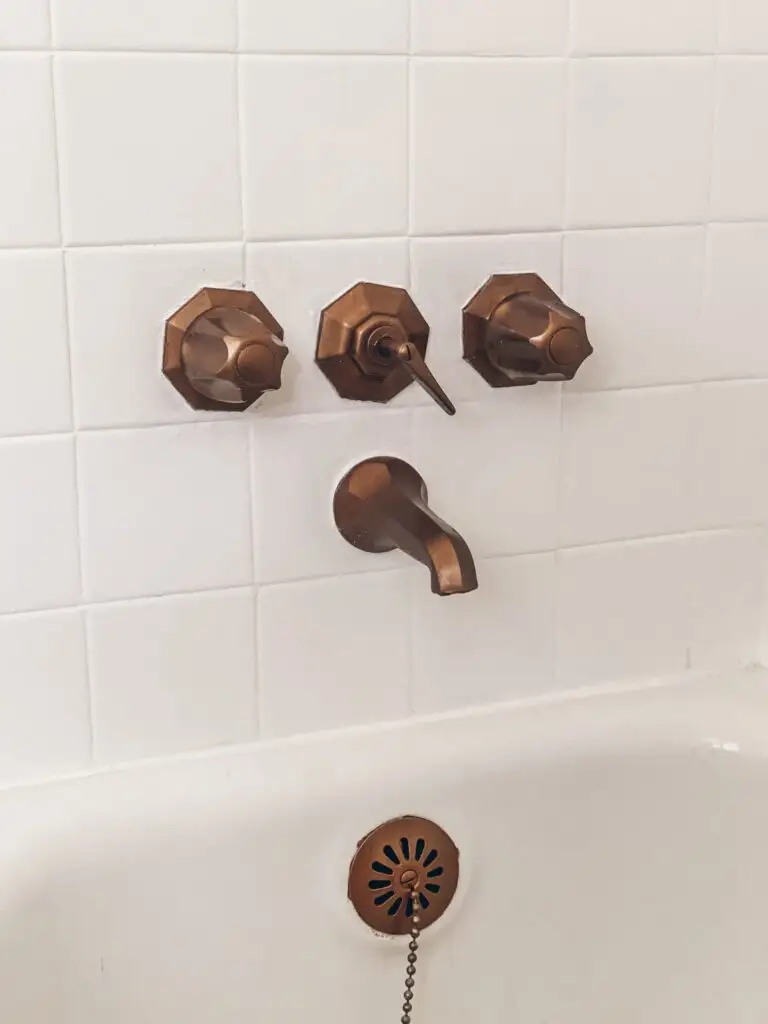
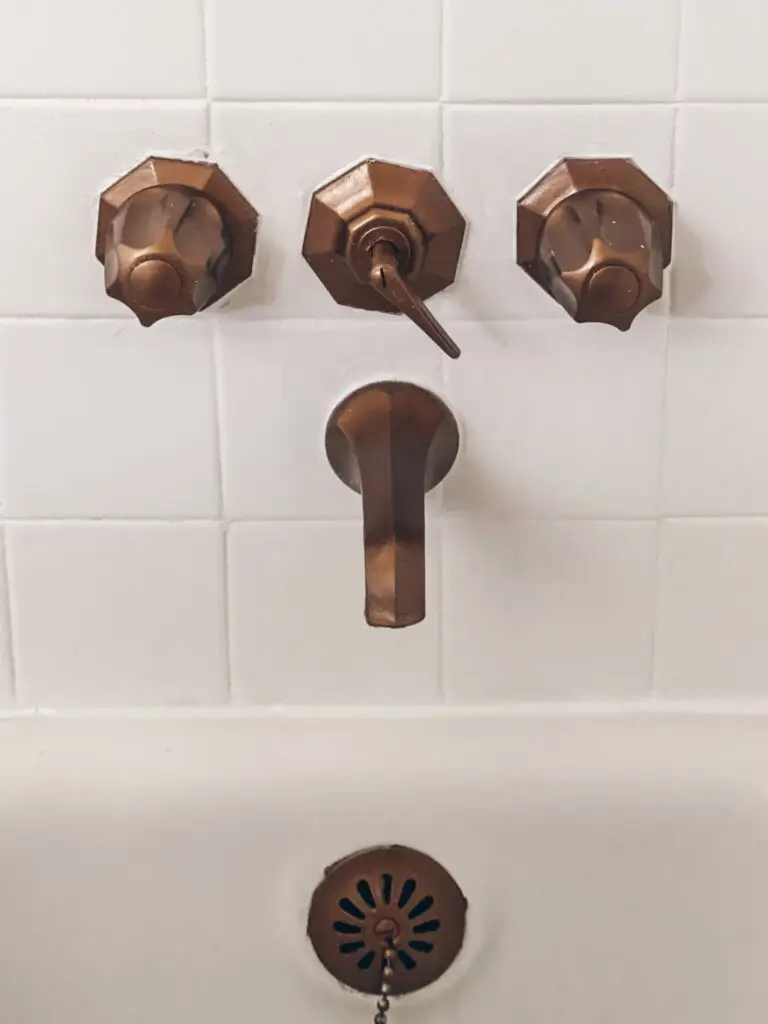
Since this shower project is a refresh and not a remodel we decided to give our current shower fixtures a little paint job. We used THIS spray paint. Since we are redoing the walls and tiles it wasn’t too important to tape everything off. We covered the tub and that was about it. However, if you are thinking about doing this yourself, tape off everything! This will help keep the rest of your bathroom clean from paint dust. We also ran a fan with the window open to air the room.
Prep Work
I would say prep work is the most important step when it comes to painting any type of tile. If prepped correctly, painted tiles will last and are a great alternative to replacing them altogether.
First, you are going to want to scrub like you have never scrubbed before. Try and clean the tiles as well as possible. This will allow your primer to adhere properly without any grime getting in the way. After it’s cleaned, you are ready for primer. I used THIS primer. It is mildew resistant which will great for the shower area. I made sure to cover the tiles thoroughly with one coat of primer before moving on to paint. I left it to dry for about 4 hours.
Paint
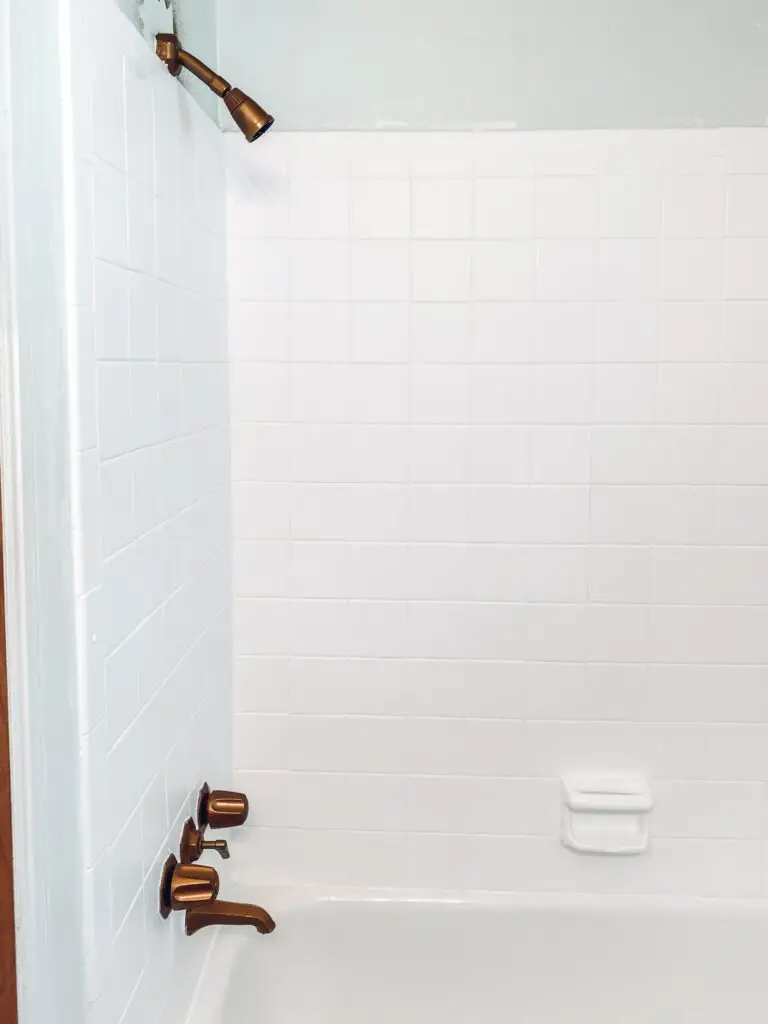
There were a lot of options when it came to painting. We could add a pattern or choose a fun color, but with the other plans for the rest of the bathroom, we decided pure white was the best way to go. And can I just say, this shower feels like a whole new space! Then we applied three coats of THIS concrete paint in the color Pure White. Let each coat dry for about 4 hours before applying another. After the final coat, we let the shower sit for a total of 24 hours before using it. We did not add a sealer. We have used this paint outside before and felt like we didn’t need one.
Caulk
After all the painting was finished we caulked all the edges of the tub and fixtures to give it a nice clean look. This painted shower tile project was so easy and has transformed the shower into a more modern clean-looking space.
This shower refresh was the perfect start to our 7-week bathroom makeover. You can follow more of the process HERE on Instagram or HERE on the blog.