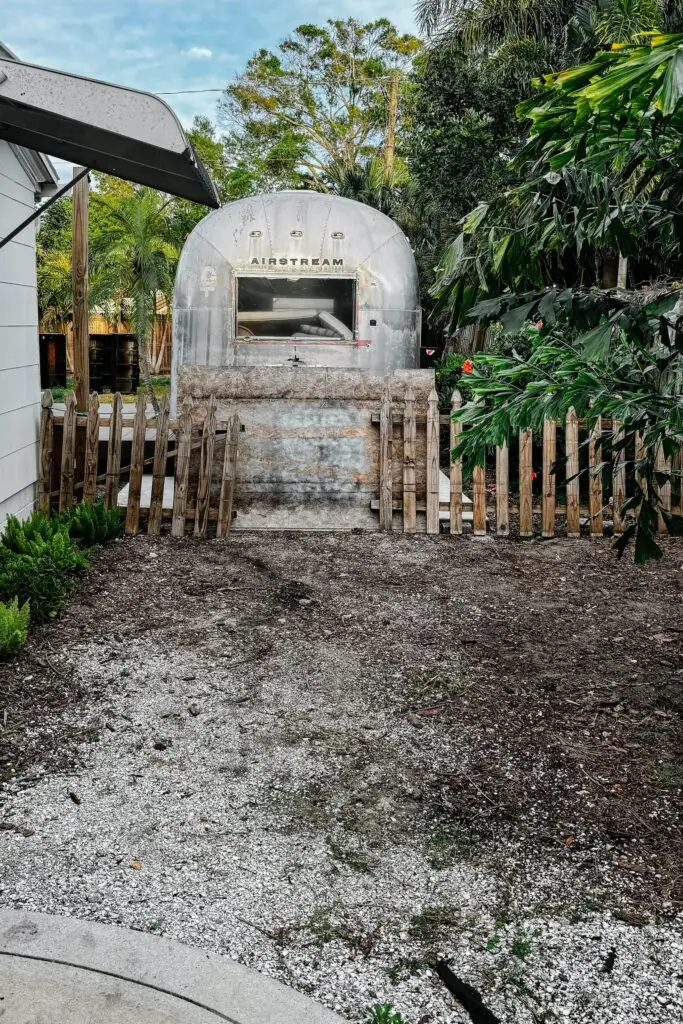
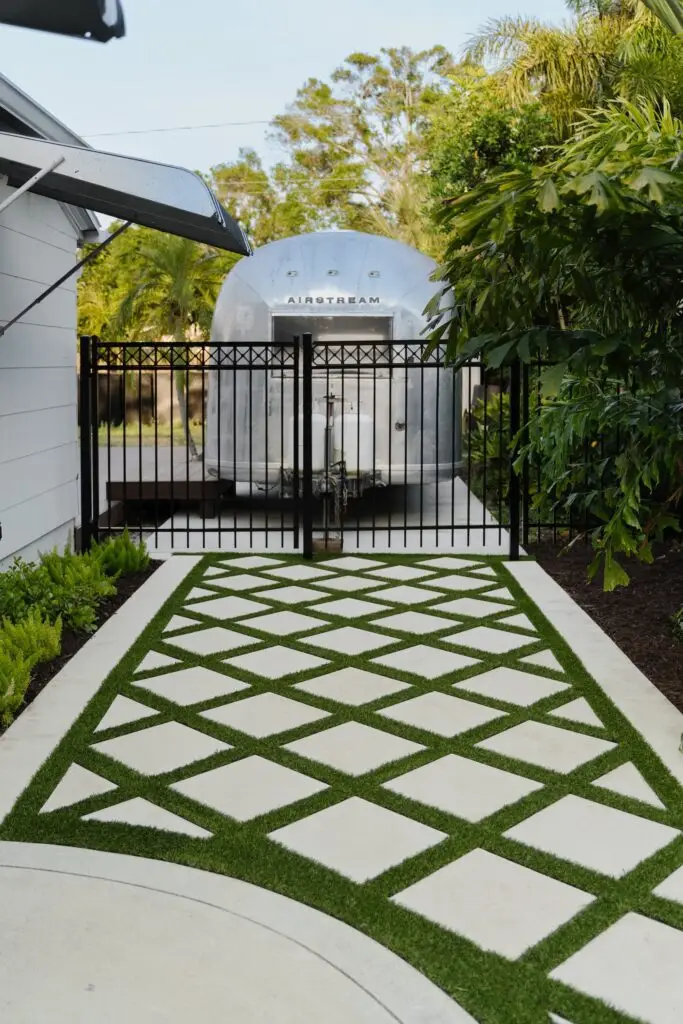
First things first, never underestimate the power of a curb appeal update. If you know me, you know I love implementing this concept with little projects like changing out porch decor or updating our mailbox. All the little, or big, improvements make a home look inviting and appealing! Our next project is nothing short of that, we created a diamond paver and turf walkway to our removable fence. It is safe to say that I am obsessed! This pathway needed to work well in Florida climates, have functionality, and look charming.
Material List
- Artificial turf
- Pavers 20×20
- Pavers 16×16
- Paver Base
- Fill dirt (optional)
- 6-in nails
- Landscaping staples
- Heavy duty sheers or Carpet knife
- Level
- Pen or pencil
- Rubber mallet
- Angel Grinder with masonry/concrete blade
Step 1: Clearing and Preparing the Ground
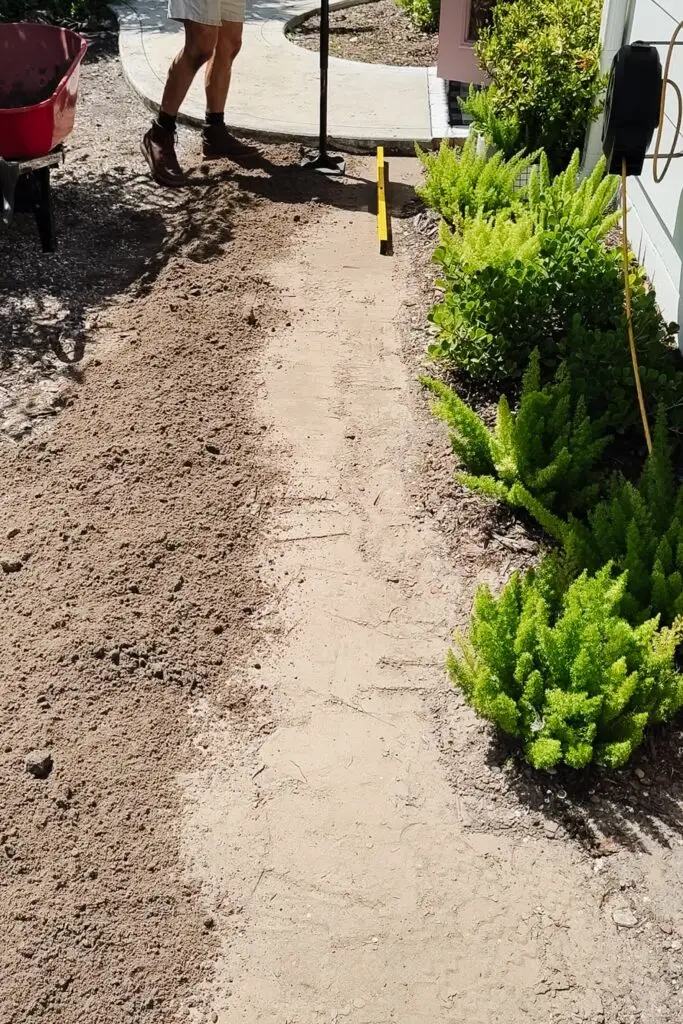
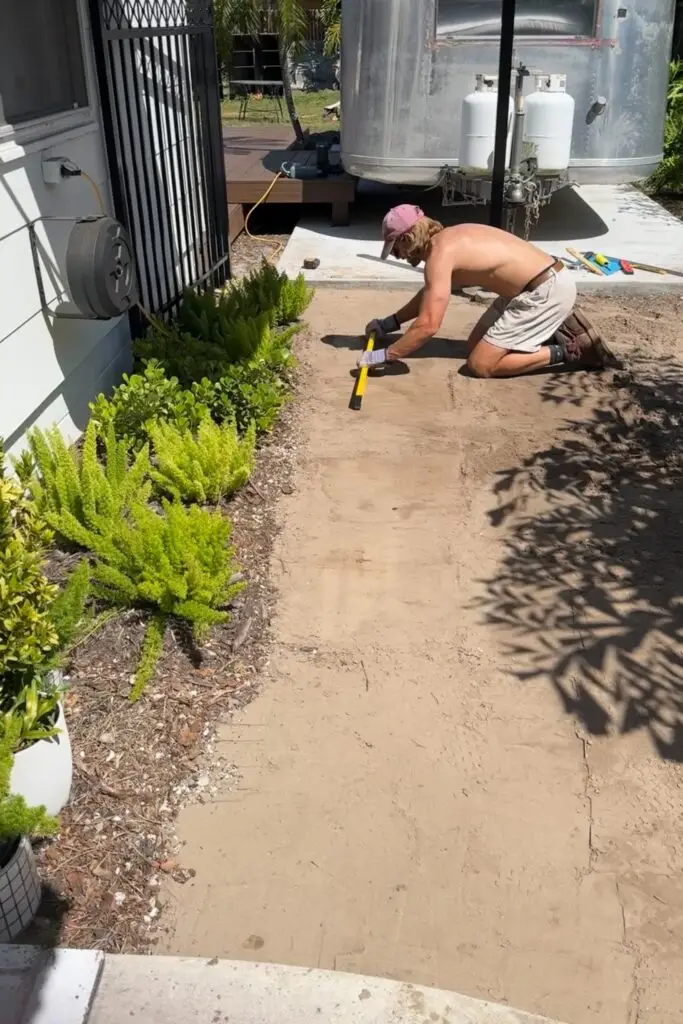
Our first step was to clear out our future walkway by removing weeds, debris, etc. If you have existing walkways that you are going to connect, you will probably need to either add or remove dirt so that new walkway will be even! With this project, we wanted the turf and paver walkway to connect an existing concrete pad and concrete walkway leading up to our front door. We needed to bring in fill dirt to raise the ground slightly, as both areas were 4 inches above grade. Measure the height of your pavers so that you know where to stop with fill dirt. We ended up using about 3 yards of fill dirt, spreading it evenly and compacting with each load. A screed can simplify leveling, but we opted for a 2×4 and a 4-foot level for the process. Spray down the dirt several times throughout the process to ensure the fill dirt is settling and compacting nicely. This part of the process is very laborious, but necessary for a clean, level look at the end.
Step 2: Laying the Pavers
After leveling and compacting with fill dirt or paver base, we outlined the edges of the paver and turf walkway. We used 10×20 paver stones, cutting and leveling each one as we went along one side of the walkway. After ensuring that the one side of the walkway edge was level, we began laying the 16×16 pavers in the desired diagonal pattern. While the more precise way to do this step is to use stakes and strings across the pathway, we used 2x4s to get the direction and spacing between each paver correct, which is 3.5 inches in width. Adjust dirt or paver base as needed, then level each paver as you lay them next to each other. We knew that our pathway would be 3 full diagonal pavers wide, plus the edge pavers.
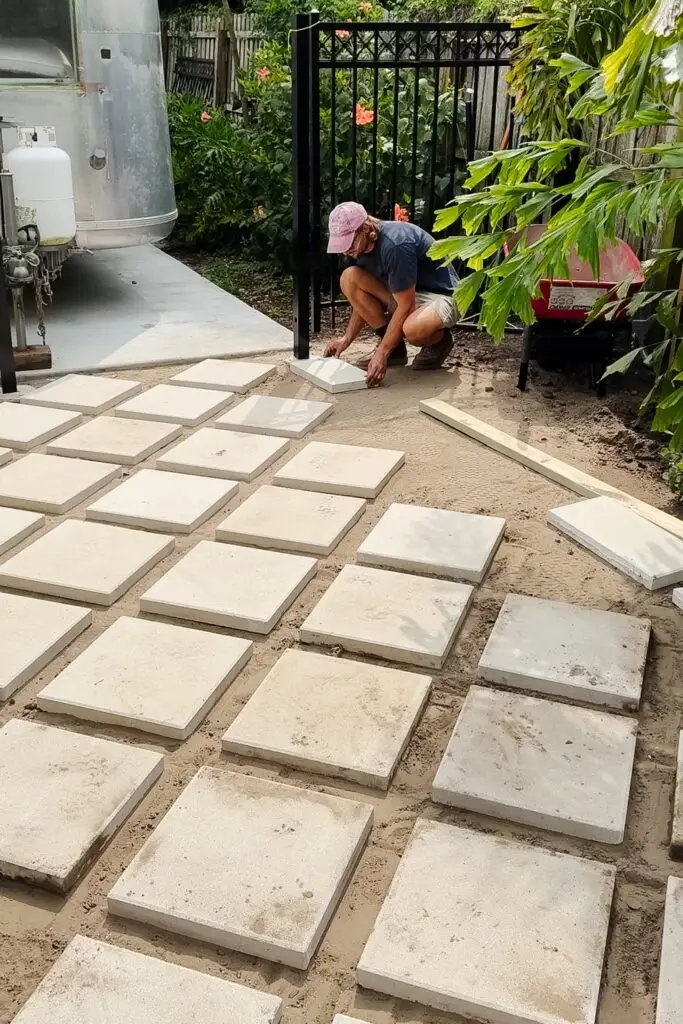
After laying the full diagonal pavers, begin cutting triangle shapes for the edges. Measuring each triangle can be tricky, but we again used the 2x4s to get the correct spacing. We used a trowel to mark the dirt where the top of the triangle would rest.
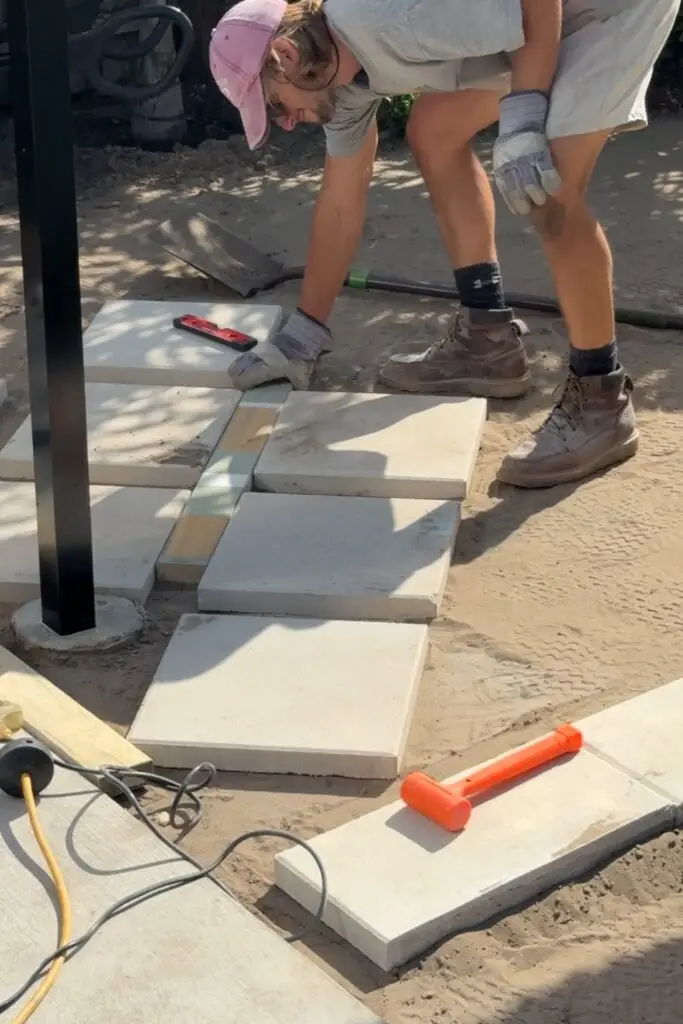
Measure the distance from the triangle’s side to the edge of the diagonal pavers to determine the length of each triangle side. Using these measurements, mark each stone with a pen or pencil (the triangles should only require one cut all the way around the paver stone). You can use an angle grinder with a masonry/concrete blade to score the paver stone along the marks. After making your cut, prop each side of the stone up so that the middle of the stone, where your cut was made, is suspended. Use a rubber mallet to gently tap the stone along your score mark, and the stone should break.
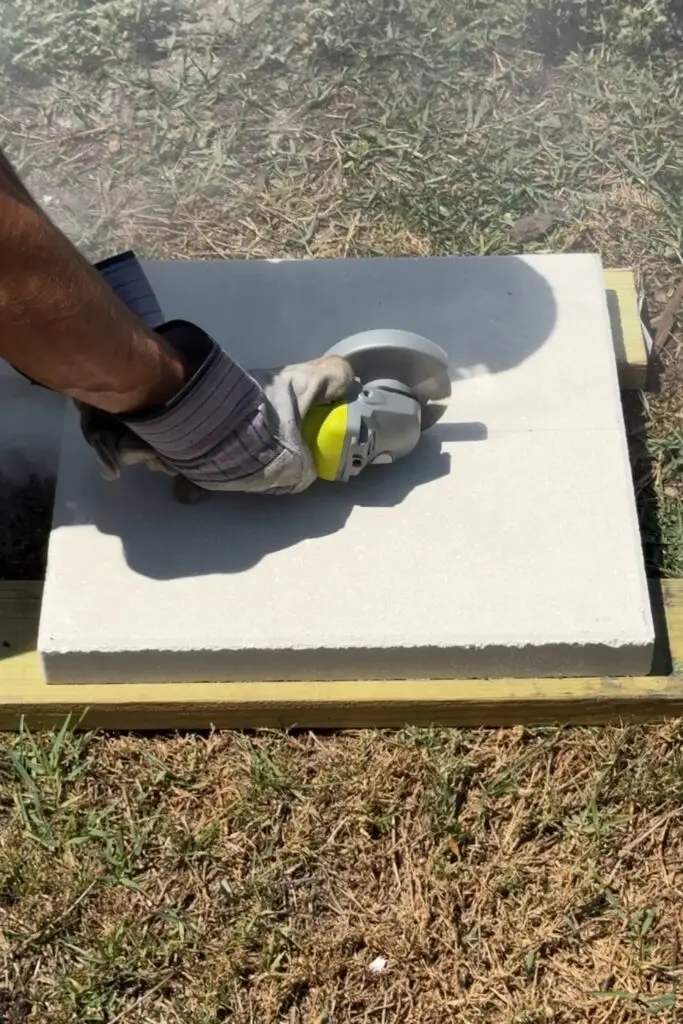
Step 3: Laying Base Material Between Pavers
Before laying the base material, cut a piece of turf and position it between the pavers to determine the ideal turf height. We knew that we wanted to the turf blades to be about 1/2 inch above the pavers, so we began adding base material and measuring the height accordingly.
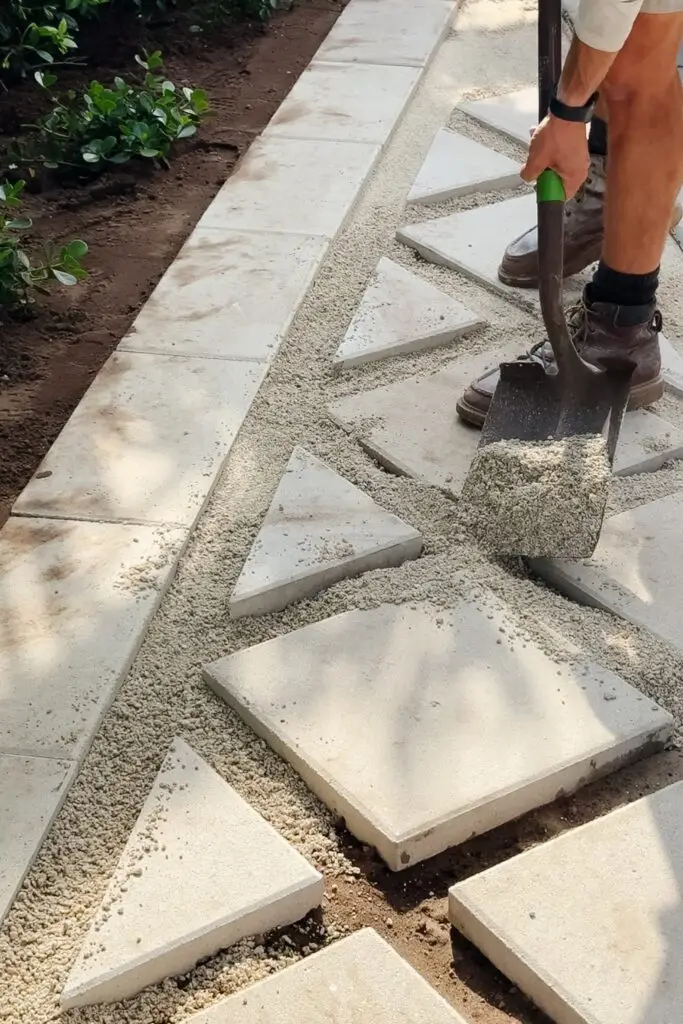
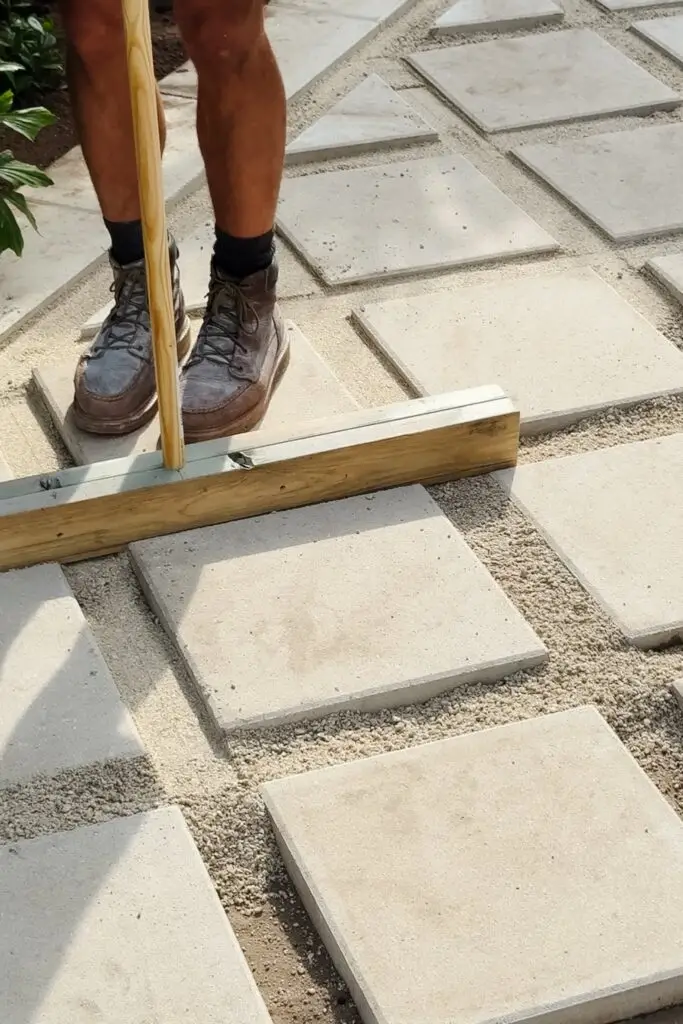
Compact the base material between each paver, adding and removing as necessary to get the desired height. We also kept the water hose nearby to water in the base material as we went. Check with the turf manufacturer for the recommended base material (often times it is either decomposed granite or paver base).
Pro Tip: Create a Handmade Compacting Tool to Make Compacting and Measuring Height of Base Material
To ensure the paver base was perfectly level and compact, we made a unique tool by nailing two 2x4s together and attaching a broom handle. We marked a line on our tool to determine the required depth for an even surface and correct turf height.
Step 4: Installing the Artificial Turf
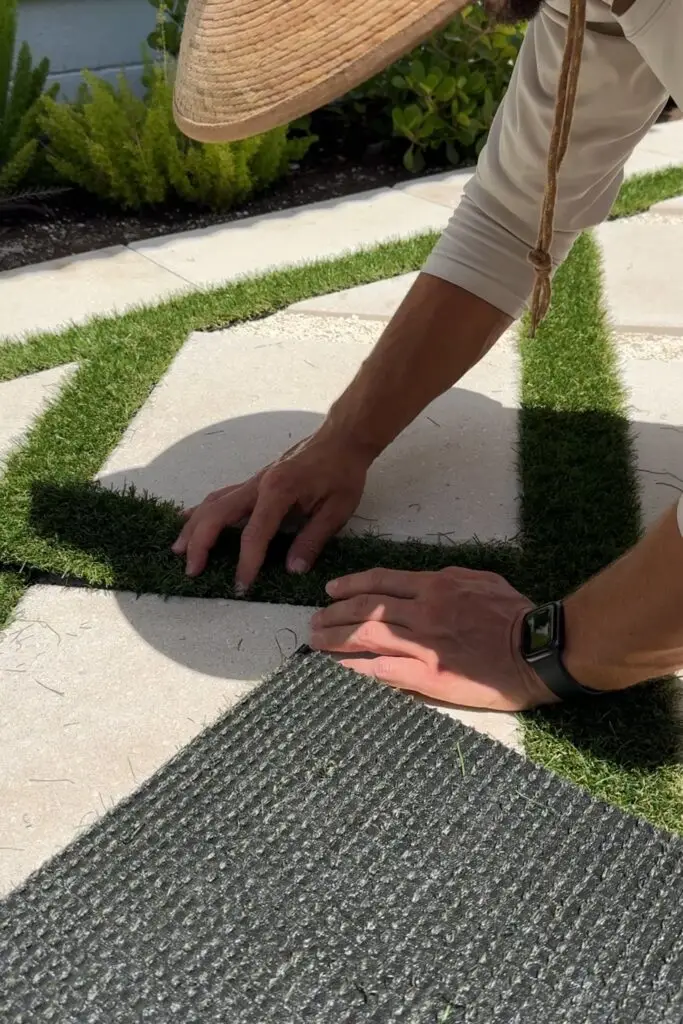
After setting the pavers, we installed the artificial turf. We cut it into strips to fit the spaces between the pavers, ensuring all blades faced the same direction for a uniform look.
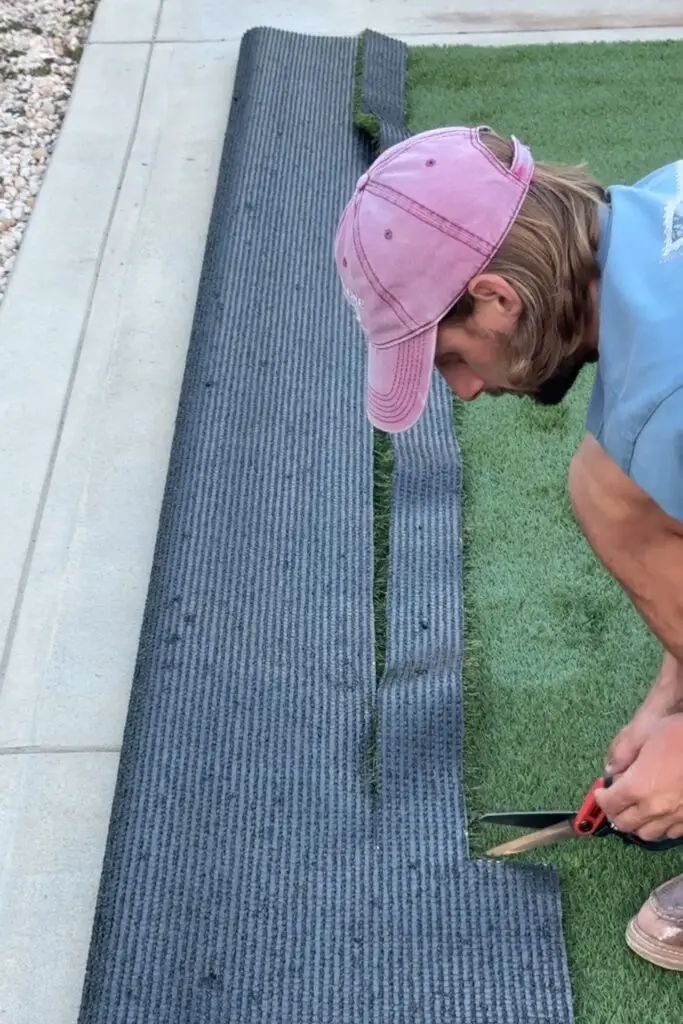
The turf was secured with 6-inch 60D nails, and we added turf infill, sweeping it around to help the blades stand upright and stay lush. You can see a more detailed step-by-step turf installation tutorial in THIS blog post.
Step 5: The Finishing Touches
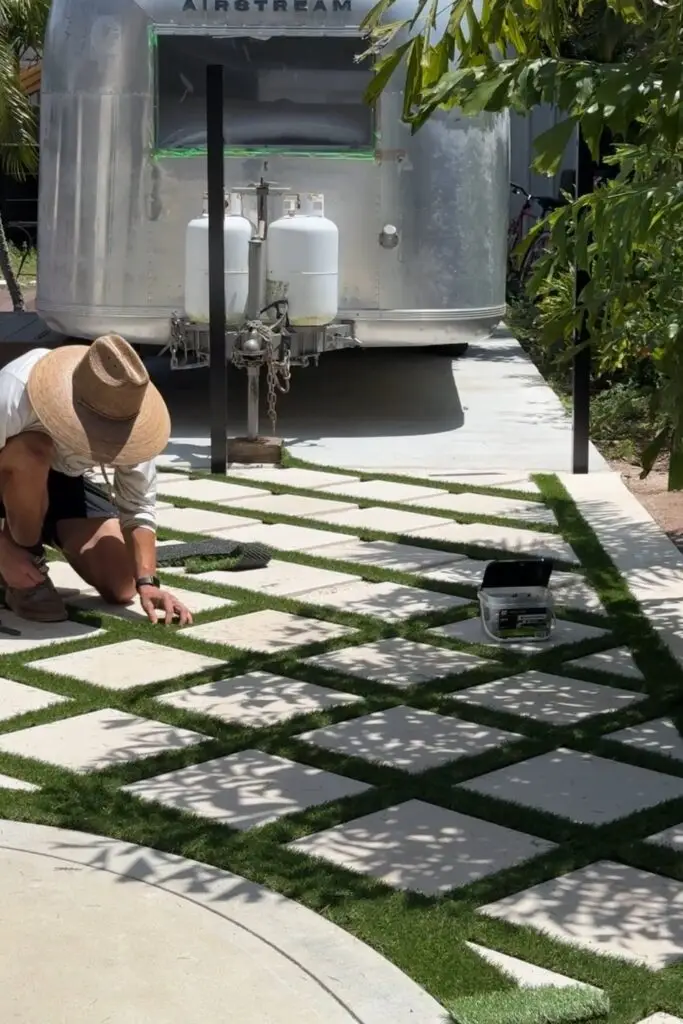
The final step was to add a few fun plants and some mulch to the bordering flower bed, and then one last sweep of the turf to ensure everything was perfectly in place. The result? A stunning, low-maintenance walkway that enhances the front of our home and welcomes guests with green, manicured elegance.
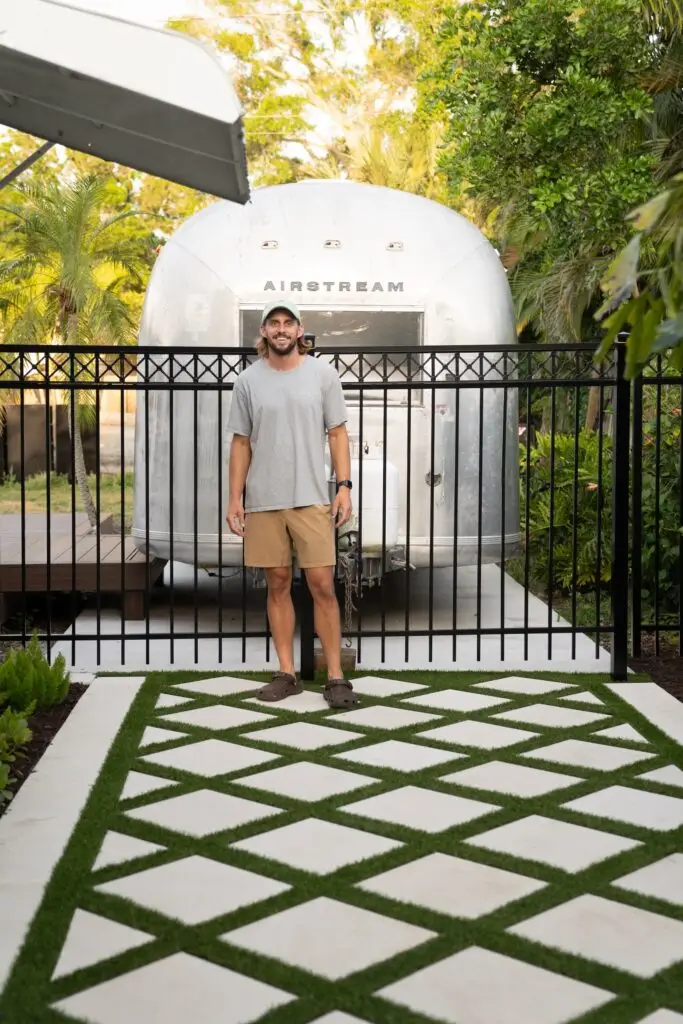
While this project is more than a weekend endeavor even for the experienced DIYer, but definitely worth it as it dramatically increases the appeal and functionality of your outdoor space. This walkway project is doable and rewarding, so why not give it a try and create a beautiful pathway that you and your guests will enjoy every time you step outside!