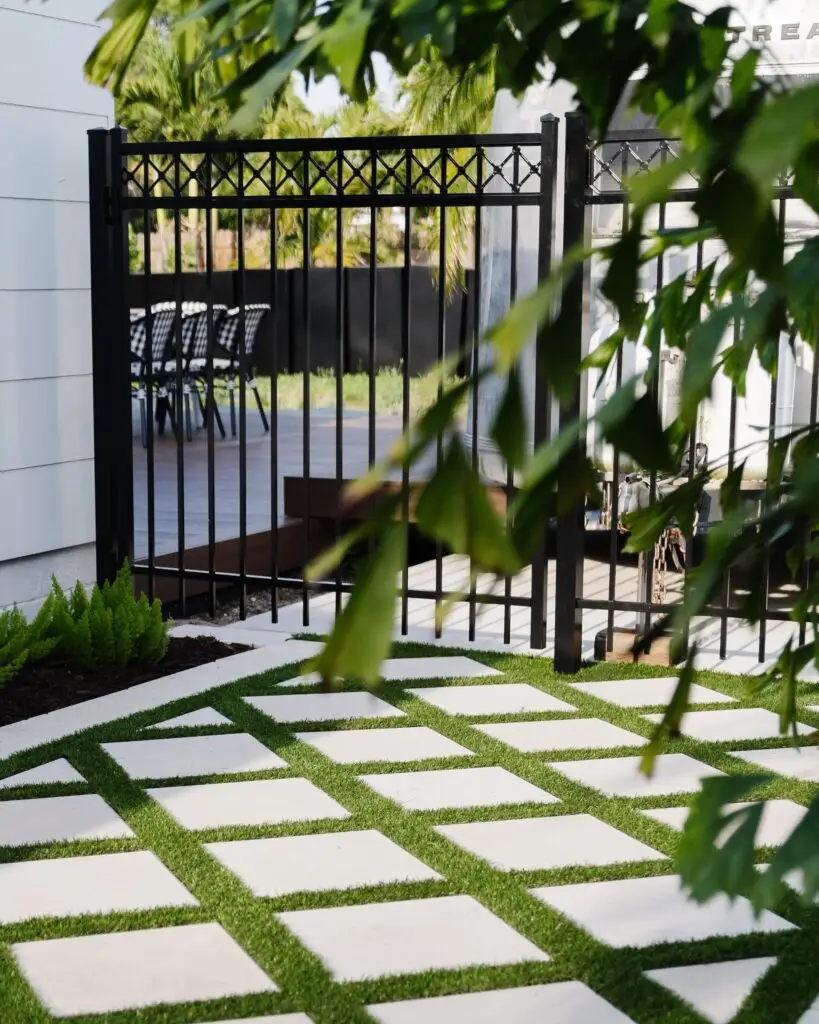
As many of you know, my husband Carter and I recently purchased the cutest 1967 vintage Airstream to renovate and keep in our backyard for a little extra living space. We parked the Airstream along our deck, knowing that one day we would need to update the fence that it would go in and out of. The issue that we kept running into was finding a fence that would allow us to access the backyard easily, but also being big enough to take out the Airstream. I decided we needed to make our own removable fence that checked off all the boxes!
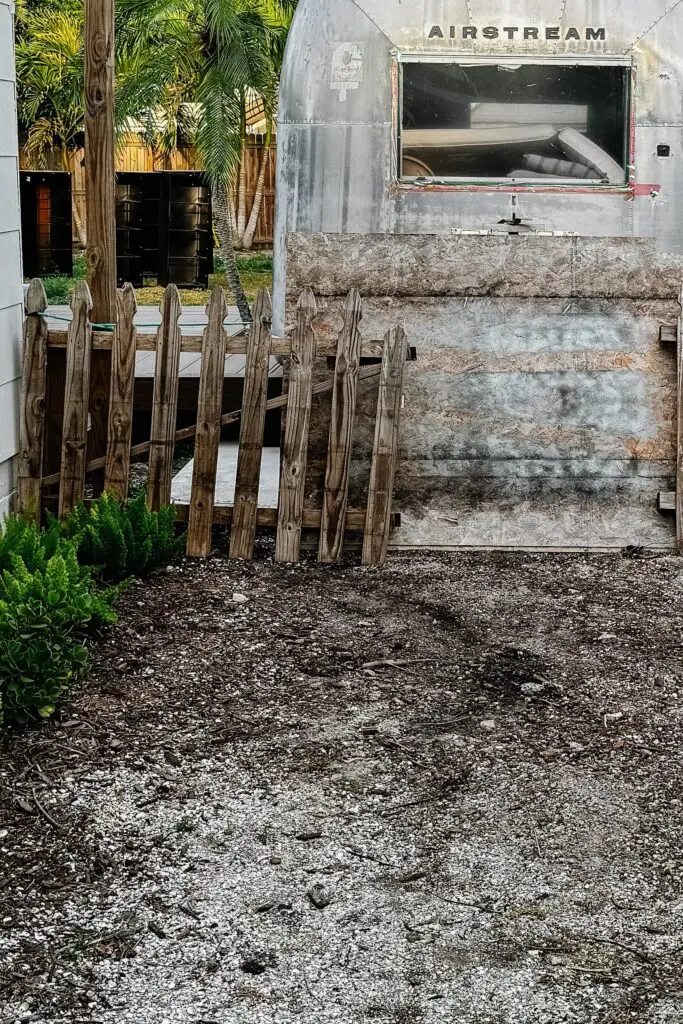
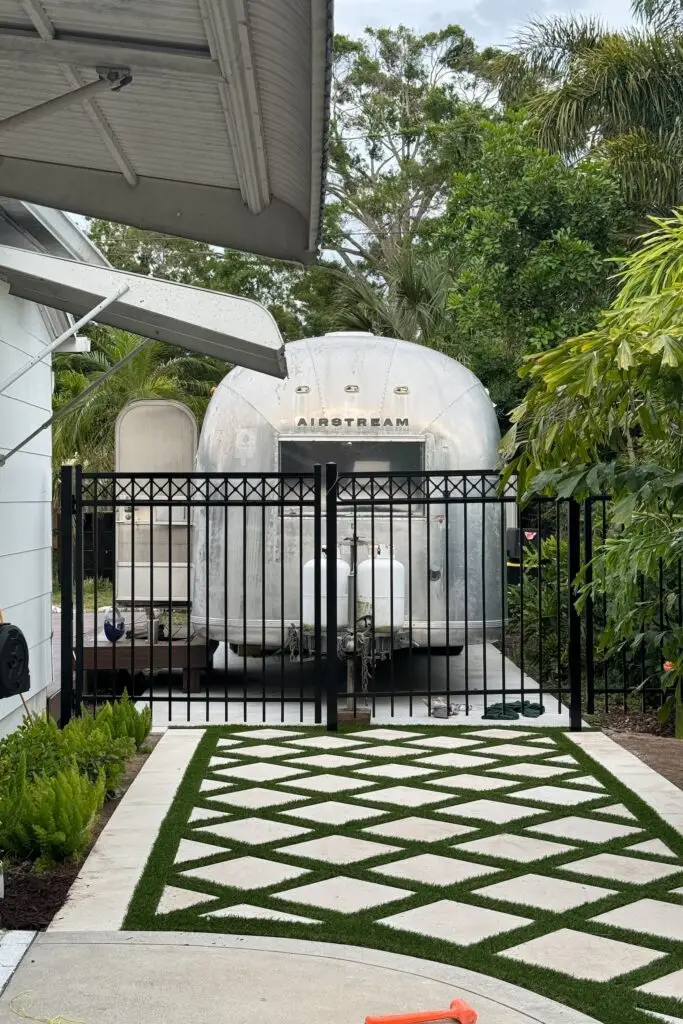
Step-by-Step Guide to Building a Removable Aluminum Fence Panel
Materials Needed:
- Aluminum fence panel
- Aluminum Fence gate
- Two aluminum end posts
- Two aluminum gate posts
- Fence hardware, including hinges and latches
- Concrete for setting posts
- Concrete forms
- Post sleeves (custom or standard)
- String
- Tools: string level, 4-foot level, shovel, trowel, drill, metal drilling bits, jig saw, and metal cutting jig saw blades
Step 1: Planning Your Space
First, how and where do you want to get in and out of your yard? This will help you decide if you need one or multiple gates for your fence(s). We knew that we wanted access points on both sides of the Airstream. One side is for direct access to the deck, and the other will allow easy access for work like wheelbarrows, lawn mowers, etc. The best part of the fence is the removable panel in the middle of the two gates to allow the Airstream to come out!
Step 2: Setting the Gate Posts
Never underestimate the power of string in a DIY project, which was used determine where our fence and post holes will be. Starting with a straight line for the fence saved us a massive headache! At each end of the string, which is where the gate posts will need to be, tie another piece of string and let it hang to the ground to mark where to begin digging the post holes. You will also use this same string to determine the depth of the holes for the gate posts.
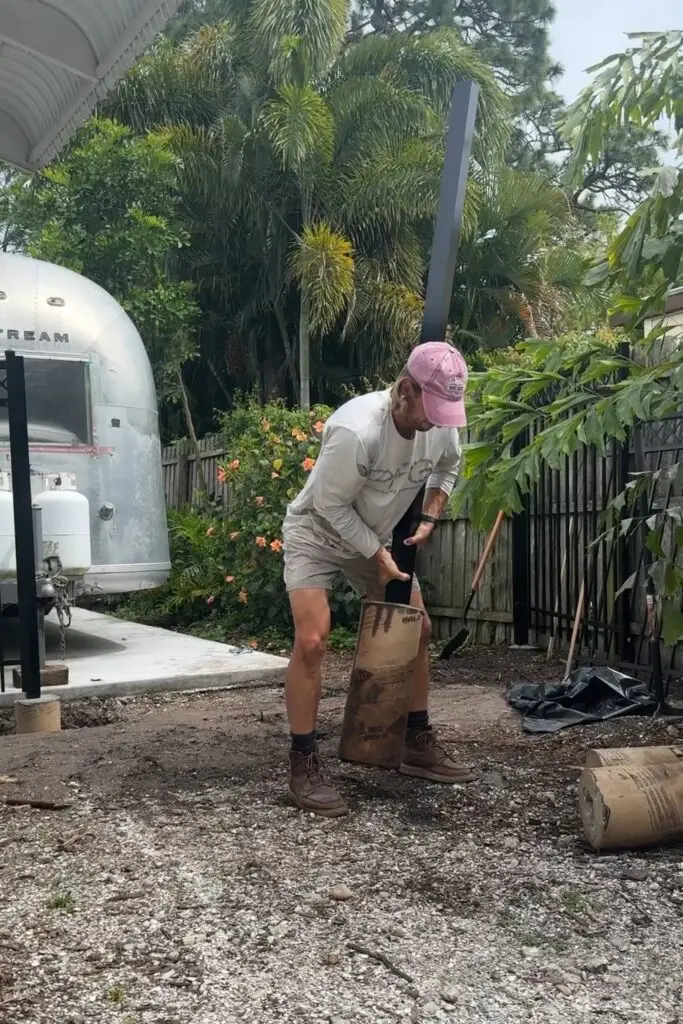
One of our posts would be next to the foundation of our home, so we used forms to pour the concrete and set the gate posts. This way, we do not damage the foundation if we ever needed to remove the fence. We cut the concrete forms to the height we needed and used a level to set them in place.
Next, backfill around the concrete forms with dirt about halfway up, that way they won’t move when the concrete is poured. However, before actually pouring, check again that the post are level and centered with the horizontal string. We placed the gate posts in the concrete forms and positioned them as level as possible, then started pouring the concrete. As we filled the forms, we continued to check the posts, at each direction, to make sure they were level.
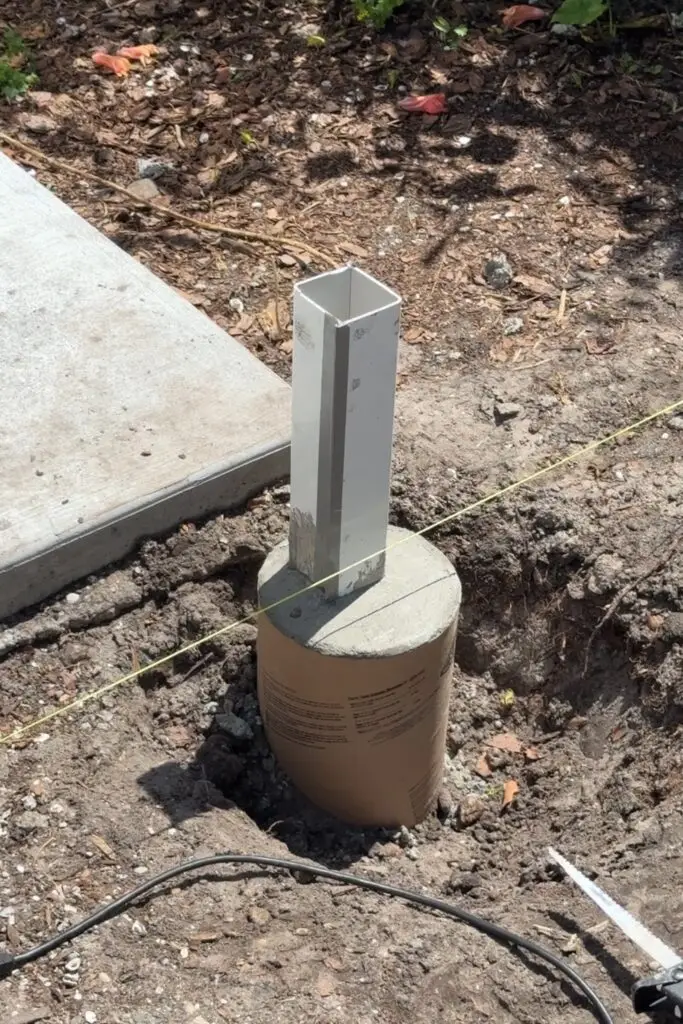
Smooth the tops of the concrete forms with a trowel, that way rain water will drain away from the posts. I bet you can’t guess the next step? Check that the posts are level, one last time… for now. Then, let the concrete set overnight!
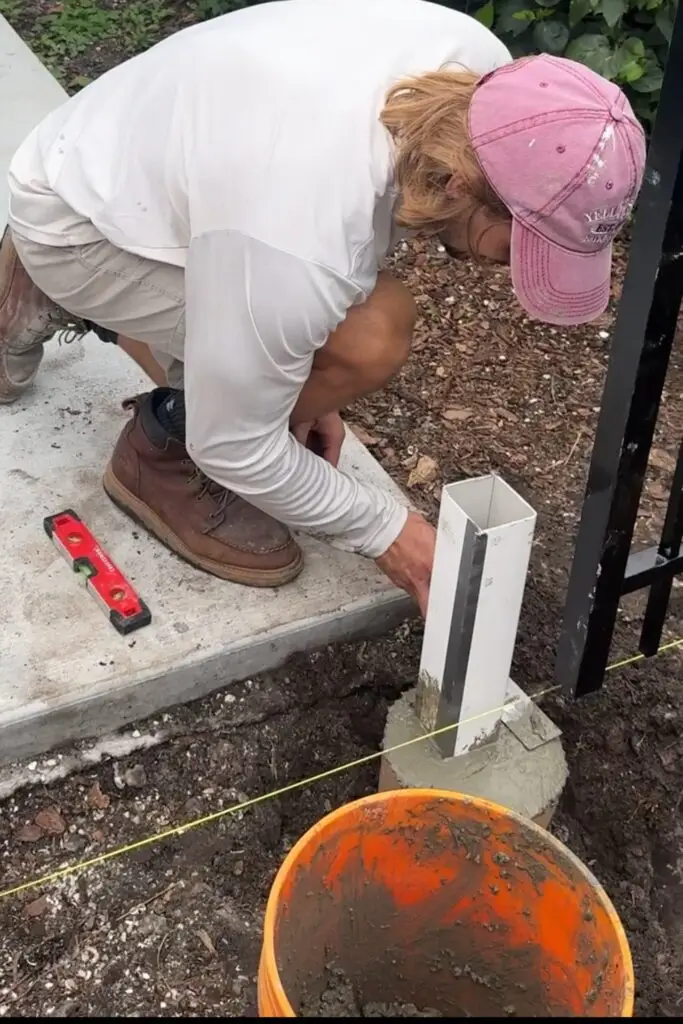
The next day, we came back and backfilled around the forms with more dirt, compacting it with a shovel handle. Be careful not to knock the forms too much because they could still move around at this point. As you backfill with dirt, check the level in all directions again!
Step 3: Install Gates on Gate Posts
Install the gates on each post, then make sure they are level and swing in the the correct direction. Once you are done, the two gates will give you an idea of exactly where each end post will need to go for the removable fence panel. Make sure to look at the installation guide for the gate hardware to see the exact gap needed between the gate and the end post. Ours needed about 1.5 inches for the gate latch to work correctly, but this can be different for everyone!
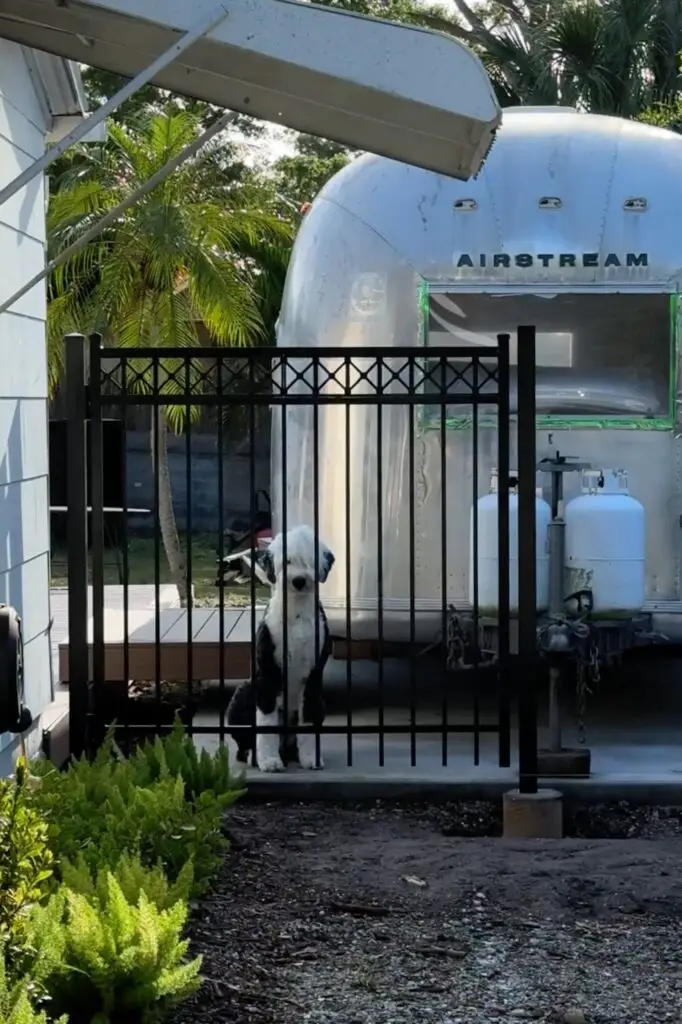
Step 4: Setting Removable End Posts
Using your horizontal string again, ensure that the gates are closed in the correct spot and tie two more strings to hang down towards the ground. Take into account the proper spacing needed for the gate hardware to latch. Now that you have used the vertical strings to mark where the end posts will be, you can begin digging holes for the concrete forms where you will set the end posts. Repeat the same process as the gate posts, setting the concrete forms in the hole and checking that everything is level.
It is important to note that this is where the process differs from the gate post installation… If you chose an end post with a standard post sleeve size, congratulations! You’ve saved yourself the hassle of creating a custom post sleeve. If you are like us and picked a non-standard sized end post, then head to your nearest hardware store and pick up a vinyl fence post.
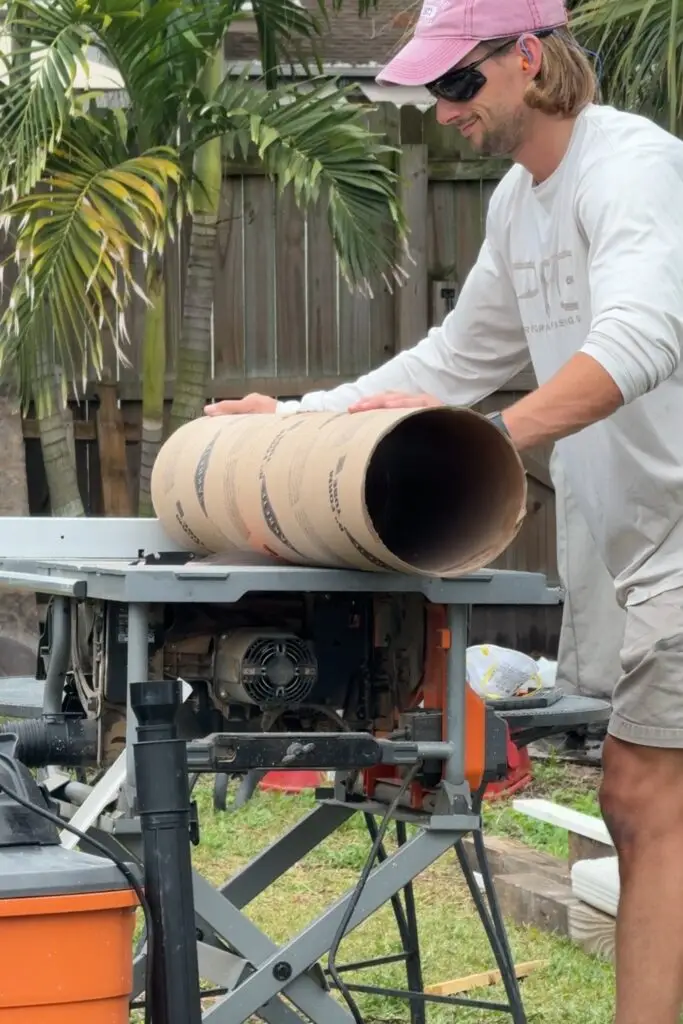
First, you will want to measure the depth of the concrete form that you placed for your end post. Cut the vinyl fence post about six inches longer than the depth of the concrete form. Next, place the end post inside of the vinyl post, hold it snug to one side, and mark the outside edges of the post. Using a table saw, carefully cut the vinyl along each mark. This allows your sleeve to be snug enough to hold the post in place, but not too snug that it isn’t removable anymore.
Once you have cut the post sleeve to the correct dimensions, use duct tape to seal the seems and around the bottom. Pro tip: place duct tape stick-side down at the bottom to prevent your post from sticking to it. The duct tape will prevent any concrete from seeping inside the post sleeve and sticking to the actual end post.
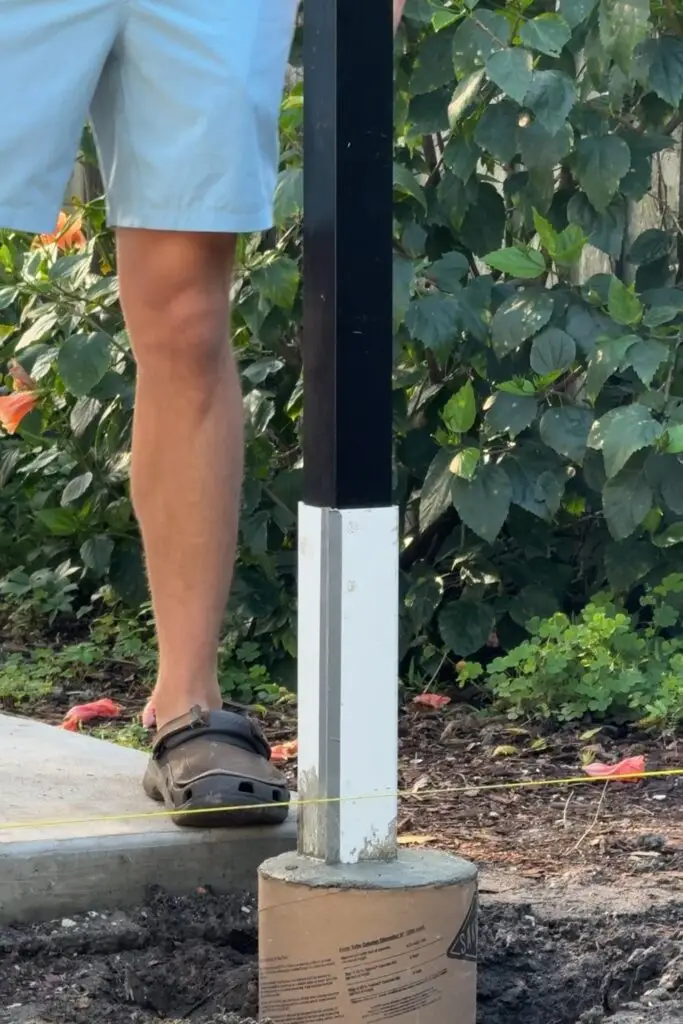
After creating the post sleeve, slide it onto the end post and set them in the concrete forms. Begin filling the forms with concrete and checking the level along the way, just as you did for the gate posts. Let the posts and post sleeves set in concrete overnight. Next, backfill around the concrete forms and pack down just as you did with the gate posts. Check to ensure your post slides in and out of the post sleeve now that the concrete has set up. Learn from our mistakes or you will need to repeat the process again just like we had to.
Step 5: Cut Aluminum Fence Panel to Desired Width
Once the post sleeves are firmly set in concrete, measure the exact width for your removable fence panel. We’ve found that removing the posts from the sleeve makes this task easier. Using a metal cutting blade and a jig saw, we cut the fence panel to the required width. Then, we slid the sides of the fence panel into the pre-cut holes on the end posts. Before securing the panel in place with screws, we inserted the end posts into the sleeves, allowing for minor adjustments. This step requires two people because the fence panel can still move around. Once you’ve fastened the end posts to the fence panel, remove the panel and trim any excess vinyl from your post sleeve using a reciprocating saw.
Step 6: Add Latches and Your Finished
The last step in the process is to add the gate latches, finally all coming together! Our airstream setup allows easy yard access without altering the landscape permanently. I will say, the removable aluminum fence panel is a game-changer! It is functional, while keeping the yard secure and private when the Airstream is parked. Once we finished this project, we added a curb-appealing turf and paver walkway leading up to the fence. We have loved having this change to our yard!
