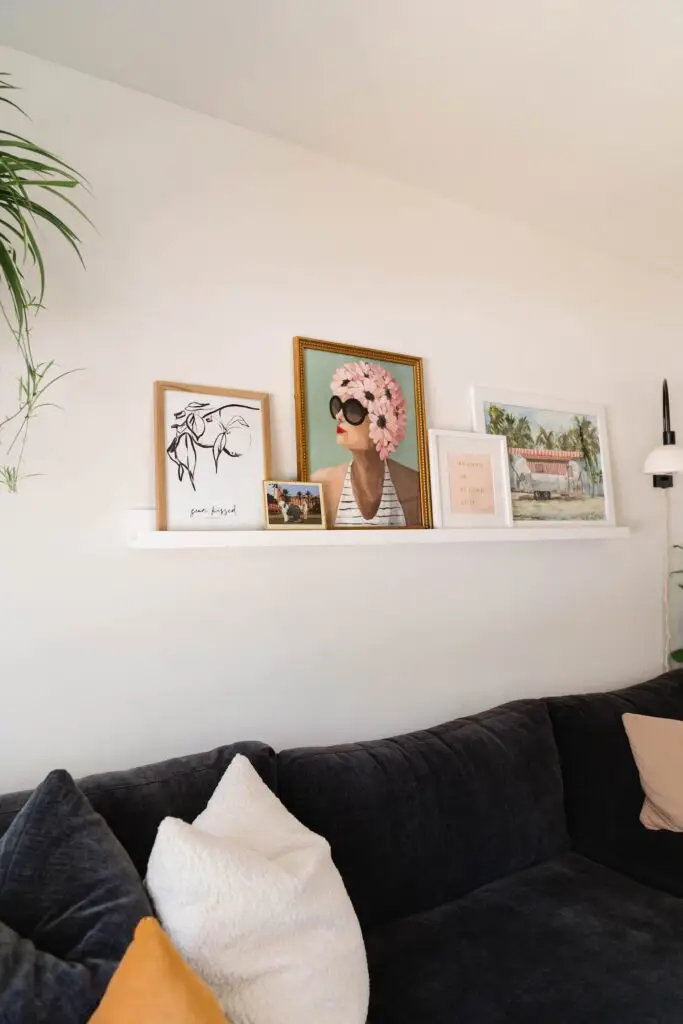
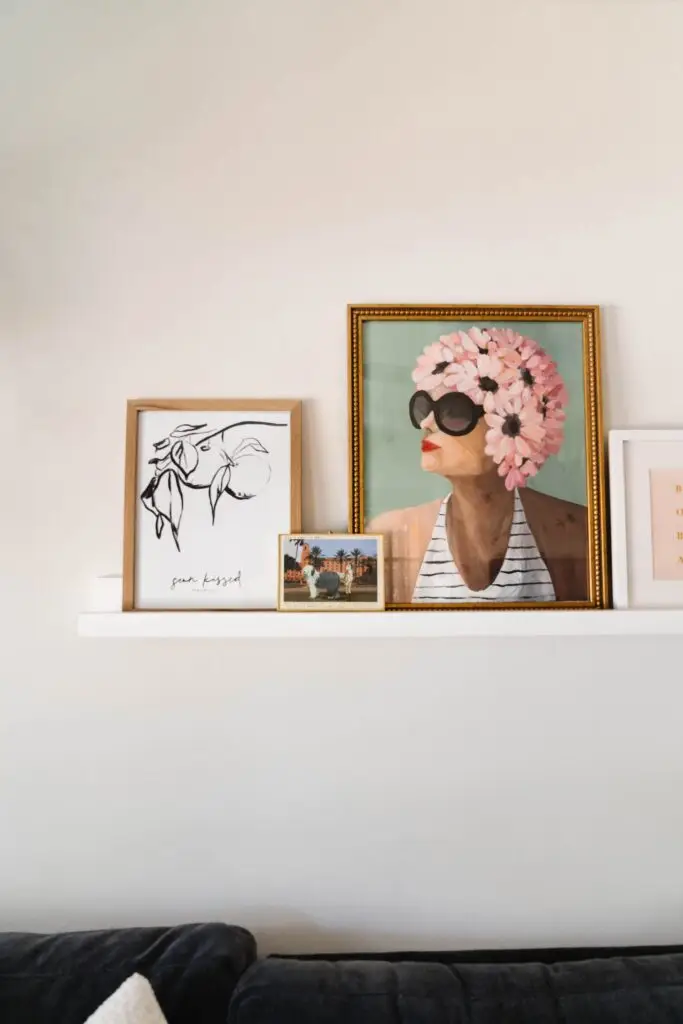
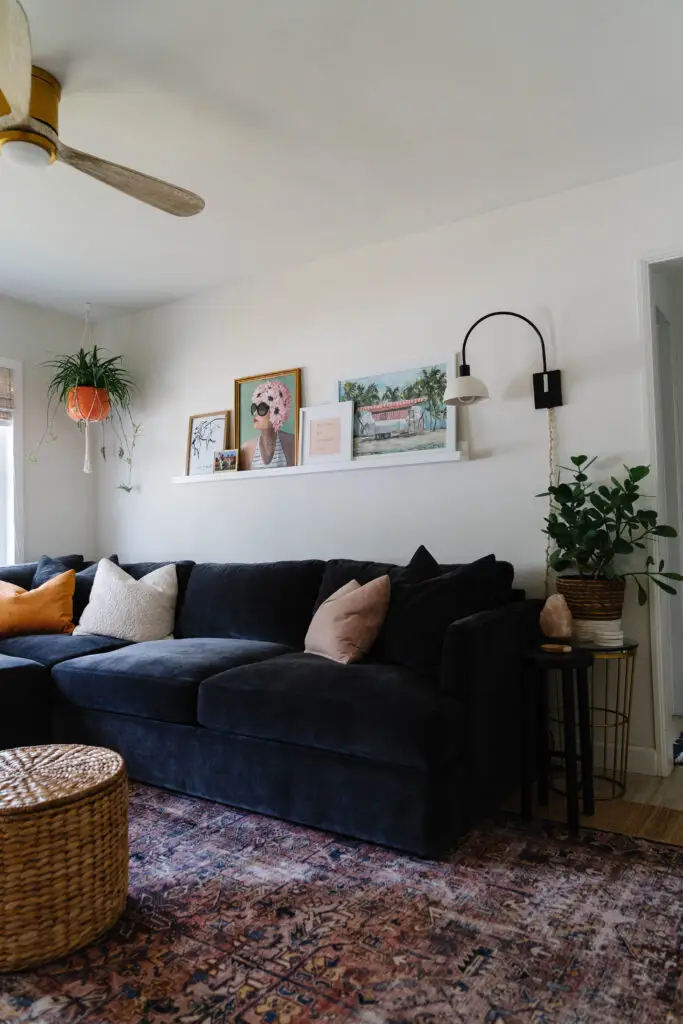
After several years of a blank wall, we finally decided on the perfect solution to display art above our couch in our living room. There are so many different ways to display art in your home. Whether it’s a beautiful gallery wall, or a fun picture frame, having art in your home makes a big statement!
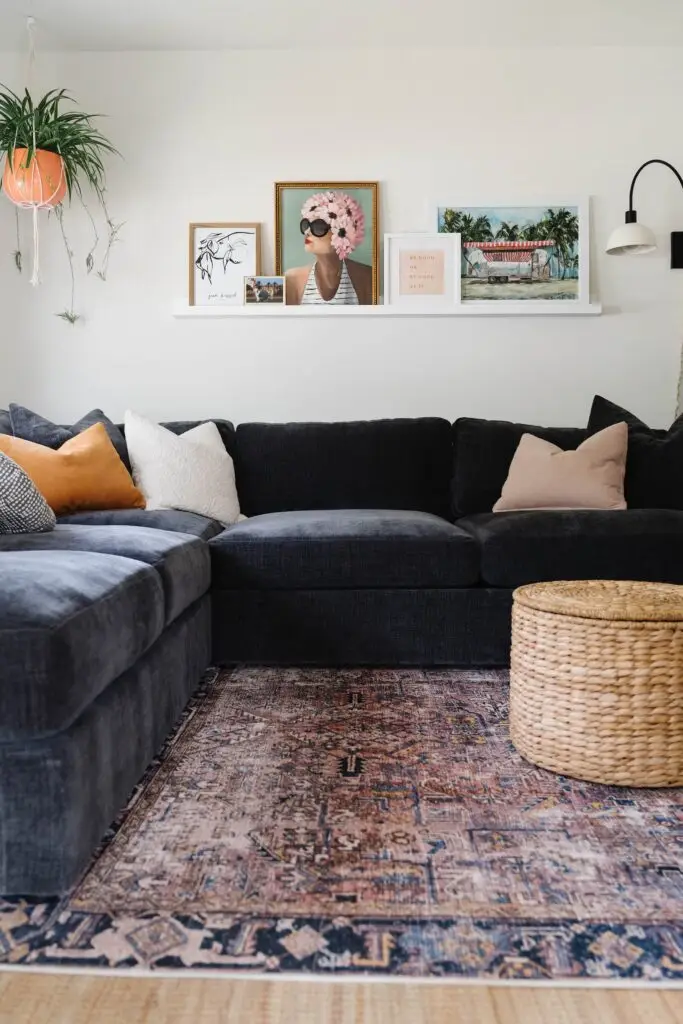
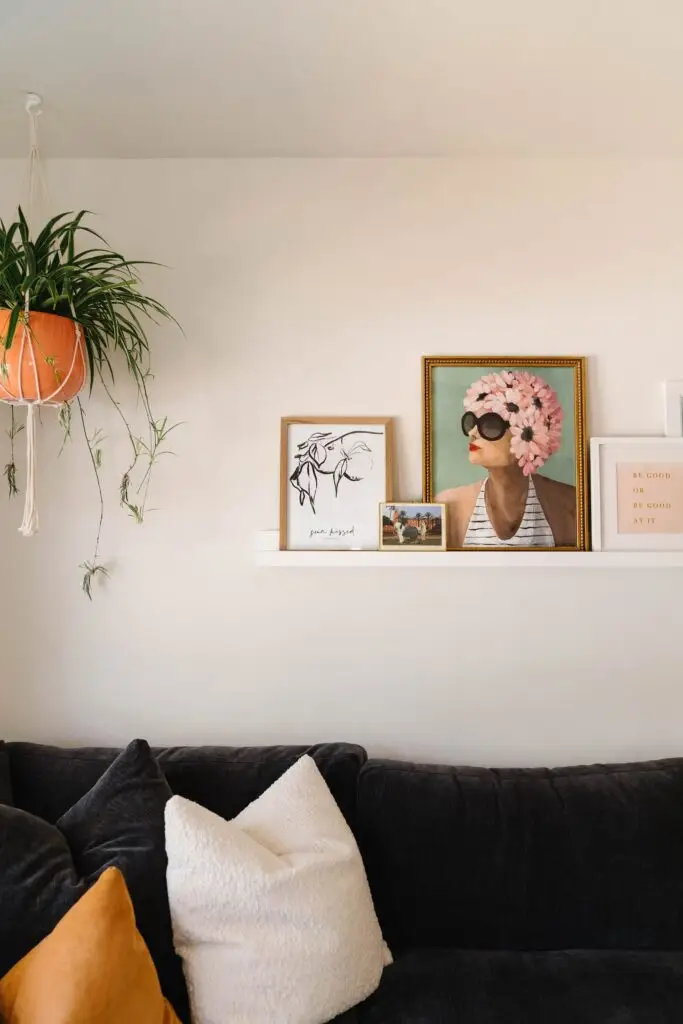
SGT. SPRINGSTEEN | PUCKER UP | SHARON SAYS | SUNKISSED | MIDGE ON THE BEACH
Photo Ledge Ideas
We decided to build our own DIY picture ledge to put over our custom sectional in our living room. There are not very many options when shopping online for large picture ledges, so building one was a great and inexpensive option! Altogether, building this 6-foot picture ledge cost us around $30 dollars. Not including the tools we already owned.*
Materials for Wood Picture Ledge
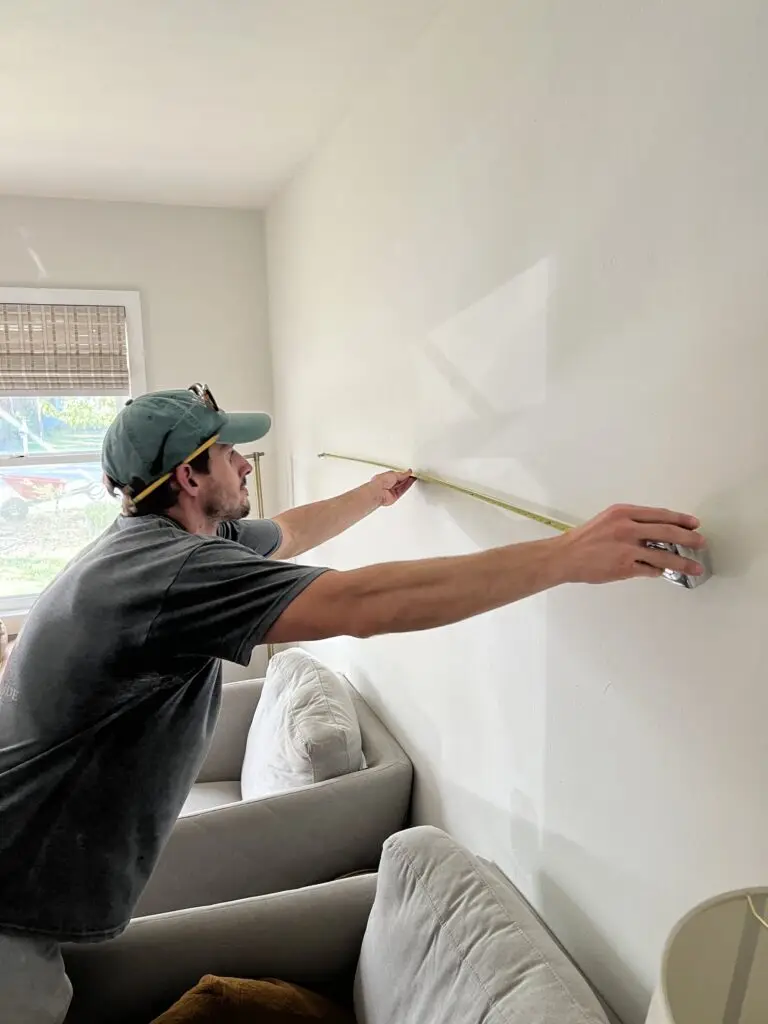
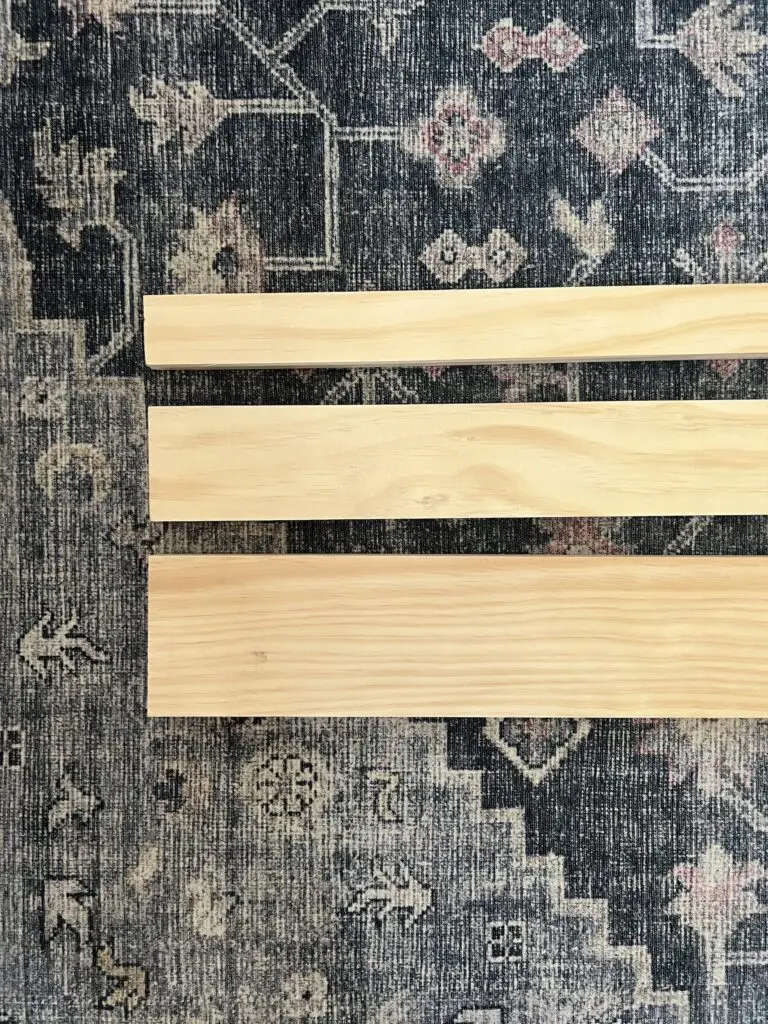
How to Make a Photo Ledge Shelf
Once you have your materials, cut the wood to the desired length. We did ours 72″ inches. This holds five framed pieces of framed art. We used a simple brad nailer to assemble the wood pieces and then we added a few screws through the back to make it more secure. If you don’t have a brad nailer, you can use finishing nails and a hammer.
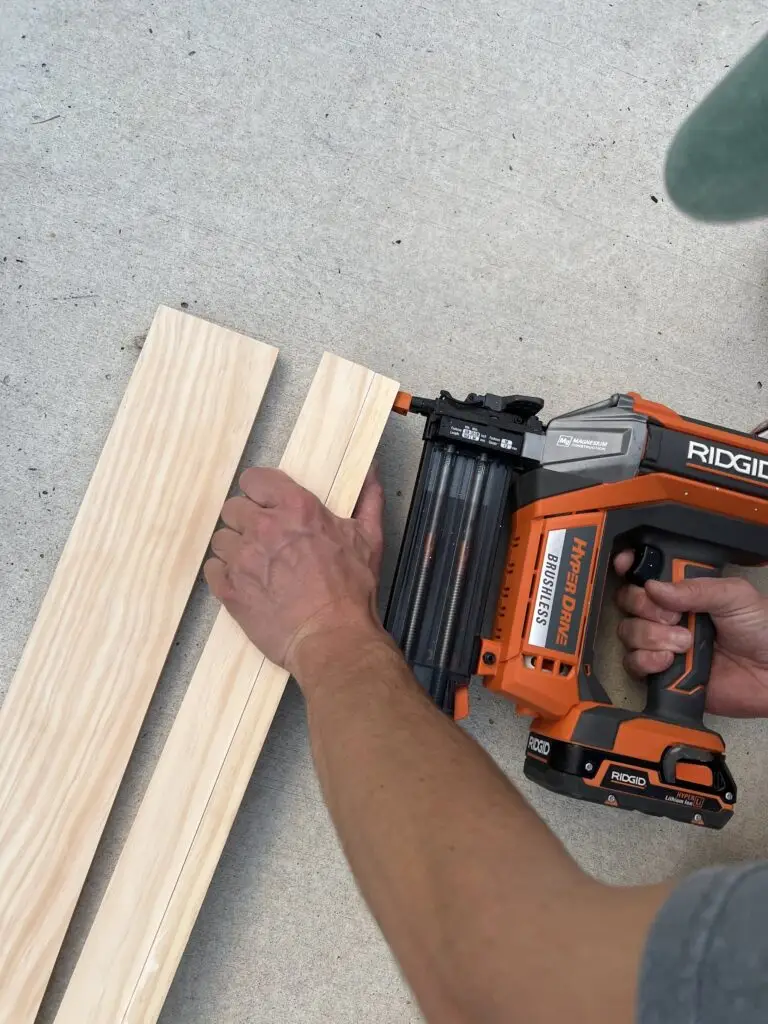
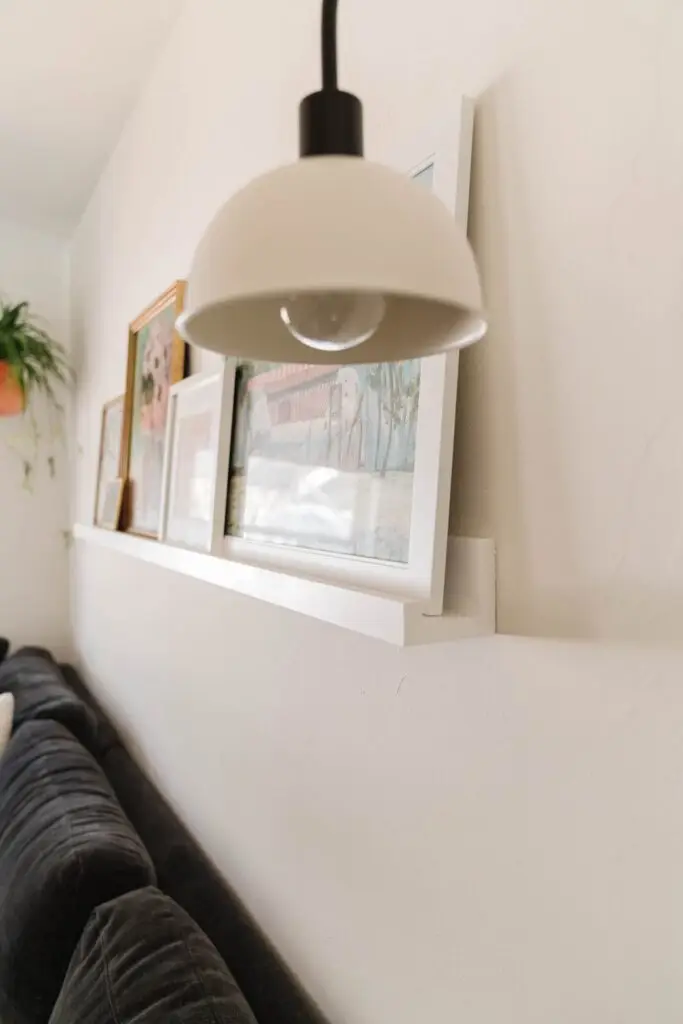
72″ Picture Ledge
I decided to paint our picture ledge white, however, you could keep it natural or paint it any color you would like. I decided on white because I didn’t want to take away from the beautiful custom art collection. Displaying art on a picture ledge is a great way to decorate a larger wall. It’s easy and I love the idea of being able to swap out art pieces easily!
